1988 f150 4x4 axles. Axle Parts for 1988 Ford F 2019-02-20
Axle Parts for 1988 Ford F

This warranty does not cover normal wear and tear. Jack up one side of front axle and place jack stand under it. Tighten to line up marks or to 80 � 100 ft. Once the first cap is out, rotate the axle 180 deg. This is to make sure we tighten it back to where it was. Rebate will be in the form of a Visa Prepaid Card. Valid on orders shipped in the contiguous United States.
4x4 Front Axles differential and driveline parts at Denny's Driveshafts
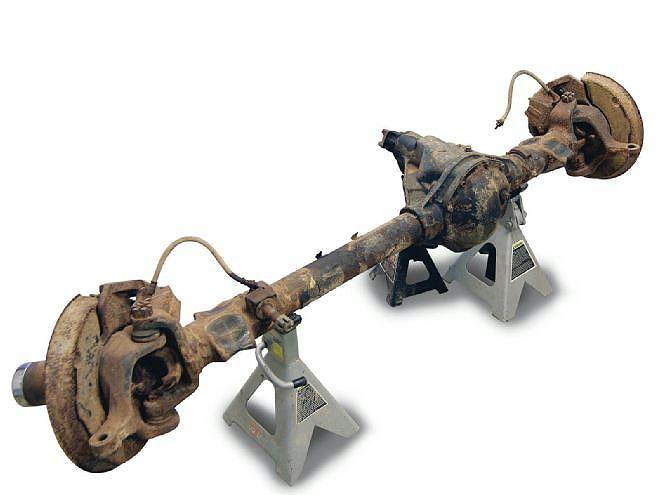
Pounding too hard on the flanges could damage the shaft and prevent the new u-joints from fitting properly. For anything bigger than 40-inch, experienced off-roaders will point you toward a D60 solid axle. Get two jack stands under the front axle as close to the front bumper as you can get. Long nuts are welded to the end of the tube, with threading to adjust a Johnny Joint—a bushing joint. This article applies to the Ford F-150.
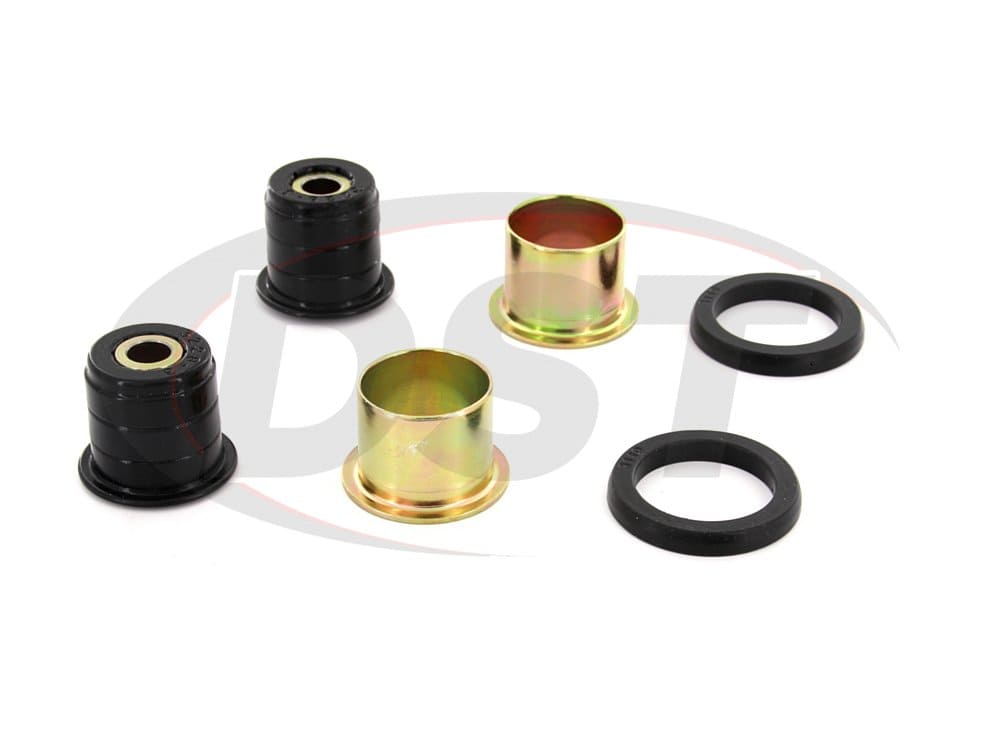
Dana 44 Front Axle Shaft U

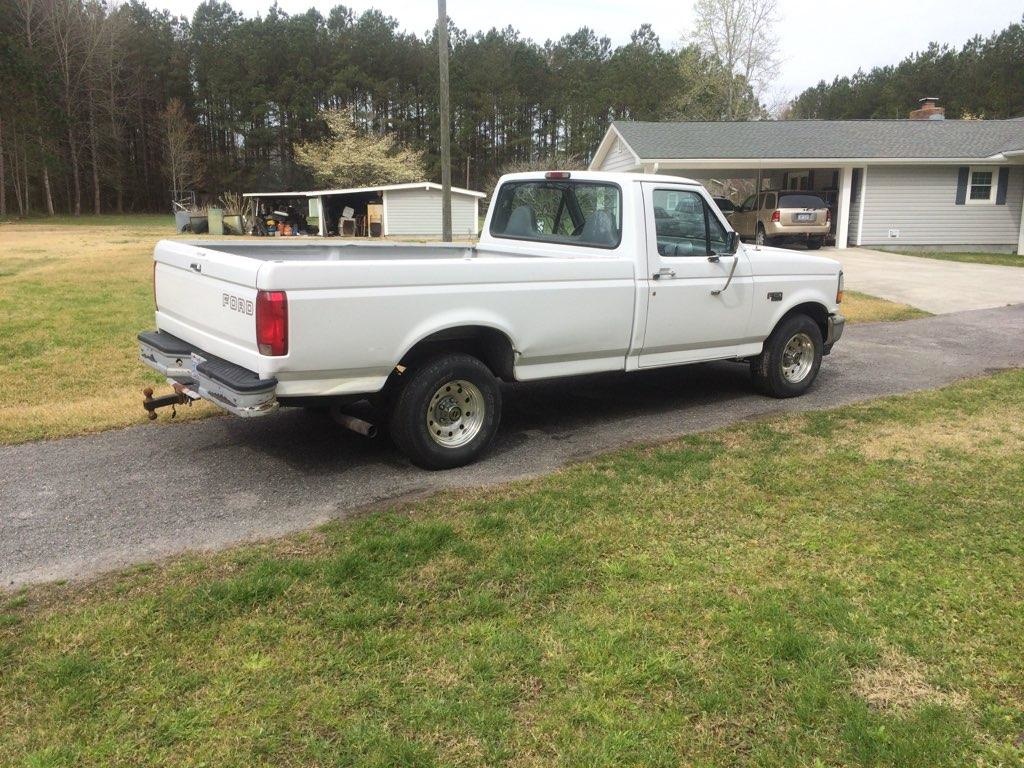
This is also true for fabricated tie rods and drag links. F-150 on jack stands near front bumper. Rebate Form and Invoice must be mailed to yukonrebates datarebate. If you more information let us know. This article applies to the Ford F-150 2004-2014 All F-150s come with a raked stance. Track bar bracket fabricated and welded to frame. Mark where the bolt holes go into the frame, drill them, and bolt the brackets in place.
Dana 44 Front Axle Shaft U

Learn what to expect as you install a lift kit to your Ford. . Lift the solid axle, compressing the springs, until the axle is at its ride height. Used in most Ford 4X4 Bronco and Pick-Up F100 F150 and F250 with a Dana 44 front axles from 1973 74 75 76 77 78 79 80 81 82 83 84 85 86 87 88 89 90 91 to 1992. Then bolt up the tie rod and drag link. With the wheels off, mount the shocks and brake lines, and bolt the drive shaft back together.
FORD F
In reality, I had to whale on it from the back with a long pipe and big hammer, and pry it away from the knuckle with a 4 foot crow bar… …carefully. Make sure the needle bearings are all in place in the cap while assmebling. This warranty does not cover normal wear and tear. You want to level out your F-150. This article applies to the Ford F-250, F-350 and Super.
Axle Parts for 1988 Ford F
Using a torch, heat the flange of the shaft to loosen the u-joint caps. The 1979 was the last year F-150s and F-250s that had actual solid front axles. Hold off on that until after you line everything up. The track bar and drag link of the steering system have to be as close as possible in length—and as close to parallel with each other as possible. Step 3 — Set up your steering and track bar The track bar helps to keep the front axle under the truck when the steering and suspension is moving and flexing. With the springs compressed to their drive ride height, line up the radius arms and brackets on the frame and square everything up, making sure the brackets are in the same relative position on either side.
1988 Ford F150 Rearend: Drive Train Axles Bearings Problem 1988 ...
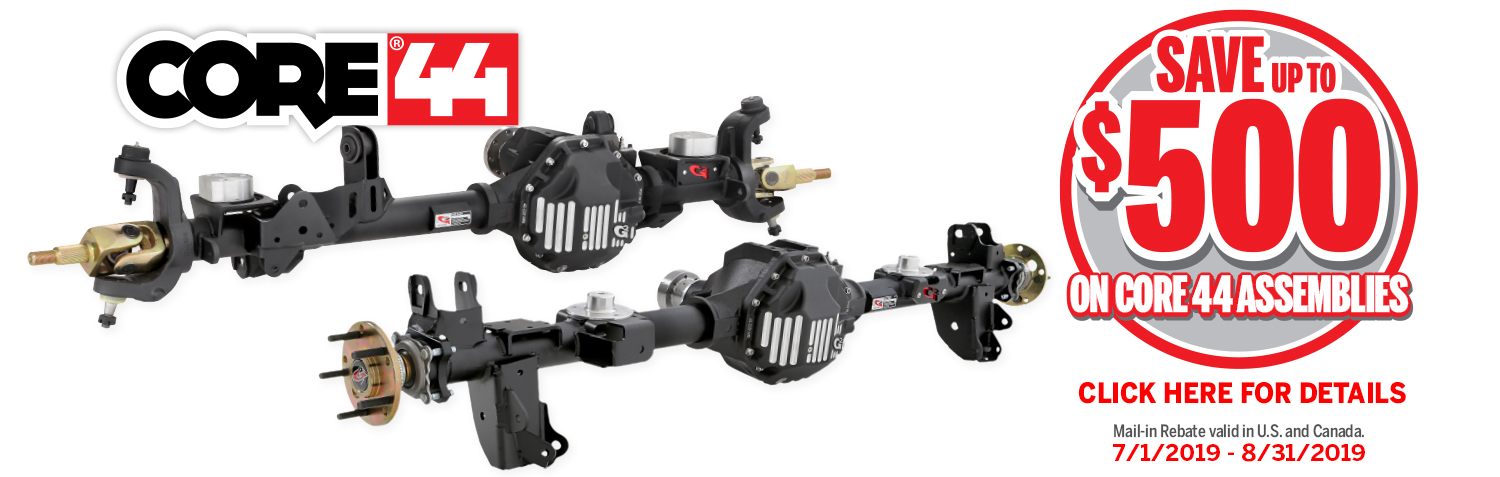
Chock rear wheels, and remove positive battery cable. The reason to have the vehicle level during the solid axle installation is because the wheels will need to be able to drop for alignment, which will be shown later. Mail-In Rebate - Rebate amount based on part s total. Some go with extending the original radius arms, while another option is using the longer radius arms that came with the solid axle. Factory track bars typically have a curve to them to clear frame components. Once the radius arms are bolted down the truck can hold its own weight up front, but jack stands kept under, the frame can keep any unexpected movements from happening. Radius Arms: Either extensions from the radius arm ends from the frame or longer radius arms mounted further back on the frame will be necessary.
FORD F
That means that the rear of the. Offer excludes truck freight and oversize fees. Allow 8-10 weeks for delivery after rebate end date of each claim. In addition, custom longer radius arms are available from aftermarket suppliers. Dana Spicer Life Series U joint. But because this vehicle height increase also results in the front axle having more travel, two important modifications must be made: 1. The axle seals for this axle are in the differential as opposed to being at the ends of the tube.
FORD F

Repeat this for all four caps. Order total can be a mix of all eligible brands. Loosen cover and allow fluid to drain. Move the radius arms into position, mark the bracket holes, drill them out, and mount. Then install the end caps from the outside and snap on the retainer clips. Attach the track bar and then double check to make sure everything is still square, centered, and aligned. I also gave everything a coat of paint to prevent rust and make it look a little nicer.