2000 solara rear strut replacement. 00 2000 Toyota Solara Strut Mount 2019-04-26
2000 TOYOTA SOLARA 3.0L V6 Strut
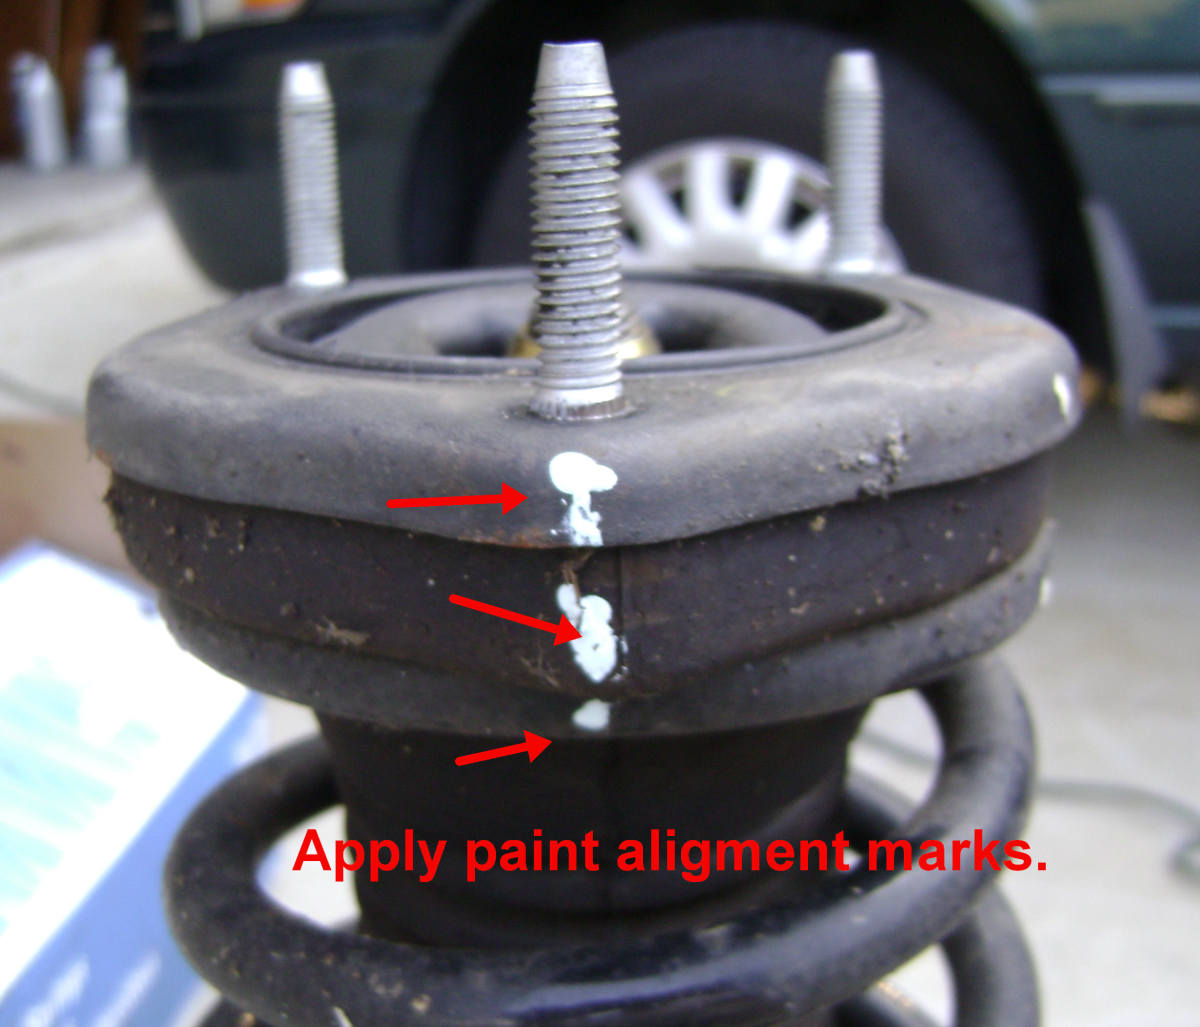
Overall everything took 5 hours. I am not going to but the front struts and install them. The project will take about three or four hours. We also have found the trunk is not flush with the rear fenders. Does rear wheel alignment is necessary when replacing new strut and spring assembly? Mount the compressed springs on the strut and determine if the strut stem clears the top portion of the spring to allow the upper strut to be mounted. The side panels are held in place with the coat-hanger clip, the rear passenger panel handle, and the seat belt bracket.
00 2000 Toyota Solara Strut Mount

Any help would be appreciated. The car's back now sits little higher maybe 2 inches?. Worn-out struts will not affect the ride height of the car. With a 19mm socket, preferably attached to an impact wrench, remove the nut securing the upper strut mount to the strut's shock absorber stem. Had local Toyota dealership, antwerpen conduct a 15K check up and determine if there are any tsbs or recalls; service advisor said that no record exist. A video at the end of the article shows the replacement of the strut assembly as a whole: instructions in this article show how to take the assembly apart and replace the spring alone. Mount high-quality spring compressors on the springs.
Replacing 2000 toyota solara rear struts

After being told there was nothing wrong with the suspension the consumer continued to drive the vehicle until 3 years later the vehicle failed the safety inspection and that is when the left rear control arm was replaced, after the replacement the noise disappeared. I explained that the problem has occurred and the vehicle in question is a 2000 Toyota Camry as identified in the recall. If the nut hangs, apply more penetrating oil, partially re-tighten, then loosen. Carefully remove equal tension on the compressors until there is no tension remaining on the springs. Locate the bolts that attach the bottom of the strut to the axle, and remove the bolts using a socket wrench. It seems all our problems are in the rear end of the vehicle, and still after almost 3 months nothing is resolved.
2000 TOYOTA SOLARA 3.0L V6 Strut

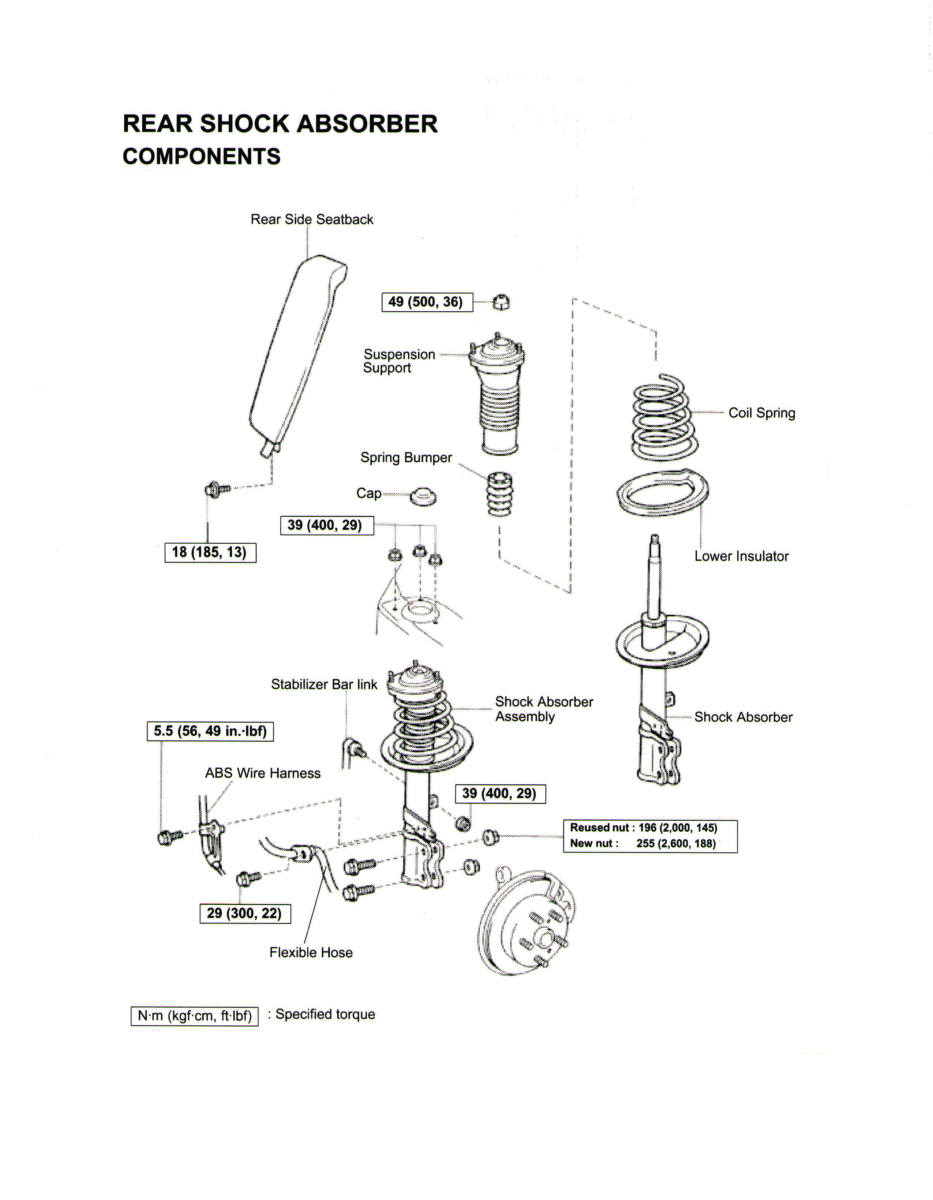
The side panels are held in place with the coat-hanger clip, the rear passenger panel handle, and the seat belt bracket. I do field service and I carry three tool boxes that probably total about 100 pounds. This 8-minute video will provide you with visual step-by-step help for completing the replacement of rear suspension components used on a 2002 Toyota Avalon. If the strut bellows has cracks or has deteriorated, it should be replaced. Start by mounting the the bolts in the upper strut mount into the upper wheel well strut mounting points. A helper can spin on the nuts once the alignment through the mounting holes has been made. The bellows is a rubber accordion-type boot that protects the strut stem from moisture and dirt.
Rear Suspension for 2000 Toyota Camry
When the consumer picked the vehicle up from the dealer the noise had persisted. I now need something similar, and nobody I've talked to has any ideas. Noticed clunking sound would appear intermittently below a half of tank of fuel, and always between half and almost full tank of fuel. Position the upper hook where the compressor stem is as as possible much vertical with the ground. Another excellent cheap alternative to penetrating oil is brake fluid. Then push in the starter motor to its place, and hand-tighten all its bolts. Solara: Extra Steps On a Solara, to access the strut tower nuts you have to remove the rear window deck panel, plus the plastic interior side panels that hold the deck panel in place.
00 2000 Toyota Solara Strut Mount

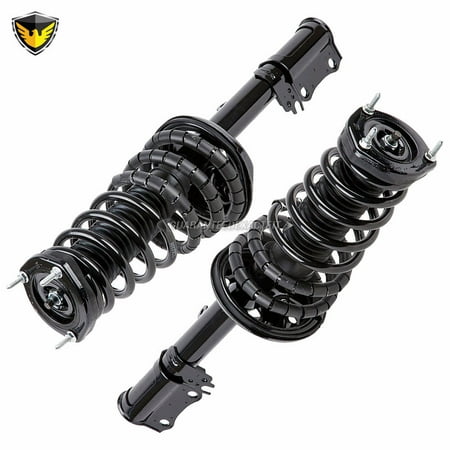
If it is tilted towards the upper mount, attaching a 19 mm socket for applying tension will be difficult. Next they brought in a special technician, who examined our car and said it was completely normal. I am experiencing this defect with my 200 Toyota Camry as described in your recall rear suspension, hub assemblies. The struts are gas-filled and have twin tubing to provide extra suspension and more durability. Before trying to remove the nut, it's a good idea to clean the threads of the bar link with a wire brush and lubricate them with penetrating oil. Lift the car with the car jack and remove the jack stand from under the axle, and then reattach the tire to the vehicle and tighten the bolts.
2000 Toyota Solara Shock Absorber and Strut Assembly
Release the spring tension equally on both sides of the strut's spring compressor until the upper portion of the spring meets the upper strut mount. . The nuts tend to hang on to the threads and can be difficult to remove. You can get an aftermarket bellows kit along with a new bumper and retain the old strut mount. Founded in 1916, Monroe manufactures. They both heard the thumping and decided the rear sway bar needed adjustment, and this would solve our problem. Now vehicle-lowering springs are great if the focus is on making high-speed turns with nominal body roll, but prepare yourself for a bone-jarring ride, with the suspension constantly bottoming out on unforeseen potholes and steep driveways, and premature wear-out of the struts if they weren't designed for lowering springs.
Rear Suspension for 2000 Toyota Camry
Regardless, a combination of worn springs and struts will make the rear end sag. Using either a 19mm socket with an extension attached to an impact driver or a 19 mm ratcheted box wrench, begin compressing the springs until a gap appears below the upper strut mount. This will indicate that the mount has locked with the indent on the strut stem. Now we began the process of the Massachusetts lemon law. Wrench tighten the starter bolts to the engine 38. Detach the anti-sway bar that is attached to the strut on your Solara with a socket wrench, and move it out of the way.
Rear Suspension for 2000 Toyota Solara

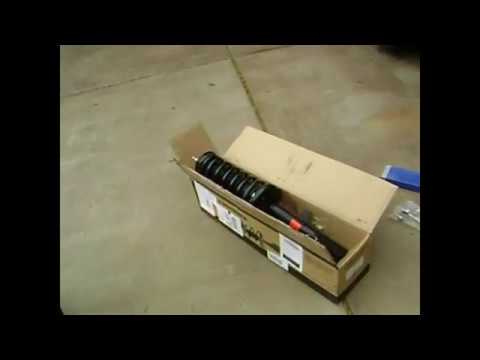
No such luck, the thumping noise is still occuring. Afterwards, using a combination of a hydraulic jack and pulling and wiggle force, position the wheel knuckle into the strut assembly until the holes of the knuckle and strut assembly are in alignment. Both struts were packaged very good as well. My first car was a 57 Chevy and I swapped the rear springs leaf springs for the ones out of a station wagon - heavier leaves, and one extra leaf. All Replacement brand items are backed by 1-year, unlimited-mileage warranty. Inspect all parts for wear and damage. Perhaps Toyota needs to expand their recall campaign.
00 2000 Toyota Solara Strut Assembly

Detach the entire strut assembly from the vehicle, and then use a crescent wrench to remove the upper and lower shaft nuts from the vehicle. Upon completion, torque down the upper strut mount nuts and reinstall the rear side seatback cushion. Do not forget to push in the compressor's safety pins. But the springs change resistance as they compress and become progressively stiffer as the load increases. Compare both prices and shipping costs for the best deal.