2000 toyota avalon instrument cluster removal. How do you change dash lamp 2000 Avalon 2019-03-05
97

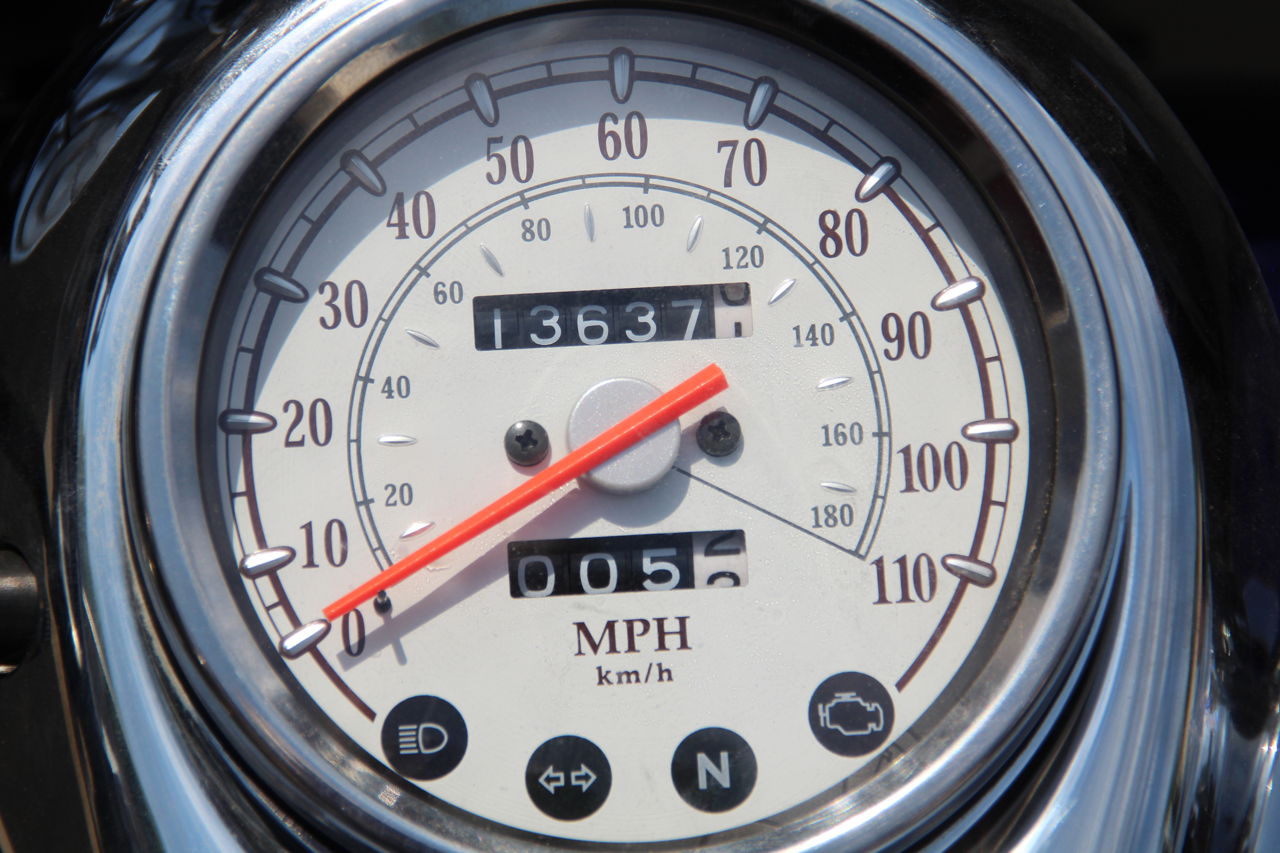
Release the parking brake and brake even if you downshift the transmission by pedal. Inspect the gasket, which may need to be replaced, and set aside. If you are asking this question, I assume you haven't done this sort of thing before, so set aside some 2 or so hours. This is the second battery in 7 years, but it gets real hot here Texas so that's life. Please contact your local Toyota dealer so that the dealer can order the proper re- quired length for the extender. Engine coolant temperature gauge 5.
Remove Instrument Cluster Finish Panel
Remove the three Philips head screws along the top inside frame of the glove box. Remove the four 10 mm bolts holding the plastic panel located below the steering column; the panel then pulls out with a little care and resistance. As you pull out the cluster, there are four wiring harnesses on the back side that are surprisingly easy to unclip. It's probably best to buy the replacement at the dealer even though they'll screw you on price. While pressing convertible seat Toyota dealer immediately.
How do you replace dash lights 2000 Toyota Tundra

Headlight and turn signal switch and front fog light switch 3. You'll want to turn slightly back and forth and pull up on these as they are the Spark Plug caps. Under the tab you will see a screw. Toyota fairly loud noise and release some smoke protection in an accident, the driver strongly recommends that all in- and residue along with non- toxic gas. I have previously changed 2 defective bulbs, without any effect on the indicator, I was really confused.
97

Remove this screw, then till the whole assembly about 10-15 Degree to the outer and pull out. Make sure you haven't pulled a hose loose at the back. Be sure to adjust the display toggles in the following order. Then stop, turn off ignition, turn on ignition and repeat. Unscrew the cover plate to reveal the gas tank. Allow the engine to cool if the car has been driven more than a few miles in the last hour.
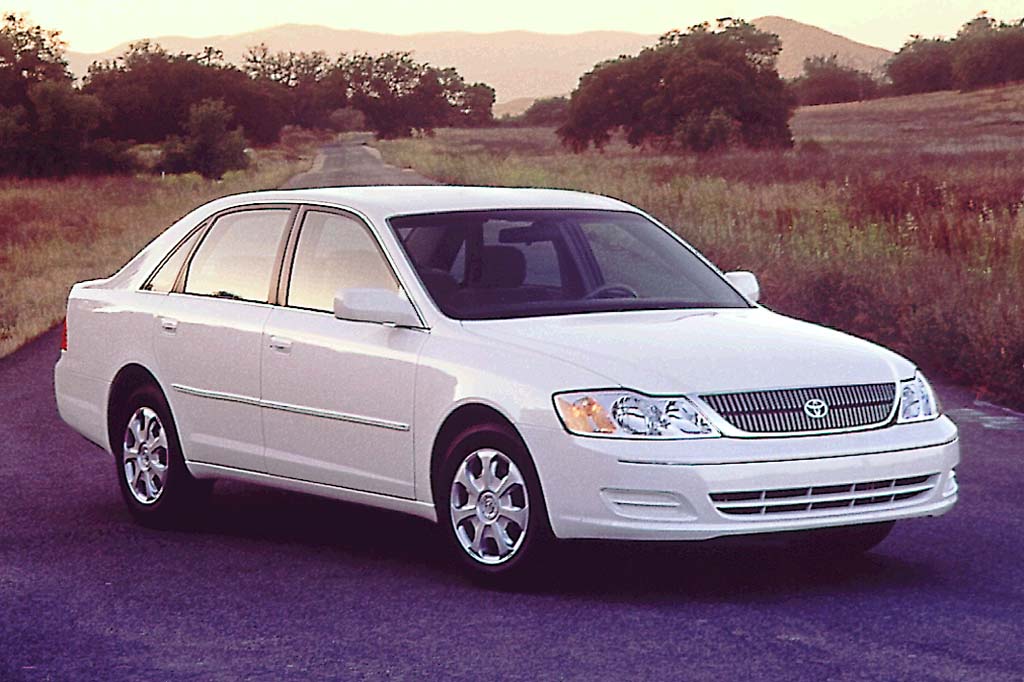
TOYOTA AVALON 2000 OPERATING MANUAL Pdf Download.

Dealer ordered parts and installed new power sunshade system. Do not disconnect the battery cables conforms to the size of the child, before contacting your Toyota dealer. There is one nut… Avalon spark plugsIt doesn't look anything like your typical ignition system with spark plug wires and all. This not only keeps the luggage from being thrown out but also pre- Always make sure the head, hands vents exhaust gases from entering and other parts of the body of all. Now it's time to start pulling off the upper instrument cluster surround the one with the vents, light switch, etc.
How do you remove the instrument cluster for a 2000 toyota

You should be able to lift the…. . The Owner's Manual has helpful diagrams that help determine which bulb s to target; note that there are several types of assemblies, so study the sections carefully. Expose the electrical plugs in the back of the instrument cluster for removal. Push down on it and uninstall them not an easy task, but doable.
TOYOTA AVALON 2000 OPERATING MANUAL Pdf Download.
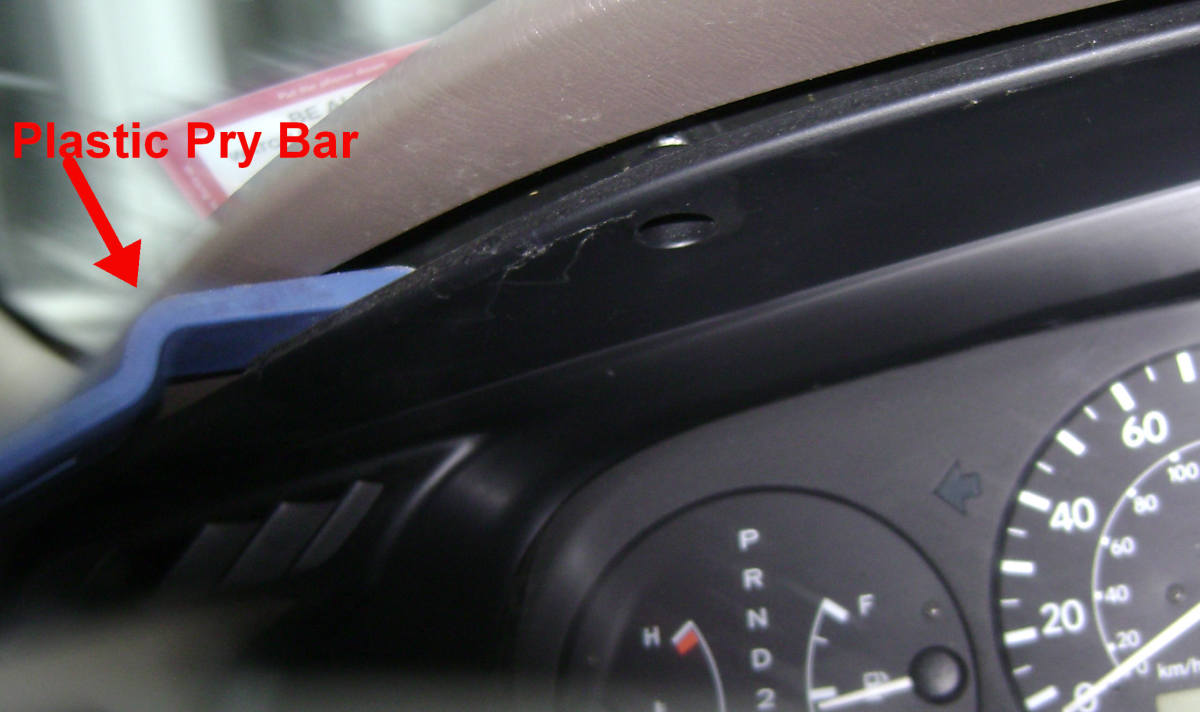
Statistics Author Google Analytics This is used to provide traffic data and reports to the authors of articles on the HubPages Service. The fix was to clean the corrosion - the problem was it took 3 days to find the corrosion. Behind the vent you will find two screws. Remove the two screws from the top of the black instrument bezel using a stubby 2 Phillips head screwdriver. This panel has to be removed as it overlaps the bottom, right hand side of the black instrument bezel. The belt will ing position only.
How do you replace dash lights 2000 Toyota Tundra
You should have a view of the light bulb. Run the lap and shoulder belt through fixed. There are three snaps that hold it in position. Once again, tilt the bottom up approximately 90 degrees then pull the cluster towards you to expose the 3 electrical fittings. Disconnect the electrical connector and remove instrument cluster. Do not put a rear- facing child re- or around the infant seat following the.
How do you change dash lamp 2000 Avalon

Remove rear seat by pulling up on it. Remove the bulbs sockets by turning them counter-clockwise and removing them. It also took quite a bit of force to remove the bulb assembly I did this in freezing weather. Rear window and outside rear view mirror defoggers switch 8. Now you should have a good view of your instrument cluster. Oct 09, 2011 Hello Hotrod.