2005 f150 instrument cluster removal. Replace the Whole Cluster?: My Instrument Cluster Has An Outside ... 2019-02-25
Replace the Whole Cluster?: My Instrument Cluster Has An Outside ...
It is primarily intended for Ford trucks but most likely also applies to other Ford models. Once repaired, carefully reattach the circuit board and connector. Gently pull the panel away from the rest of the dash and set it aside. I got this aluminum gauge overlay from SpeedHut. Please refer to the core return instructions included with the part or contact customer service for more details. Offer excludes truck freight and oversize fees. Disconnect them by pushing the tab button on the top of each connector and pulling straight out.
Instrument Cluster Removal Videos

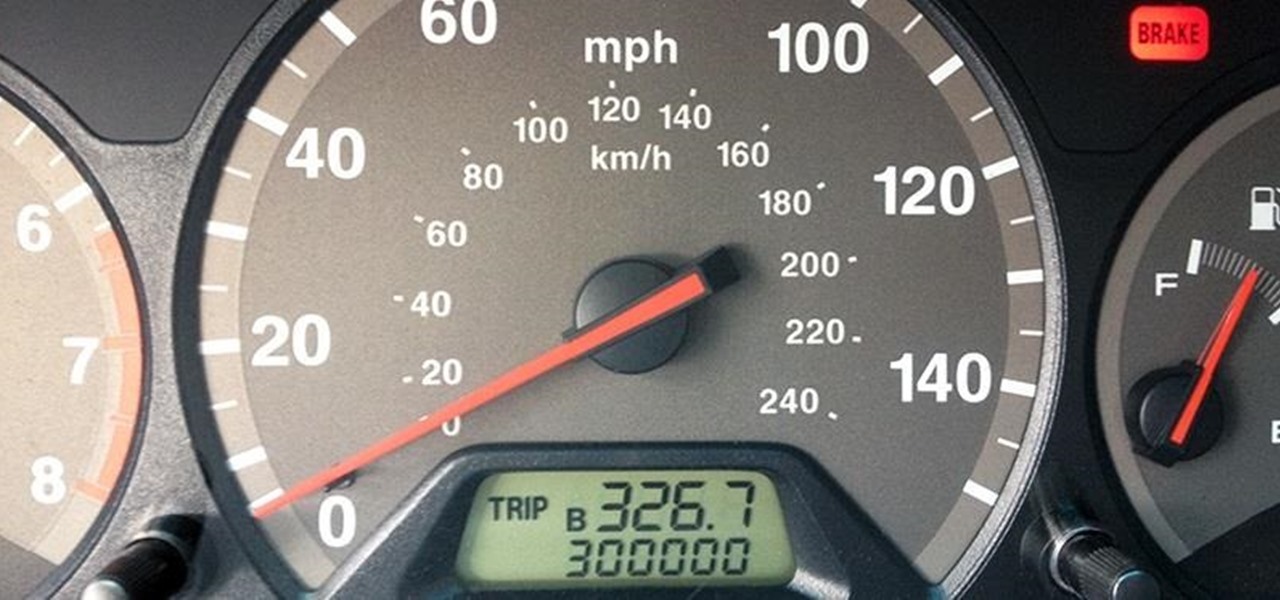
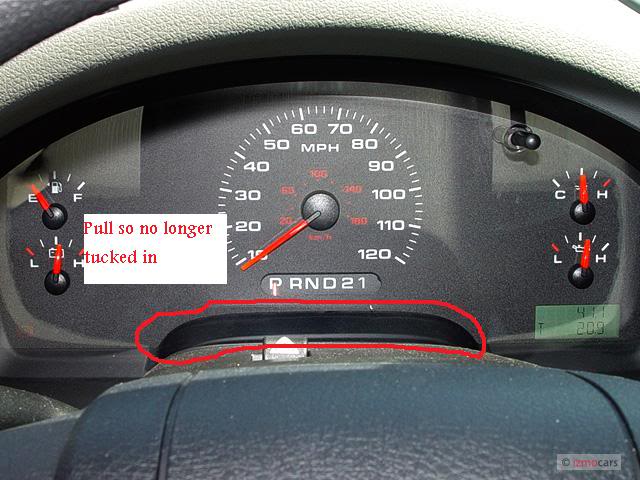
There is nothing like a rugged looking Ford F-150, and when it. It had to be removed in order for the gauge overlay to fit on. Drop the steering wheel down all the way, lift up on the panel, and disconnect any harnesses on the back, then remove the trim. Once that's removed, you need to remove the plastic trim around the gauges. I'm wondering where the sensor is for the outside readout, and that maybe it is faulty or that it has been shifted out of place causing this inaccurate reading. This retro pickup got quite the restomod job when it underwent not just an engine swap but a whole new dualie rear end! Dome light comes on intermittent. Replace the bolts in the knee bolster and the knee bolster, then the top trim panel.
How to Remove the Dash Panel on a Ford Taurus

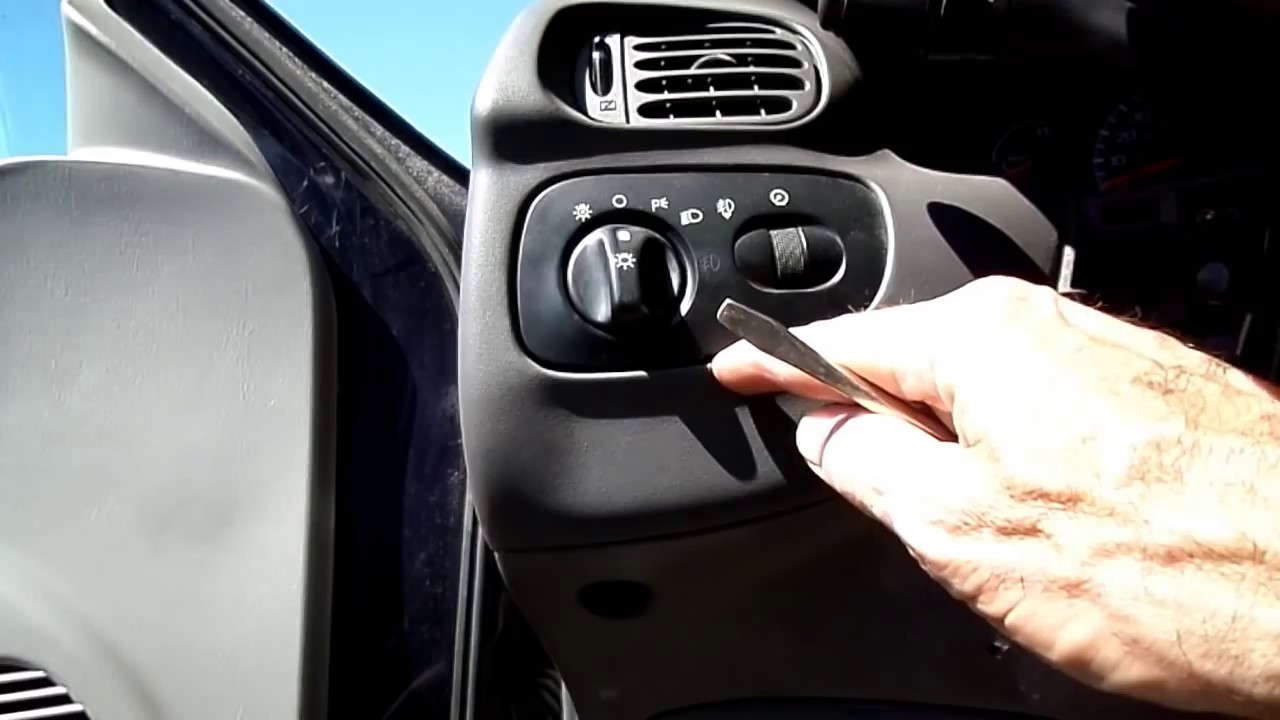
Step 2 — Disassemble the instrument cluster Remove the screws from the back of the cluster, then pull off the white cover. There are two electrical connectors at the back, and you'll see lots of wires extending from these connectors to the car. This looks like the fix I may be looking for! The cause of the problem is a bad joint on the circuit board. So I asked about the Cluster Self Test first. Use the trim panel tool and work your way around the trim piece surrounding the instrument cluster to pry it loose. Unbolt and remove the instrument cluster.
SOLVED: Instrument Cluster Self Test

Here is how to replace the actuator on your Ford F-250 or F-350 Super Duty yourself. You can receive a refund by returning a suitable old core. By - May 20, 2016 This article applies to the Ford F-150. Separate the circuit board from the cluster. Using the 7mm socket, remove the 4 hex screws that are located at each corner. You have a couple of options to fix this problem: take it to a professional, send it off for repair, or fix it yourself.
SOLVED: Instrument Cluster Self Test

The first step is to disconnect the negative battery cable 2. Unbolt and remove the hood release handle. This truck comes to our attention via TruckTrend. Please refer to the core return instructions included with the part or contact customer service for more details. Customer responsible for return shipping on core items. The cluster should come out far enough so you can access the back of it.
How to Disassemble the Dash of a Ford F150

Make sure the headlight switch stem is extended when you reattach the bezel. It is exactly what I was looking for. My 1998 truck had it. If in doubt, check with Ford or your local dealer for assistance. A pretty cheap mod if you ask me. Just grasp at the corners and pull to release it. When cluster fails, radio, power windows or interior dome light does not work.
FORD Dorman OEM Remanufactured Instrument Clusters
Call us Toll Free - 888-803-8523 For Quick Answers try using our Live Chat bottom right Welcome to Mr. Valid on orders shipped in the contiguous United States. Disclaimer: Please note that this articles are posted strictly for informational and educational purposes only. Thank you very very much. If in doubt, check with Ford or your local dealer for assistance. Please refer to the core return instructions included with the part or contact customer service for more details.
FORD Dorman OEM Remanufactured Instrument Clusters

You can now carefully remove the entire cluster from the car. Unplug the connector on the back and carefully separate the circuit board from the gauge assembly. Offer excludes truck freight and oversize fees. Keep reading and we'll walk you through the process. If you have a bad joint shown in Figure 8 , use your soldering pencil to repair it.
Ford F150 How to Repair Instrument Cluster
Valid on orders shipped in the contiguous United States. Unhook and remove the heat duct for the floor vents. You can receive a refund by returning a suitable old core. My instrument cluster has an outside digital temp. Unplug all visible electrical connectors leading to the instrument panel.