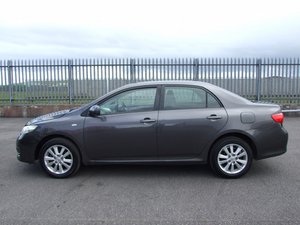
2005 toyota camry radio aux input. Toyota camry radio iPod iPhone aux interface adapters jbl 2019-02-24
Toyota Camry 2002 to 2006 How to Install Phone, MP3, AUX Interface Adapter for Factory Stereo
After installing the kit, I heard a great deal of static, and then the sound cut out completely. I love being able to use the buttons on my steering wheel or on factory head unit to change playlists and songs. I love it and highly recommend it. Position the stereo close to where it will be mounted and route the aux input cable down through the back of the dash to where you can reach the end by the floor. Difficulty: Moderately Challenging Instructions Section 1 Steps 1-3 , Remove the Toyota Corolla Stereo: Insert a flat screw driver under the plastic base of the shifter to lift it up. Slide the vent assembly off of the stereo. This article applies to the 5th generation Toyota Camry 2002-2006.
Toyota Camry 2002 to 2006 How to Install Phone, MP3, AUX Interface Adapter for Factory Stereo
Once again — easy and effortless. A 2005 Toyota Corolla with a single disk cd player is used as the example, but this technique works for many types of stereos. On the lower screen it shows the fuel consumption in liters per 100km. Remove it the same way as you did the climate control panel, finding the clips that hold it in place. So that was the only complaint I have about the unit is the poor quality aux cord. You can also use a plastic knife, small flathead screwdriver or any other similar tool. After the order was placed on December 28, 2011, it arrived at my house on January 3, 2012.
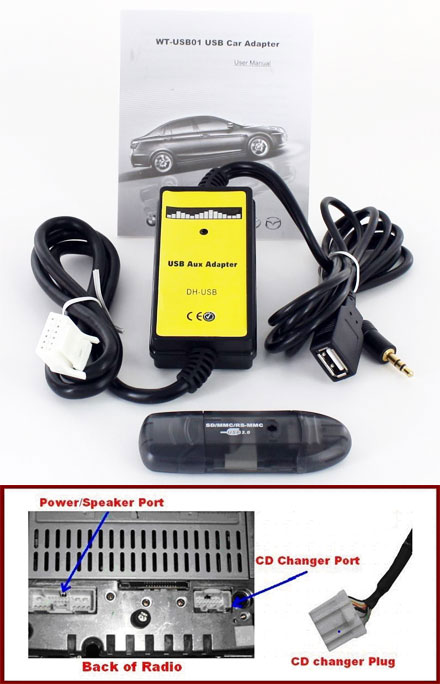
Bluetooth and iPhone/iPod/AUX Kits for Toyota Camry 2005
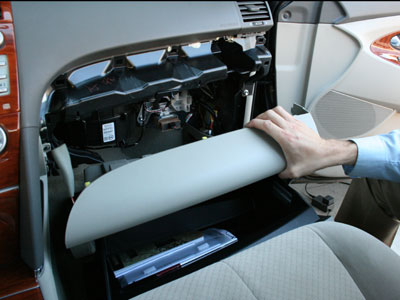
Next pull out the air conditioner fan speed control knob and remove the single Philips head screw located behind it. This article applies to the 4th Generation Toyota Camry. Installation is rather straight forward on the Camry. The first step is to pry up the trim panel that surrounds the gear shifter with an automotive panel tool. Overall the sound quality is excellent and I think the Blitzsafe is well worth the money. If you convert it to mpg, it would be close to 30 miles per gallon. It seemed like the perfect solution.
Toyota Camry 2002 to 2006 How to Install Phone, MP3, AUX Interface Adapter for Factory Stereo

I did not have to remove the stereo or the bolts holding the stereo to the console. There is no compromise on the audio going into the jack as it is running straight into the amp. The shipping was very fast — got the kit in a few days. For more, check out my page. Before you put your panels back together make sure that your new input works. Installation was a breeze — exactly like the youtube video showed.
Toyota Camry 2002 to 2006 How to Install Phone, MP3, AUX Interface Adapter for Factory Stereo
Quote: Originally posted by abin How do you know you have 30mpg on hwy and 21mpg in city? Slide the stereo almost into place, and reconnect the antenna, power, and speaker cables. Read this article to learn how. About how much does it cost? The installation took me about twenty minutes start to finish. Use the volume control on the radio as you usually would. Behind the control panel underneath the stereo are four 10 mm screws that mount the stereo to the dash.
Bluetooth and iPhone/iPod/AUX Kits for Toyota Camry 2005
For best results, strip the wires so that only a very small amount of conductor is exposed you only need a tiny bit, this will help prevent short-circuits , and use the solder already on the board simply heat the pin until the original solder begins to melt and push the wire in. Your kit was fully stocked with everything you need — really was plug and play. We are thrilled with this device. Hella Optilux Xenon White 9006 bulbs on Fog Lamps. Works great for this family because not all of us have iPhones, so we can just use bluetooth instead.
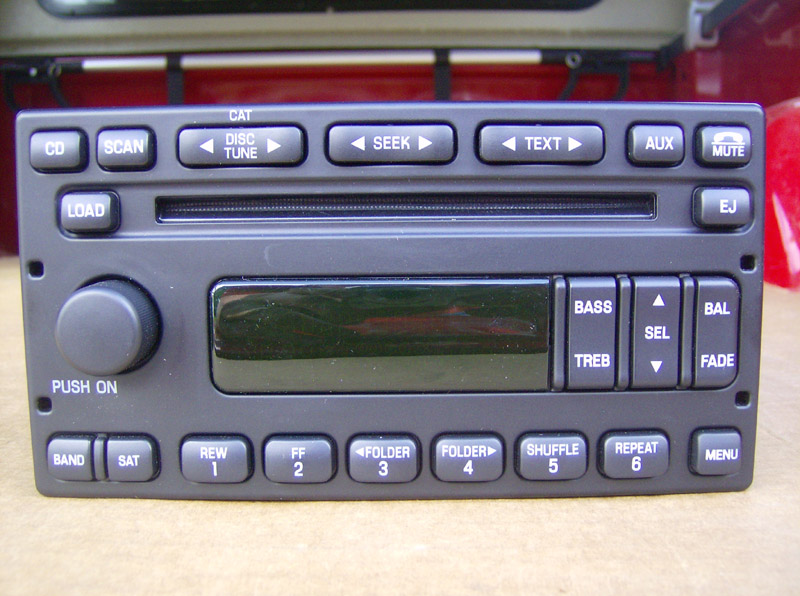
Toyota Radio Aux Input?

Shipping was quick, the printed and YouTube instructions were a big help. On the cable I used, black was the audio common ground and red and white were right and left channels respectively. They are all located just below the bottom of the radio's faceplate. Other than the cheap aux cord, this unit worked just as advertised. Section 1 Steps 1-3 , Remove the Toyota Corolla Stereo: Insert a flat screw driver under the plastic base of the shifter to lift it up.
toyota repar 13: How to Add an Aux Audio Input to 2005 Toyota Corolla Stereo

For best results, strip the wires so that only a very small amount of conductor is exposed you only need a tiny bit, this will help prevent short-circuits , and use the solder already on the board simply heat the pin until the original solder begins to melt and push the wire in. Use the panel tool to release the clips at the top left and top right of the panel. Or have other questions regarding the car just lemme know. I love this product, and this company. Microphone has to be wired as close to the driver's mouth as possible preferably to A-pillar. The installation was extremely easy.