2006 lexus gs300 tail lights. 2006 Lexus GS300 Used Parts: Headlight, Tail Light, Bumper, Mirror, Body & Engine Parts 2019-02-05
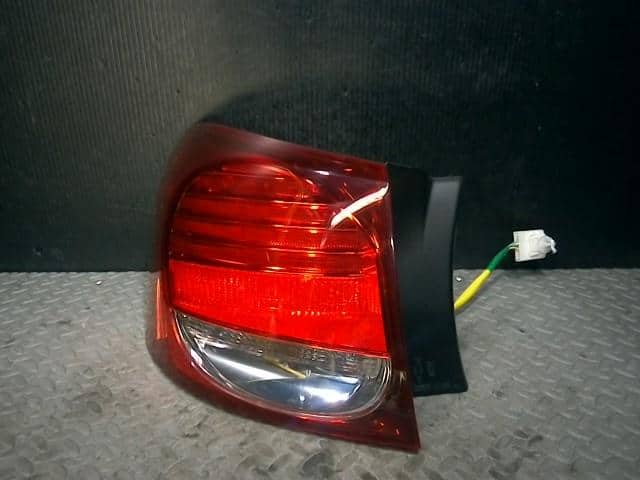
Lexus GS300 Tail Light
There are two ways to get there. Then lead the bulb in the connector back to the opening where your arm is reaching in. This will move the wheel so you can get at the fog light from the wheel well. This luxury sports sedan offers and combines performance with superior handling. For a defective resistor box, check the connection. You can then see the connector and the safety clip that must be pressed while pulling gently on the bulb housing to get it out of the connector. This will move the wheel so you can get at the fog light from the wheel well.
Aftermarket Lexus GS300 LED Tail Lights, Custom Lexus GS300 LED Rear Ligths

With a relatively simple installation, you could enjoy the benefits of faster light response time as well as increasing the visibility of your signaling and braking. The fog light is less than arm's length in. Then lead the bulb in the connector back to the opening where your arm is reaching in. We encourage all of our customers to take the time to share their experiences with our website with everyone. Grab the bulb and twist then gently. Turn the steering wheel totally to the fog light opposite of the one you want to get at.
2006 Lexus GS300 Light Bulb

What happens if you drive with a broken tail light? Turned out the fog light connector had come unplugged so all I had to do was plug the connector back in and it worked like a charm with the existing bulb. Then it is pretty self explanatory. Other parts of the tail light assembly include directional signals and hazard lights. This helps keep water out of the connection. All these are essential so that you can drive on the road safely and alert other drivers of what you plan on doing. Position the trim panel back on the rear wall of the trunk; cover the retaining studs and nuts. However, collisions can cause damage to the entire lens, making it necessary to replace the entire tail light.
2006 Lexus GS300 Light Bulb

Thread the two plastic wing nuts on far enough to hold the trim panel on securely but do not over-tighten them or you will crack the panel. Adding More Information If you would like to help the Modified Life community by adding any missing information or adding a new light bulb size information to our resource, please feel free to or post it at the bottom of this page. Good luck, it is alot more easier than it sounds. Quality tail lights are designed to withstand rain, humidity, and the shock that results from collisions. Turn the steering wheel totally to the fog light opposite of the one you want to get at. Position the trim panel back on the rear wall of the trunk; cover the retaining studs and nuts.
Lexus GS300 Tail Light

When the bulb is loose, pull it out of the housing. How much do new tail lights cost? Grab the bulb and twist then gently. Many owners also like to swap out their original tail lights with designs that will enhance the style of their Lexus. Fortunately, it is easy for drivers to replace burnt out bulbs. When you pay the listed price, you receive the complete set including both the right and the left sides. Insert the new bulb, then put the bulb back in the housing and twist again. With some routine maintenance, owners can spot a faulty tail light and replace it before it causes problems.
2006 Lexus GS300 Light Bulb

When lighting isnât restored after the bulbs are replaced, there may be more serious electrical problems. Elevate the front end and take off the entire underbelly splash guard from the side you want to get at. Elevate the front end and take off the entire underbelly splash guard from the side you want to get at. However, it appeared to be tight enough to avoid water seepage, and because of its low cost, it was not worth returning it. . Close the trunk or move to the other side and repeat the process. In addition to making sure you are getting lights for the right year, you also want to be sure you are getting the correct light for whether the left or right bulb has burned out.
How Do I Replace GS300 Taillight Bulbs?

All our Lexus taillights are sold in the full pair. Dorman and Action Crash are the brands we have in stock. To remedy that situation, just unplug and replug the bulb in the opposite orientation. If you have the standard bulbs, you can change them in just a few minutes in the driveway with basic hand tools. There is even a 30-day return policy if you end up needing it.
2006 Lexus GS300 Light Bulb Base Sizes

Pry is back enough to get your hand in. Good luck, it is alot more easier than it sounds. Once that is done, you pry the plastic wheel well liner away from the fender don't worry, it is not attached or glued. Then remove several of the 10mm bolts from inside the well well just behind the fog light. Therefore, to avoid a ticket, it is advisable to always be aware of the functionality of your lights. Turn with a large flathead screwdriver then pop them out.