2008 polaris ranger 700 crew. 2008 POLARIS RANGER CREW 700 EFI XP 4X4 2019-02-02
Polaris Ranger Crew Accessories for All models, 1000, 570, 800, and 900 Ranger Crew. Crew Windshields, Bumpers, Roofs, Cabs and more!!

As coolant operating temperature increases, the expanding heated excess coolant is forced out of the radiator past the pressure cap and into the recovery bottle. Watt: Unit of electrical power. The lubricant level should be even with the bottom of the threads of the fill plug hole. Monitor the oil level, and if it continues to rise, discontinue use and determine the cause or see your dealer. Measure the distance the throttle pedal moves before the engine begins to pick up speed. Charge as needed to raise the specific gravity to 1. The engine must be cool before removing the pressure cap.
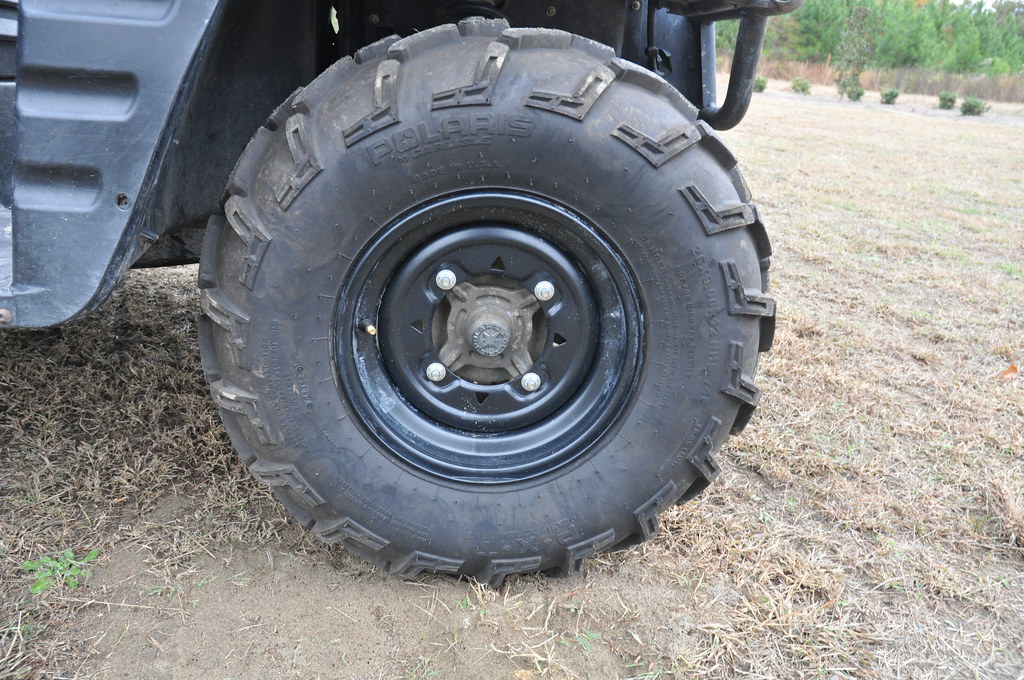
2008 Polaris Ranger Crew 700 Suspension Parts

Remove the drain plug and allow the lubricant to drain completely. Follow with milk of magnesia, beaten egg, or vegetable oil. Clean area around drain plug at bottom of oil engine. Rotate the tires 180° by moving vehicle forward or backward. Dennis Kirk has been the leader in the powersports industry since 1969, so you can rest assured that we have your back when it comes to bringing you the best 2008 Polaris Ranger 700 Crew products.
Polaris Ranger XP 700

Inspect the breather hose for possible kinks or wear. Do not operate at sustained idle. Seized Piston: Galling of the sides of a piston. E Emission Control System Service California Have an authorized Polaris dealer perform these services. Pull back on the parking brake lever located in the dash.
2008 Polaris Ranger 4X4 700 EFI Crew Service Repair Manual

Clean and reinstall drain plug using a new sealing washer. Careful treatment of a new engine and drive components will result in more efficient performance and longer life for these components. When reinstalling the dipstick, make certain to seat the lever lock. Use only genuine Polaris parts. Verify that cables are properly routed. End Seals: Rubber seals at each end of the crankshaft.
Polaris Ranger Crew Accessories for All models, 1000, 570, 800, and 900 Ranger Crew. Crew Windshields, Bumpers, Roofs, Cabs and more!!
Serious burns could result from contact with exhaust components. How could tinkering in the garage with wrenches, screwdrivers and new Polaris Ranger parts possibly be bad? Keep sparks, flame, cigarettes, etc. Reinstall the foam insert into the air baffle box. Change more often if used in severe conditions. Set steering wheel in a straight ahead position and secure the steering wheel in this position. Steering should move freely through entire range of travel without binding.
Polaris Ranger Crew Accessories for All models, 1000, 570, 800, and 900 Ranger Crew. Crew Windshields, Bumpers, Roofs, Cabs and more!!

With two wrenches loosen the outside jam nut counterclockwise. Follow the battery charging procedure before installing the battery. Check the brake pads for wear, damage, or looseness. This will allow you to increase or decrease the amount of spring preload. The brake fluid master cylinder reservoir can be accessed by lifting up the front hood. Make sure the transmission bell crank is engaged in the neutral position detents. .
2008 Polaris Ranger 4X4 700 EFI Crew Service Repair Manual

Squeeze the end of the rubber boot and slide it far enough to expose the end of the inline cable adjuster. Measure the thickness of the front and rear brake discs. Put the gear shift lever in the N Neutral position. Locate the throttle cable adjuster. Be sure the filter fits tightly in the air box. In excellent condition almost flawless condition.
2008 Polaris Ranger 4X4 700 EFI Crew Service Repair Manual

Lift the battery out of the vehicle, being careful not to tip it sideways and spill any electrolyte. Usually there is a transfer of aluminum from the piston onto the cylinder wall. Inspect shift linkage cable, clevis pins, and pivot bushings and replace if worn or damaged. Remove fill plug 8 mm hex and check the O-ring. Cooling System Pressure Test Refer to Chapter 3 for cooling system pressure test procedure. Check the battery fluid level often. Maintain the fluid level even with the bottom threads of the fill plug hole.