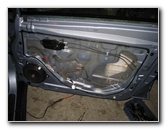
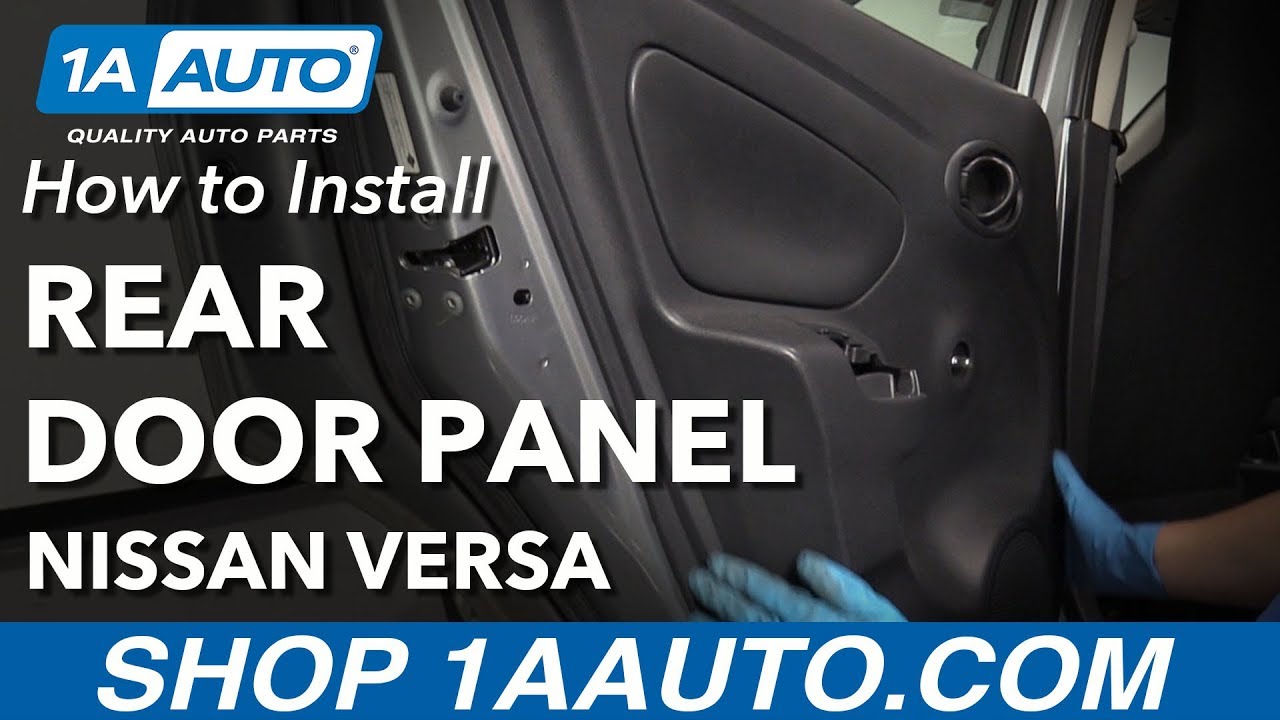
2014 nissan versa door panel removal. How do the Side door panels come off? 2019-05-04
Need to replace the blower motor on my 2014 versa note ac

Go-Parts has exceeded my expectations in service, quality, and price. The rest snaps easily into position for the screws and caps to be placed back. Please let me know if you have questions, and thanks for using FixYa. I cannot see any screws holding the trim, nor can I see any pawls. If you look up and to the left you may be able to see the fan cage in a 4x4 or so area that has a a piece of plastic with some plastic gaurds in the front.
I have a 2014 nissan versa note and need to remove lower
Best Price Guaranteed Our prices are hands-down some of the lowest you'll find on the net. Fast Shipping Guaranteed Most orders are shipped out the same day as they're received. Remove the three screws at the bottom front of the glove box. Unplug the wiring from the blower motor, resistor and recirculation control motor, then remove the blower assembly. Handle it carefully Apr 04, 2011 If you mean the climate control blower motor, it's usually under the dash on the passenger side on Hondas. There is a trim around the door handle and lock and unlike the sliding door, does not have a snap on trim to easy panel removal.
Nissan Versa Side View Mirror Assembly Replacement (Driver & Passenger) » Go

I have searched this forum and have not found what I am looking for. They even came with new bulbs already in them. Mine was filled with insulation and a few acorns. Copper alloy conductors ensure superior electrical conductivity with low resistive losses. Install in cabin micro filter cover.
I have a 2014 nissan versa note and need to remove lower

I ordered one thinking I would take a chance and worried if I would be disappointed. . Make certain the blower mating surfaces are tightly sealed. Note When installing two new in cabin micro filters ensure that the filters are facing in the direction indicated by the direction arrow for the airflow. Disconnect glove box lamp electrical connector. I appreciate your taking the time to do this. Your hazard lamps will flash.
Quest remove interior front door panel

Remove three lower screws and remove damper clip from glove box door. Remove the side cover kick panel. Install the blower duct; make certain there is no leakage at its joints. When it's closed you'll just see a 4x4 piece of foam that seals the door. Condition:100% Brand NewDurable nylon plastic rivet fasteners; 40pcs in total; 4 different sizes 7.
Quest remove interior front door panel
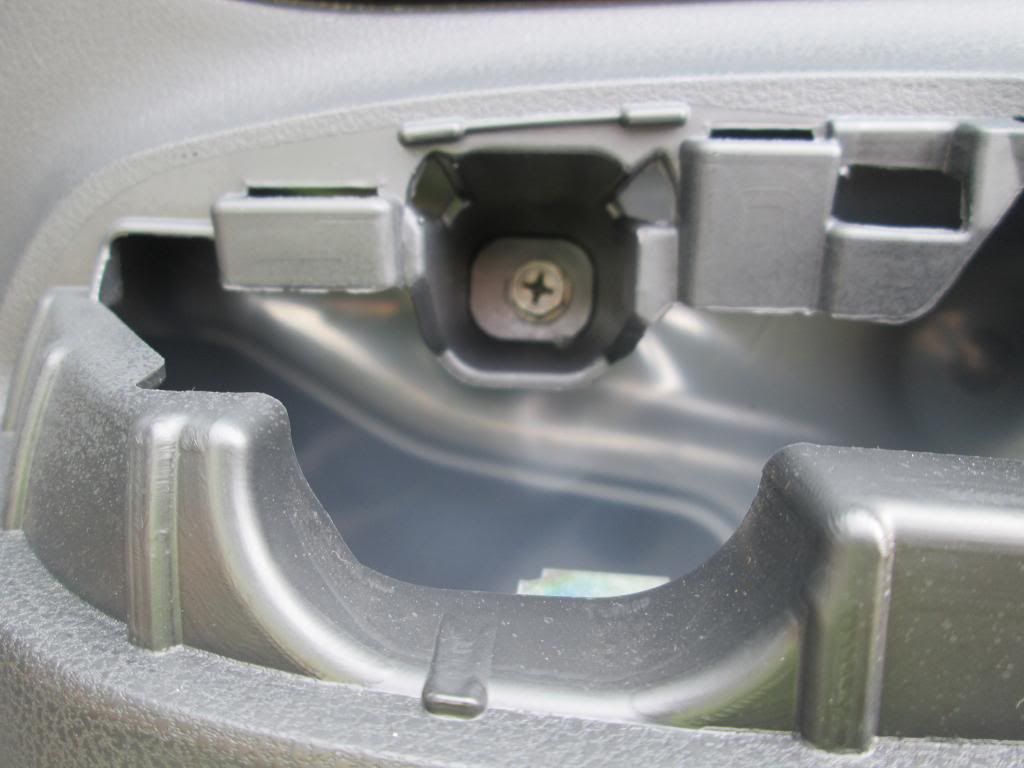
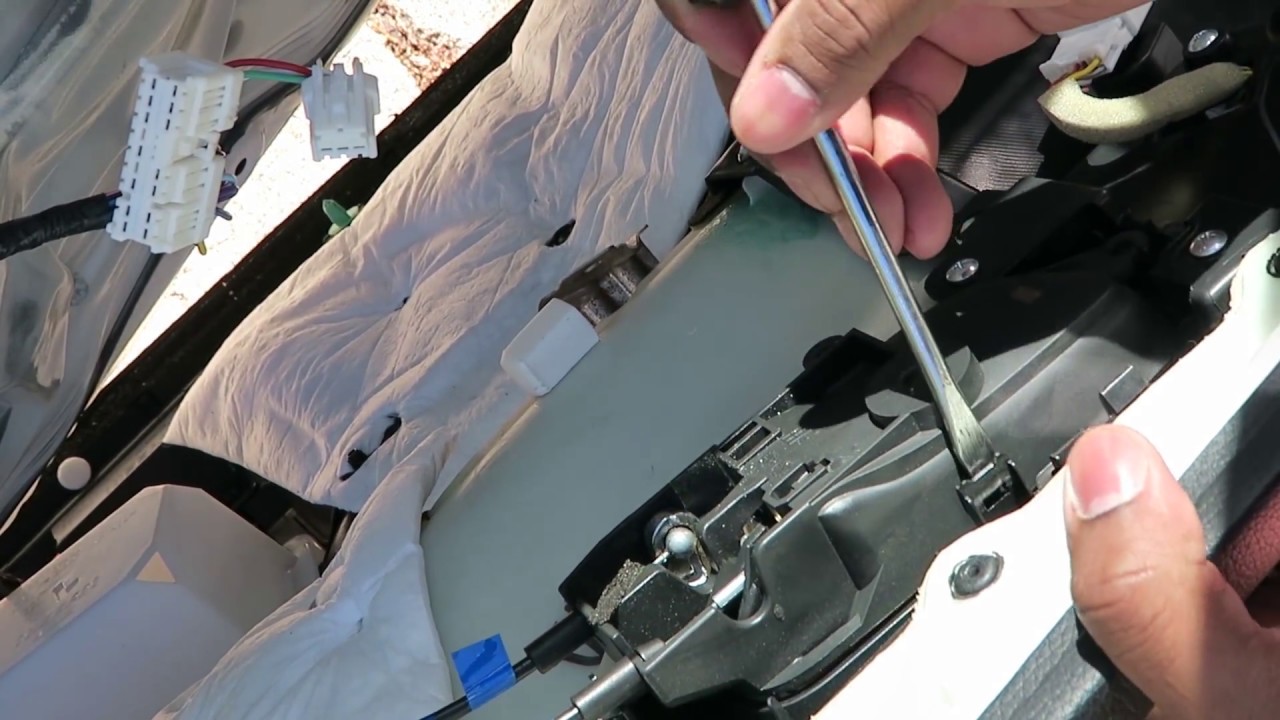
Do not break the tabs on the lower covers. I took all the screws and snap connectors off, but I cannot remove the door panel because it is stuck on the interior door lever and lock. Remove the insulation piece under the box. Do not break the tabs on the lower covers. Remove three screws and remove in cabin micro filter cover. Unplug the wiring from the blower motor, resistor and recirculation control motor, then remove the blower assembly.
Interior Door Panels & Parts for 2014 Nissan Versa for sale

Easy Returns Guaranteed We offer a no-questions 100% money back guarantee on all items returned within 60 days of delivery. I have a Toyota Tacoma pick-up and the headlights were beginning to oxidize pretty bad. Note that some of trim on the frame is held with 2-sided tape; replace the tape when reassembling as necessary. Hope this helps for now. Note: This part fits multiple vehicles - Review the notes section in the compatibility chart to verify the position of this part on your vehicle. Hi, Re: 1995 Quest I can't figure out how to take the interior door panel off my passenger side door.
2014 Nissan Versa Remote Programming
Your inside Blower Motor should work just fine. If this procedure is performed too fast or too slow the system will not enter programming mode. I reread my instructions and it is obviously not very clear. Remove the glove box latch by removing the two screws. Note that some of trim on the frame is held with 2-sided tape; replace the tape when reassembling as necessary. Use a flathead screw driver and gently lift that part out.
Need to replace the blower motor on my 2014 versa note ac
Repeat this step for each remote including any working remotes. Remove the side cover kick panel. Thanks Sam Hi, Re: 1995 Quest I can't figure out how to take the interior door panel off my passenger side door. Any help would be appreciated. Remove the trim piece above the glove box and take out the two screws. I recommend the site to everyone I know! If anyone knows anything about that please don't be afraid to shout out, or give a link that I may have missed for this problem.