94 k1500 transmission removal. K1500 Starters 2019-01-12
How to Remove and Install a Transmission in a 1998 Chevy Truck

Transmission must be removed and rebuilt. From the top roughly align the dipstick tube so the bracket is parallel with the back of the engine. Remove any starter bolts that are accessible. Make alignment marks on the rear drive shaft and the differential yoke. Once all is out you can remove the fluid filter, make sure you remove the O'ring as well. If both battery cables have been disconnected, install the positive battery cable first and then the negative cable.
Transmission removal 4l60e
Even though the 4L80E is a , it is not designed to last forever. Using a floor jack, lift the front of the vehicle and secure with jack stands. It has to be straight in line both ways with the insertion point, and preferably supported on its balance point balanced from fore and aft, and side to side , securely strapped for example from falling, not dangling or flopping around. After trial and error, here are the best steps I think to remove the 4L60E automatic transmission from my 97 K1500 Z71. You will need a funnel with a small opening so that it fits down into the transmission oil filler tube.
Step By Step Instructions For Replacing The 4L80E in Your Suburban
These slips don't slide straight in they sit in a detent on one or the other end and then rotate to stretch and clip in place. Unscreww the actuater out of the front axle, put it in 4wd, with the key in the run position, does the actuater get longer? Will it be a direct replacement any everything hook right up and plug right in? Then lift it off the primary jack careful it's fairly heavy. Lower the vehicle to the ground. Locate that box and start removing everything around it that is peventing taking the cover off. If it does'nt, then check for power. This should allow the pan to drain mainly from the starting corner as it sags lower and lower.
1994 Chevrolet K1500 Parts

Still have two problems: 1 One of my flex plate to converter bolts is stripped and a cannot remove it. If the vehicle has a mechanical radiator fan, you may want to remove either the fan or fan shroud to allow the engine to tilt without interference. Try not to run or drive the car or further damage could result. I picked it up yesterday and fired the motor after putting it on to make sure there were'nt any funky vibrations going on and it was fine so I put the transmission on in. Install any top side parts that you removed during transmission removal. On transmissions with a governor, after starting the engine, move quickly the gear selector to reverse by quickly placing the transmission in reverse, the chance of dirt entering the governor is greatly decreased Run the engine until it reachs normal temperature, then recheck it again. This should happen every time you turn the key switch.
SOLVED: Trying to remove transmission on 94 chevy 1500

Make alignment marks on the transfer case yoke, the rear of the front drive shaft, the front of the front drive shaft and the front differential yoke. On several vehicles the fuel and vapor lines and other electrical harnesses are attached to the transmission housing by clamps. Remove the transmission pan 13mm bolts starting at one corner. The 4wd light on the shifter comes on as a result of the collar in the axle sliding over from the actuator engaging. If anyone knows of something I missed or have some more details nut sizes, etc they would like for me to add, just let me know and I will include it. To flush the lines, first blow compressed air through the lines. Transmission does not shift automatically, only manually.
How to remove transmission from 1994 chevy 1500 5 speed
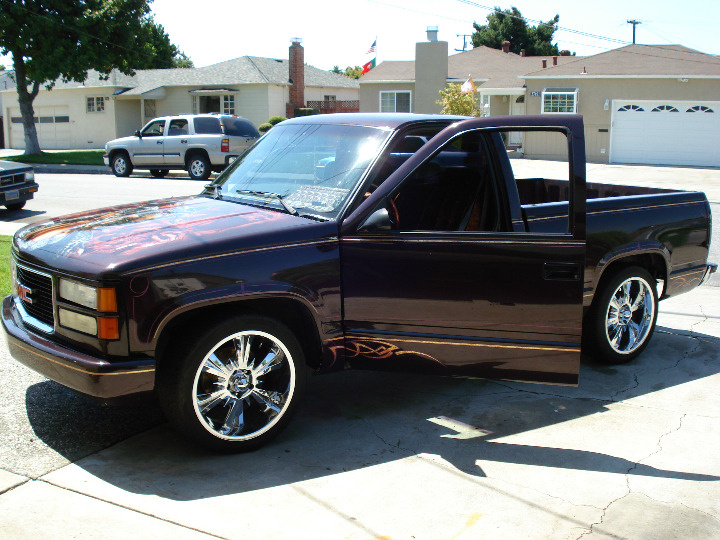
I decided to go for the 5 speed. The above top 30 common problems with the. Also check the dowel pins on the engine and the dowel pin holes on the transmission as they also must be clean and free of burs. It may require a light bump with a pry bar to disengage the drive shaft from the transfer case end. For most vehicles, the speed sensor is plugged into the transmission or transaxle.
How to Identify Transmissions in '94 Chevy Trucks
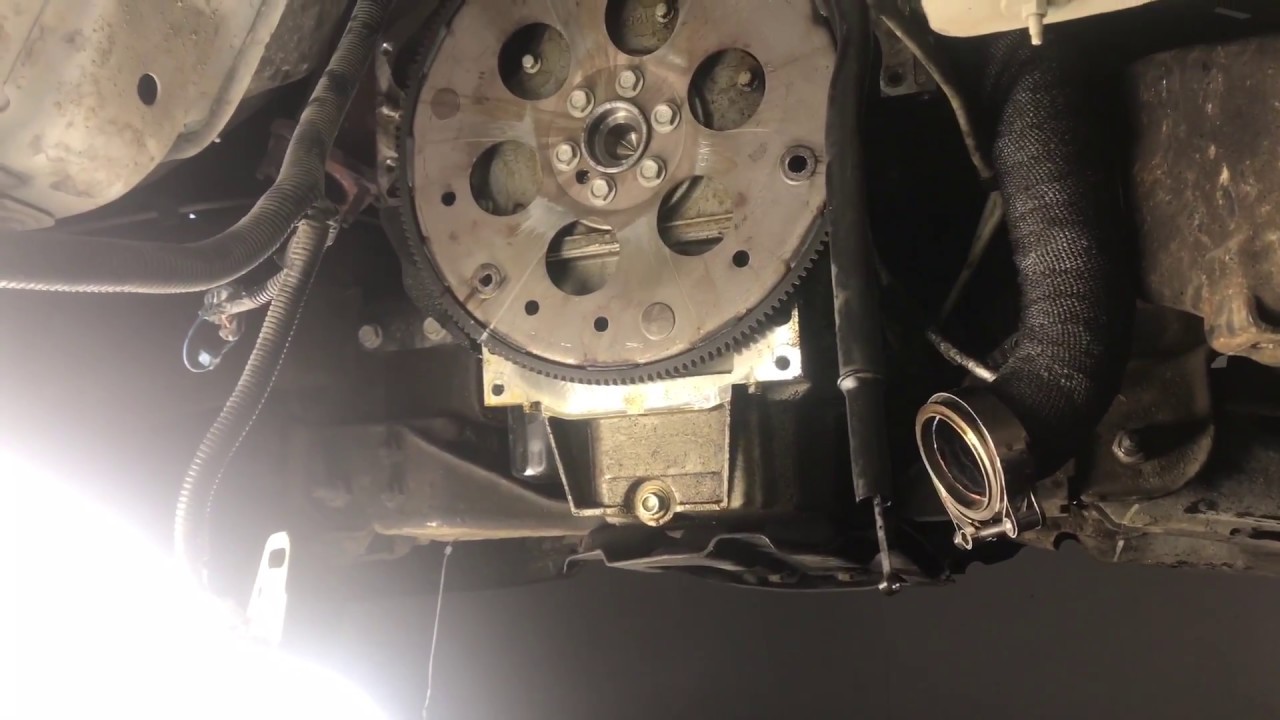
I just replaced the transmission filter for maintence, now the trans will not shift out of 2nd gear. It would have helped had I measured and lifted the truck high enough to to get the trans jack with the trans on it out from under it. Does your transmission need rebuilt? At a minimum, the crossover pipe must be removed. Also, when pulling the lines out, be careful not to lose the thin metal washers. I found a writeup where a guy pulled the transmission and transfer case out in one unit but he said it was a real pain to get out that way. Apr 24, 2013 what color is the inside of the trans connector on the trans itself? Then, use a large flat head screwdriver or small pry bar to wedge between the flywheel teeth and the bell housing to turn the engine in order to gain access to the next bolt hole.
94 Chevy K1500 4wd wont engage
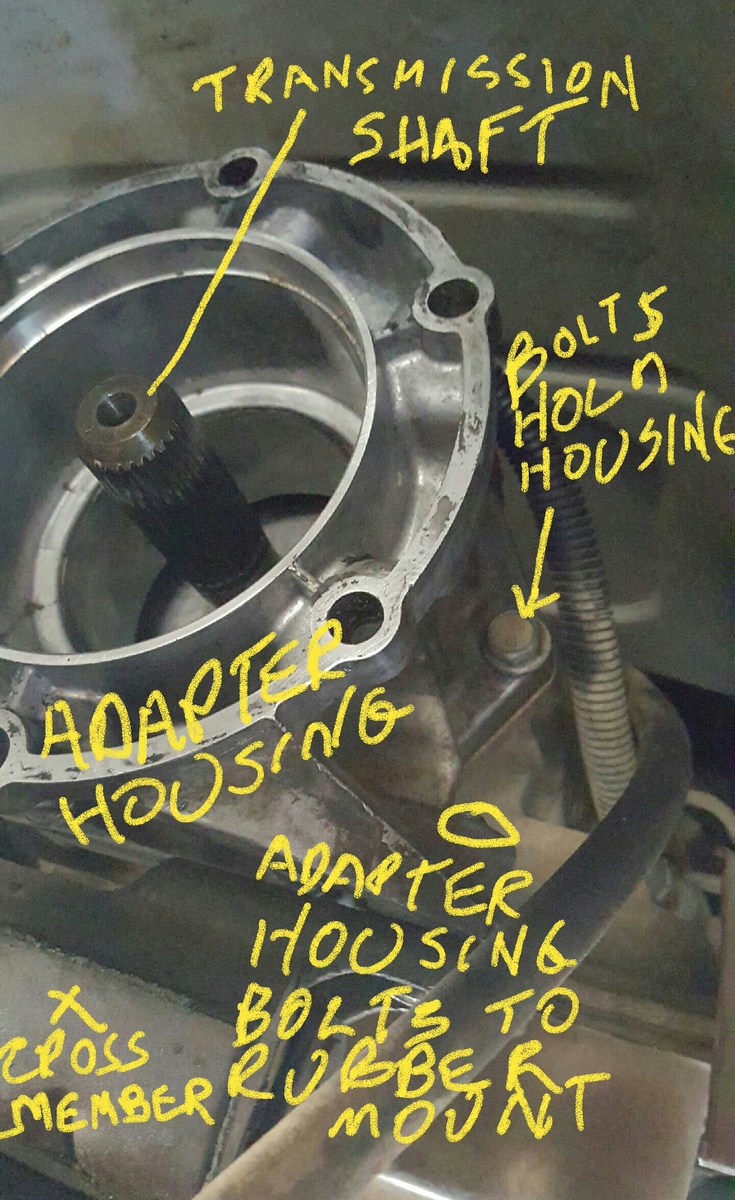
These are usually more difficult to remove because there is very little space. Slide the plastic collars back and use a 90 bent pick to unclip the cooler lines from the transmission. Do not use your transmission jack for this since you may need to use two jacks simultaneously to maneuver the transfer case from the vehicle. After making sure the flywheel is disconnected, usually you can rock the transmission secured to a transmission jack of course side to side to break it free. Once all bolts have been started then tighten each bolt to the proper torque specification. If not you probably installed something incorrectly while the axle was removed. Match-mark the universal joints at their differential ends paint works well for this so they can be assembled in the same orientation, then remove the drive shafts.
transmission removal steps

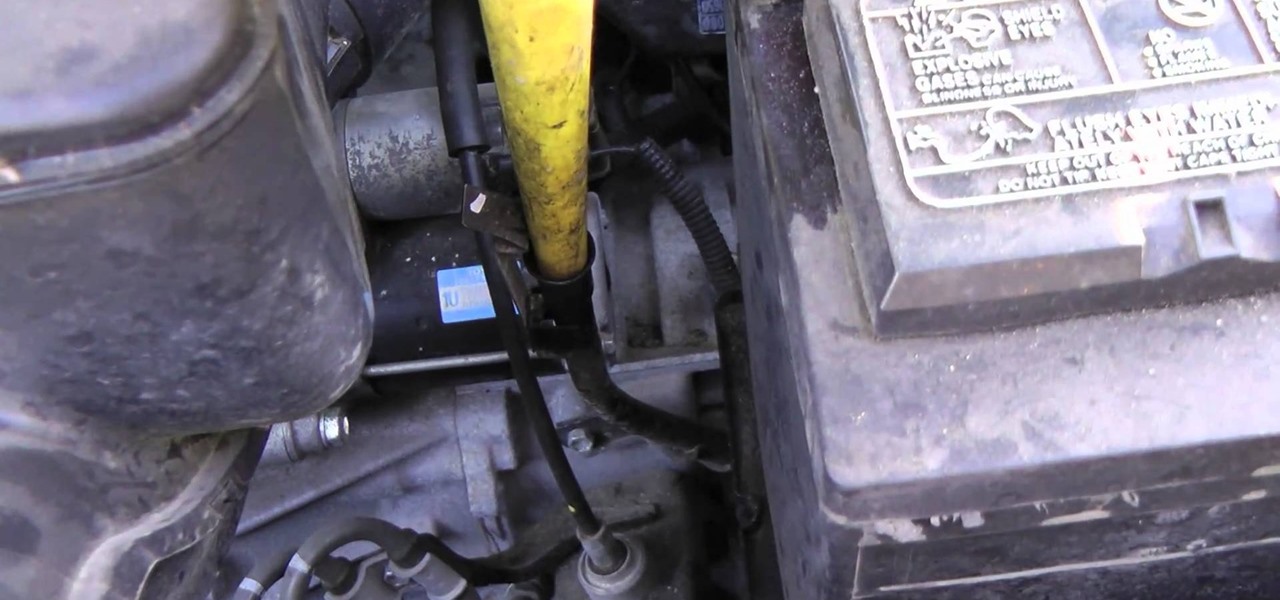
Taking photos before disconnecting brackets, hoses and cables should serve the same purpose, which is to make the installation of these components easier and quicker. Then remove the 20 or so bolts holding the pan up. Having to remove parts of the exhaust after the transmission is separated from the engine is much more difficult. Open the hood and disconnect the transmission's dipstick tube from the side of the engine. But, it must be angled the same as the car is if the front of the car is raised for instance.