9n ford tractor carburetor manual. Ford 8N, 9N, 2N Tractor Carburetor 2019-01-29
FORD 9N SERVICE MANUAL Pdf Download.
I would think the neoprene would be exposed to the elements but wouldn't think the felt would be exposed to the elements and the return spring could get entwined in the felt. If you do your own repairs, you need the parts manual. We are removing it now, so it won't get bent later. Reproduction of any part of this website, including design and content, without written permission is strictly prohibited. Trade Marks and Trade Names contained and used in this Website are those of others, and are used in this Website in a descriptive sense to refer to the products of others. The castings and finishing are often mis-aligned. B2—Check the idle speed screw.
NEW Carb Carburetor Kit Ford Tractor 8N 9N 2N TSX33 TSX241 Marvel

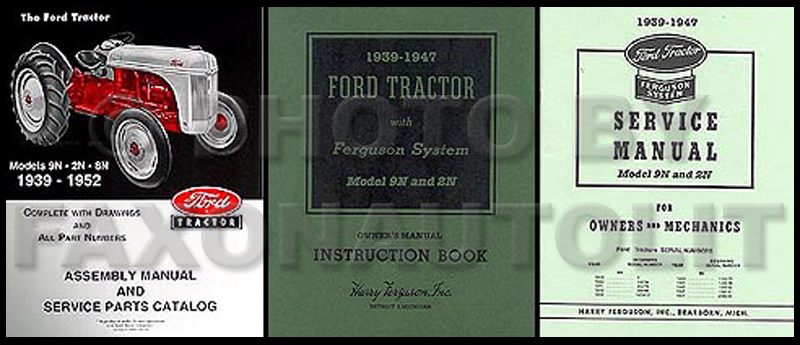
Remove the washer seal where the main mixture screw went into the carb. There are 3 main types of Ford Tractor manuals, each with a specific purpose. This Zenith carburetor outperforms the original carbs used on: 8N, 9N, 2N, 1939-1952. Right-side-up air will pass easily. Some manuals combine types i.
FORD 9N SERVICE MANUAL Pdf Download.
They go in a few threads and then get difficult. If the screws are too short to crimp, I start rummaging in my spare parts for replacements that are longer. Many carbs rebuilt by previous owners will not have been properly and completely cleaned. None of these trademark holders are affiliated with Yesterday's Tractor Co. Things seem to be working, for now at least. Soaking in solvent will loosen some deposits then a combination of rodding-out and air pressure should thoroughly clean the passages. It's stiff enough to poke through there, flexible enough to go around corners, and the wire-wound exterior makes a great rasp to help clean out passages.
Carburetor rebuild
Our website is not just an online store. One video used cotton for both shafts and the brass retainer rings were facing diff ways 180 degree diff when installings them. In this case you must disassemble the body and try to bend the float just a little. The shaft and blade should fit snugly in the hole and in the jet slots. Flip the throttle or choke plate open. One can replace every part on their machine with new and maybe stumble on the one defective issue, or maybe not. That is good, there are plenty of used carbs, and replacement parts available.
Ford 9N Tractor Marvel Schebler Carburator
This special tool needs to be wide enough to catch both slots in the Float Valve Seat. Used with flair fitting, not compression fitting. I had to drill them all, pick the threads out, and run a tap in every hole. Buying by application assumes your tractor has the same carburetor the tractor was sold new with. Pull the end and rod in opposite directions, the socket should then come right off the ball stud.
Ford 9N Tractor Manuals
The other carb used in this step-by-step is hopefully much more typical of any carbs you will be working on. Most things like jets only need to be snugged down. Use solvents, scrapers, elbow grease, and compressed air in whatever quantity seems appropriate. E5—Place the venturi into the top cover gasket. None of the jets would come out either.
Ford Tractor Carburetor Kit
A friend suggested soaking carbs in vinegar for a few days, then soaking in mineral spirits for a few days. We also carry for farm tractors. The tapered part should be at the top when the carb is assembled. Most of our stocked parts ship the same day you order M-F. We are famous for our great service before and after the sale. Optimized for All Tradenames and Trademarks referred to on these web pages are the property of their respective trademark holders.
Carburetor Parts for Ford 9N & 2N Tractors (1939

Cleaning is absolutely the most critical part of any carb rebuild, and where most failures occur. Some skip it, but it's impossible to get all those little passages completely clean without removing the Main Nozzle and jets. Don't force them, but make sure you are at the limit of travel. Use your third hand to do that. Add just enough shims so that the axle shafts spin in opposite directions when the wheel is rotated. C6—As mentioned, the Main Power Jet is under the Main Nozzle. If you need help, me and a few others rebuild carbs -my email is open.
Ford 9N Tractor Manuals

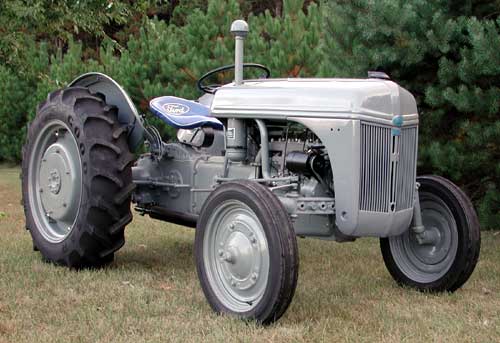
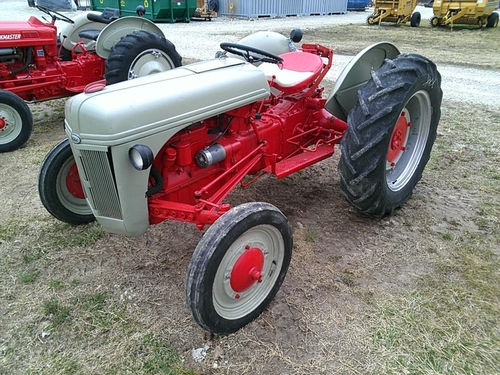
Check the venturi again making sure the tapered part is still on top. I keep a few old fuel line fitting nuts around so I can twist one in the elbow to help support the fitting before putting a wrench on it. The Ford model 9N tractor was produced starting in 1939 as a joint effort between Henry Ford and Harry Ferguson. The float assembly is mostly below the gasket, but it's hinged to the top, so there is less chance of bending something if it all comes out still attached to the carb top. A5—Remove two nuts at the manifold and the carb should drop right off in your hand. We've spent many years researching the correct parts for your Ford 8N, 9N, 2N tractor. If not, you may need a much bigger can, so you can drain the tank and replace the valve.