Ableton eq 8. EQ Eight + more 2019-01-18
How to Use EQ in Ableton Live

I will tighten up the low end by setting a low cut filter on band 1. With this, you can also arrange all these sequences in any way want without any issue. This is great for simply hearing the result of a boost or cut — or for sweeping through the spectrum to identify frequencies in need of treatment. Also, Combine and fit loops and additionally samples from any pace. It permits one to make pre-set audio compositions. Car Stereo, Home Stereo, iPod headphones, etc! For simplicity, the example song is not a full arrangement. It also is developed keeping live performance requirement in mind.
EQ Eight + more

Easily imbue mono input with stereo information by, for example, boosting a High Shelf on the Left while cutting high frequencies with a Low Pass on the right, tilting the high frequencies left without panning the entire signal. All frequencies together are called the spectrum. One of them audio effect which applies directly to your audio media. As well as you can view or hide different parts of an interface according to your requirements. Hence there are two different types of views first is arrangement and second is session.
Ableton EQ Eight Equalizer Plugin Reviews & Prices

The reason why is outlined below. Further, it has many useful features for classical composers as well. It contains up to 8 user-defined sounds. Click Bell or Notch to affect frequencies to either side of the point. Your cursor will change to a bracket. Been using Stillwell Audio 1973 a lot lately and find it easier to get on with because there's less to think about.
EQ Eight + more

Click once and type in a value e. Each band has a series of parametric filter options - 48 or 12dB low pass, low shelf, bell curve, notch, high shelf, and 48 or 12dB high pass. My first step is to set the Ceiling setting to -0. On the left are parameters for the spectrum display, labelled 'Analyse'. Same thing applies to the 22kHz+ range. Remember, my goal is to have the master channel peaking between -6db and -3dB.
How to Use EQ in Ableton Live
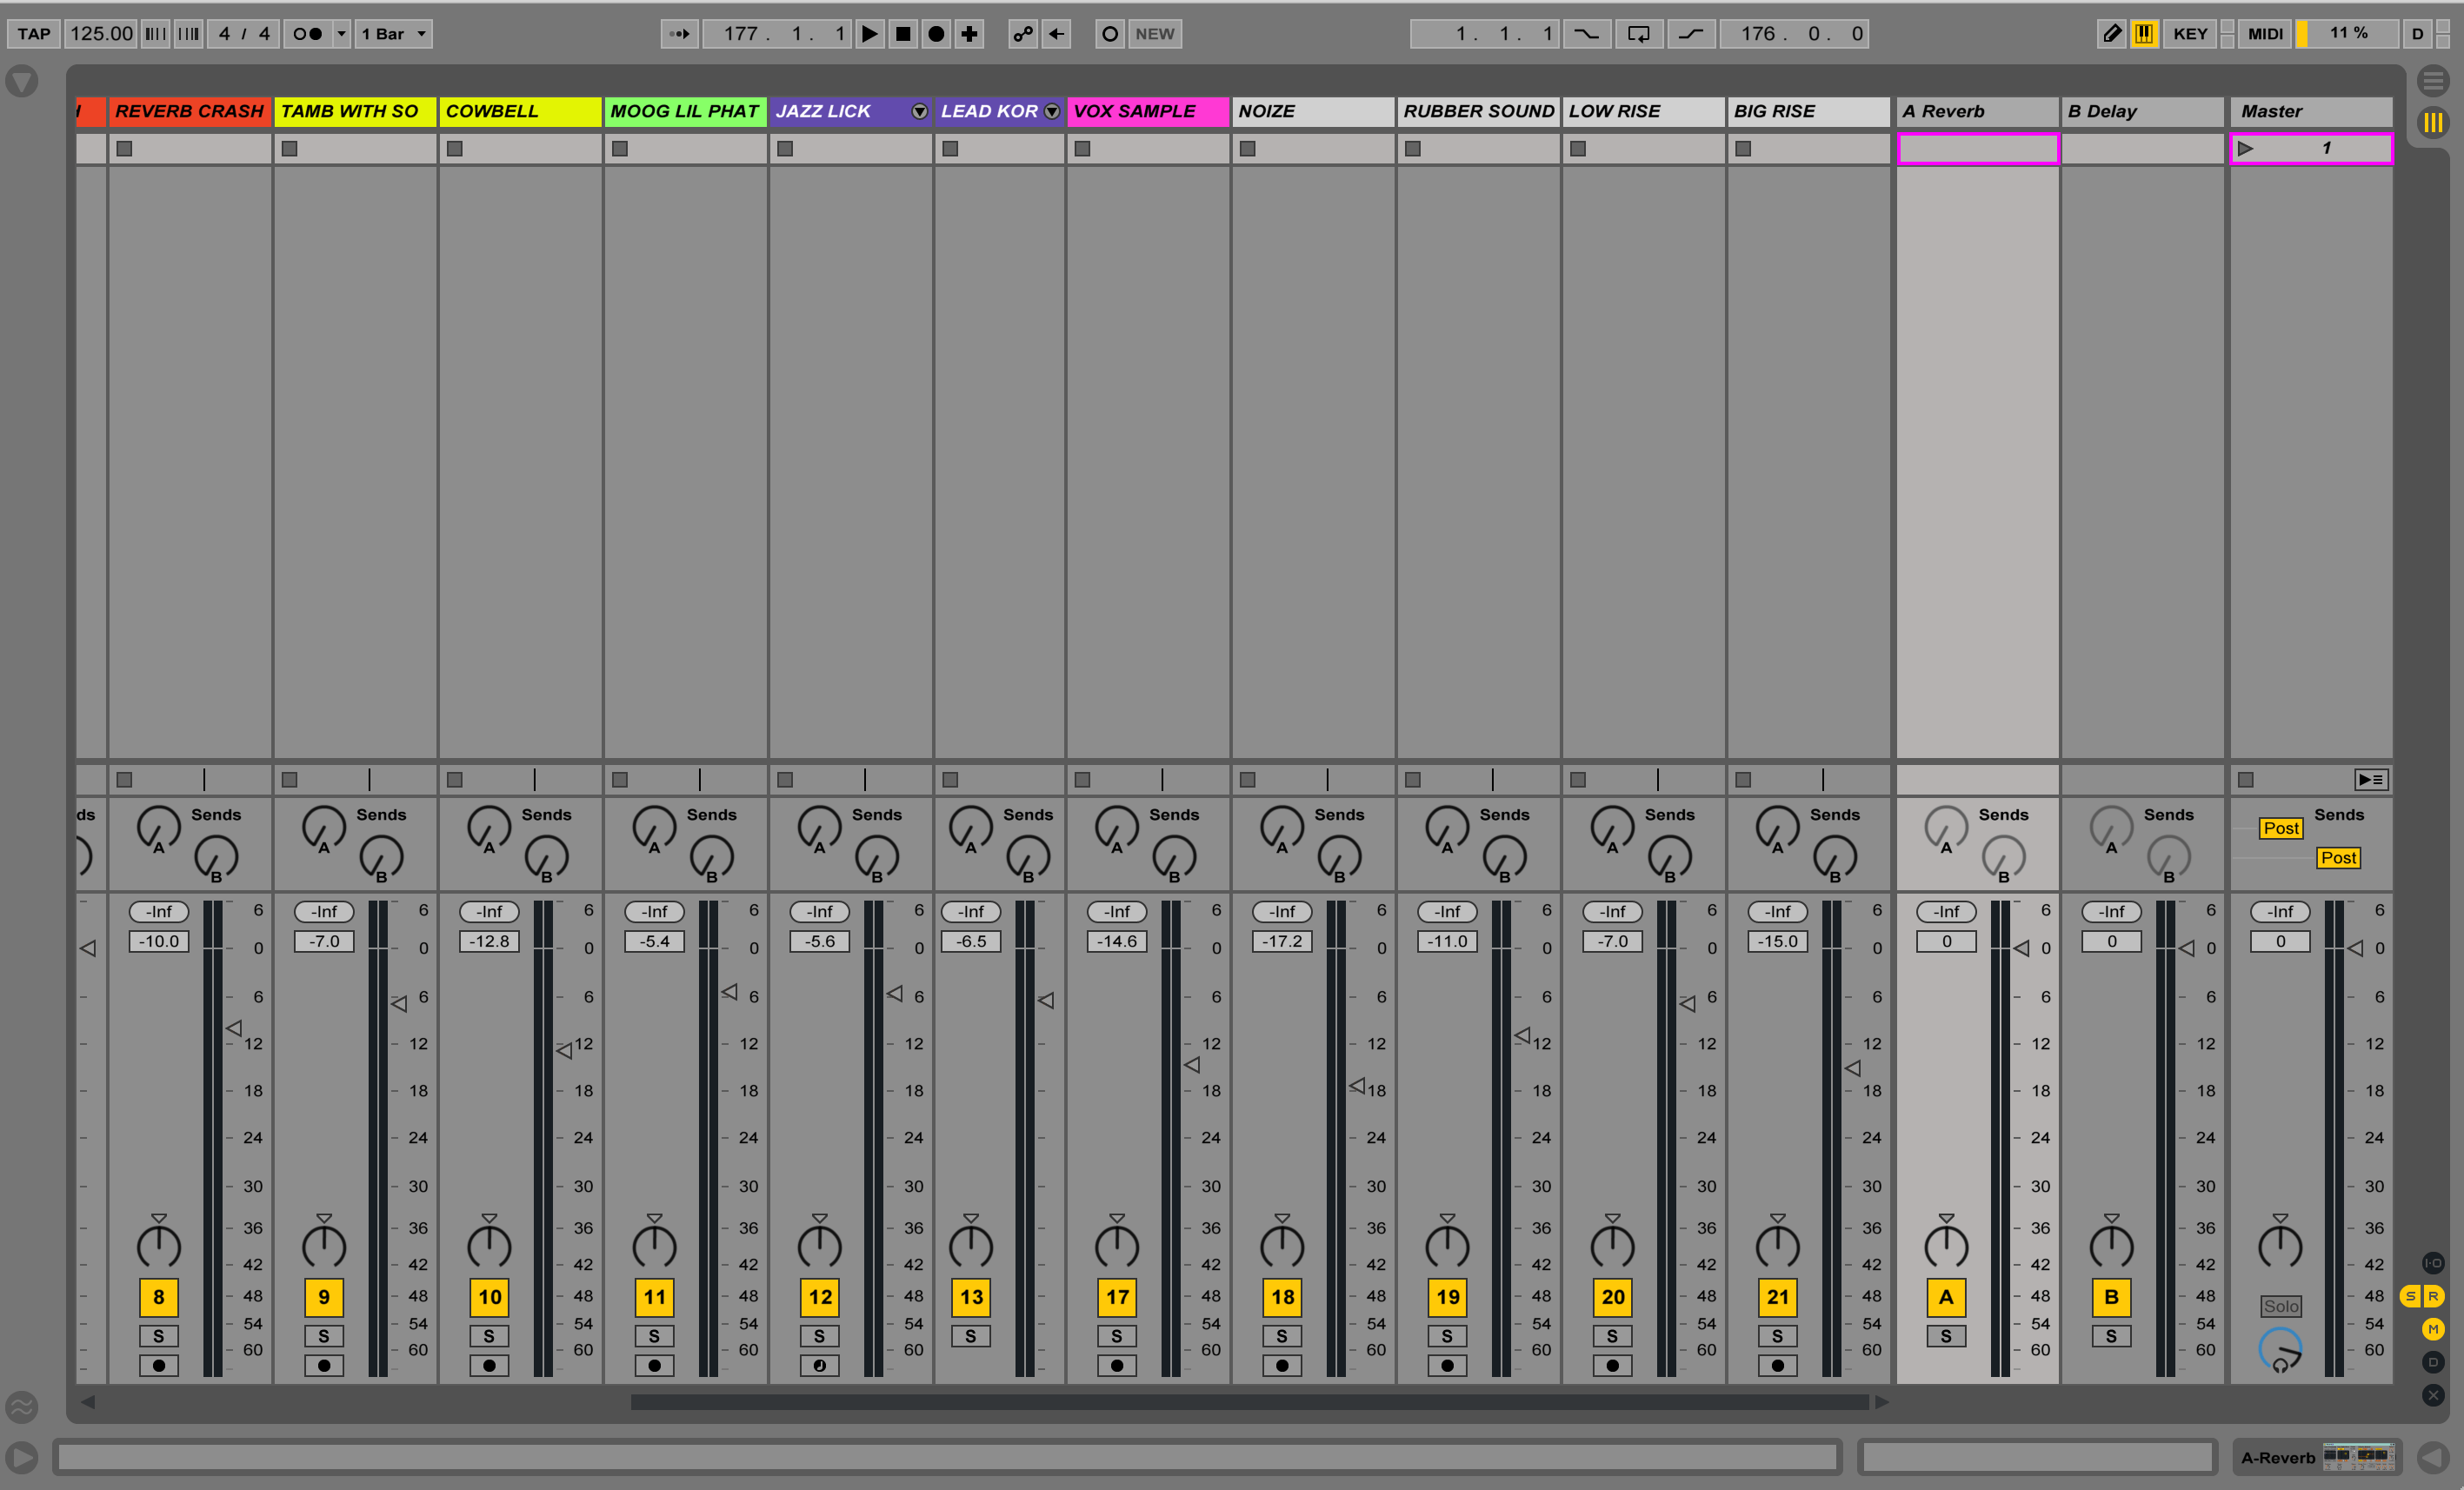
If your thread is only tangentially related, it is probably considered off-topic. Setting Up For Precise Metering In Ableton Live First, start off by expanding your tracks in Ableton. You can also move the filter with the three knobs on the left. Violations of this rule will result in a 1-day ban. Record Arm the new track, hit record and get clicking! By the same token, you could boost a High Shelf on the Side signal to add a subtle, widening sparkle.
8 things you didn't know about eq8 — pATCHES
Furthermore, it allows customizing the interface for your operations. I could turn up the output levels or re record the tracks hotter for external audio but I think this will work for now. Meanwhile, the standard device area in the Detail View below now provides concurrently accessible Freq and Gain dials along with a numeric Q slider for all eight visible bands simultaneously. Well, lets go ahead and learn all about it with Ableton Certified instructor Thavius Beck. By using high or low frequency cuts we can make an instrument sound darker or brighter.
FabFilter Pro Q Vs. Ableton EQ 8 : edmproduction

All postings of your own music thread or comment for any reason should go in the Feedback thread. Pretty much replaced all my previous filters Sound Toys, Universal Audio's Moog Filter. Having all tracks set to 0 teeters on the edge of clipping. Tip X in this article explains how to layer in Ableton. Use the High Cut or High Shelf options to change frequencies higher than the equalization point. Click the Play button to start listening to the audio. Move it to the left to decrease them.
5 Neat Tricks for Ableton Live's EQ Eight
Just like with the Bell you can make the filter slope less steep by dragging down the Q knob. Below we have compiled a list of the best free equalizers plugins, in our view, available for Windows and Mac. This is your beat making lab. If you're anything like me, you'll instantly start playing around with those circles! It was the first application to offer automatic beat matching features. Use the green signal to get a quick look at the overall levels. The following chapters tackle the particulars of house, dubstep, drum and bass, trap, juke, and hip-hop. You add other instruments with instrument all add-on.
Ableton EQ Eight Equalizer Plugin Reviews & Prices

Next, on band 2 I will bump a little in the 250hz range with a Q of 1. Check the dropdown menu above the posts! Demo Limitations: only 3 bands available. . You can also up the 'Avg' factor so that the display changes more smoothly, so you can get a better handle on what frequencies are most salient. Perform real-time sonic surgery and Get melodies, rhythms and consequences adjustments into loops and samples while they play. Audition Mode This is where things start getting really cool. This will show you where the important frequencies are in the other sound as a reference for setting the new curve.
When to use EQ3, when to use EQ8?
I just do what I believe sounds best for what I'm trying to achieve. In order to compete with most Mastered songs, I want my levels to be peaking in the -0. Multiple Selections In the image above, you can see that it's actually possible to select more than one of the circles in order to gang them together and control them all at once. There's no mojo going on, what sets Pro-Q apart from the competition is the incredible flexibility. Crazy peaking if you do that without compression, and limiting doesn't really do the job in those cases. The Bell filter is less aggressive but allows you to also boost certain frequencies by dragging the Gain knob or filter dot up 3.