Acdsee video converter pro 5 review. How to Edit a Simple Video Within Minutes with ACDSee Video Studio 2 2019-04-01
ACDSee Video Converter Pro 5 Full Crack License Key [Updated]
That isn't an issue any more. . It simply gives you a much larger palette of tones and colors to select from as you edit your image down to the fewer that you can actually see and the even fewer you can print. Press the Start button to begin batch converting all the videos on your list. Note the Raw file has color data.
ACDSee Video Converter Pro 5 Product Support
And let us advise you right away to move from Develop to Edit and not from Edit to Develop. But that's how simple it is. Pros: 10 characters minimum Count: 0 of 1,000 characters 4. Tune tab with Advanced Color. First, it wasn't very attractive, although we did like the dark theme.
ACDSee Pro Review

We wanted to take a closer look at the color transition to black and white but when we clicked the 100 percent view, the image reverted to the full color display. We wanted to make two other versions: a split tone image and a selective color image. Thus you can get most essential functions in this application that is required for convert your files. Share with us, if you know of any other genuine method. Click to read the contents on the left side.
ACDSee Video Converter Pro 5

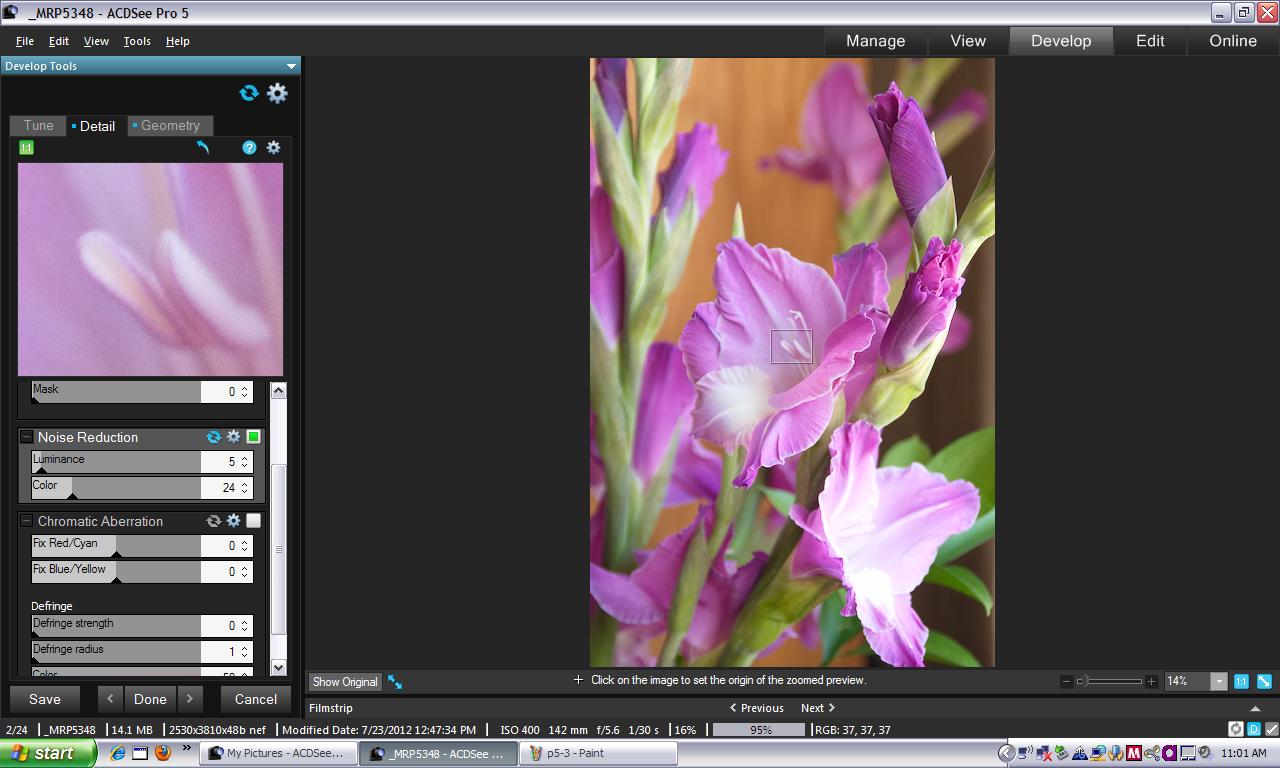
Open the Raw image in Develop and the monochrome preview is displayed briefly before being overwritten by a full color rendering. Why is 16-bit editing important? The software comes with a free download and free trials. It's about two menus too many for us but that's Windows. Acdsee Video Converter Pro Review. That made a nice black and white image, so we saved it.
ACDSee Video Converter Pro 5 Product Support
Printer Options, Page Settings and Color Management dialog boxes for a photo print. Then by slowly moving around my clips, cutting, them, and adding the transitions that I need, I eventually end up with the video you can find at the top of this article. The above are some genuine ways to get windows for free or cheap! We did split toning first with the Split Tone panel. So we did that in the General panel. But a better design would get rid of all of them. This took a little playing around, but that's the fun part.
ACDSee Video Converter Pro 5.0 Free Download

There's no specific button for that but the Advanced Color panel's Saturation option does the trick. The photo editing software landscape has changed quite a bit since 2007. However, I thought it only be wise to show you through an example how it works and how simple the app truly is. So we opened it in Develop mode and it was quickly rendered from the Raw data into color. To get back to the monochrome image, we Reset the Split Toning panel using the little blue icon and then opened the Advanced Color panel which we'd originally used to create the monochrome image.
ACDSee Video Converter Pro

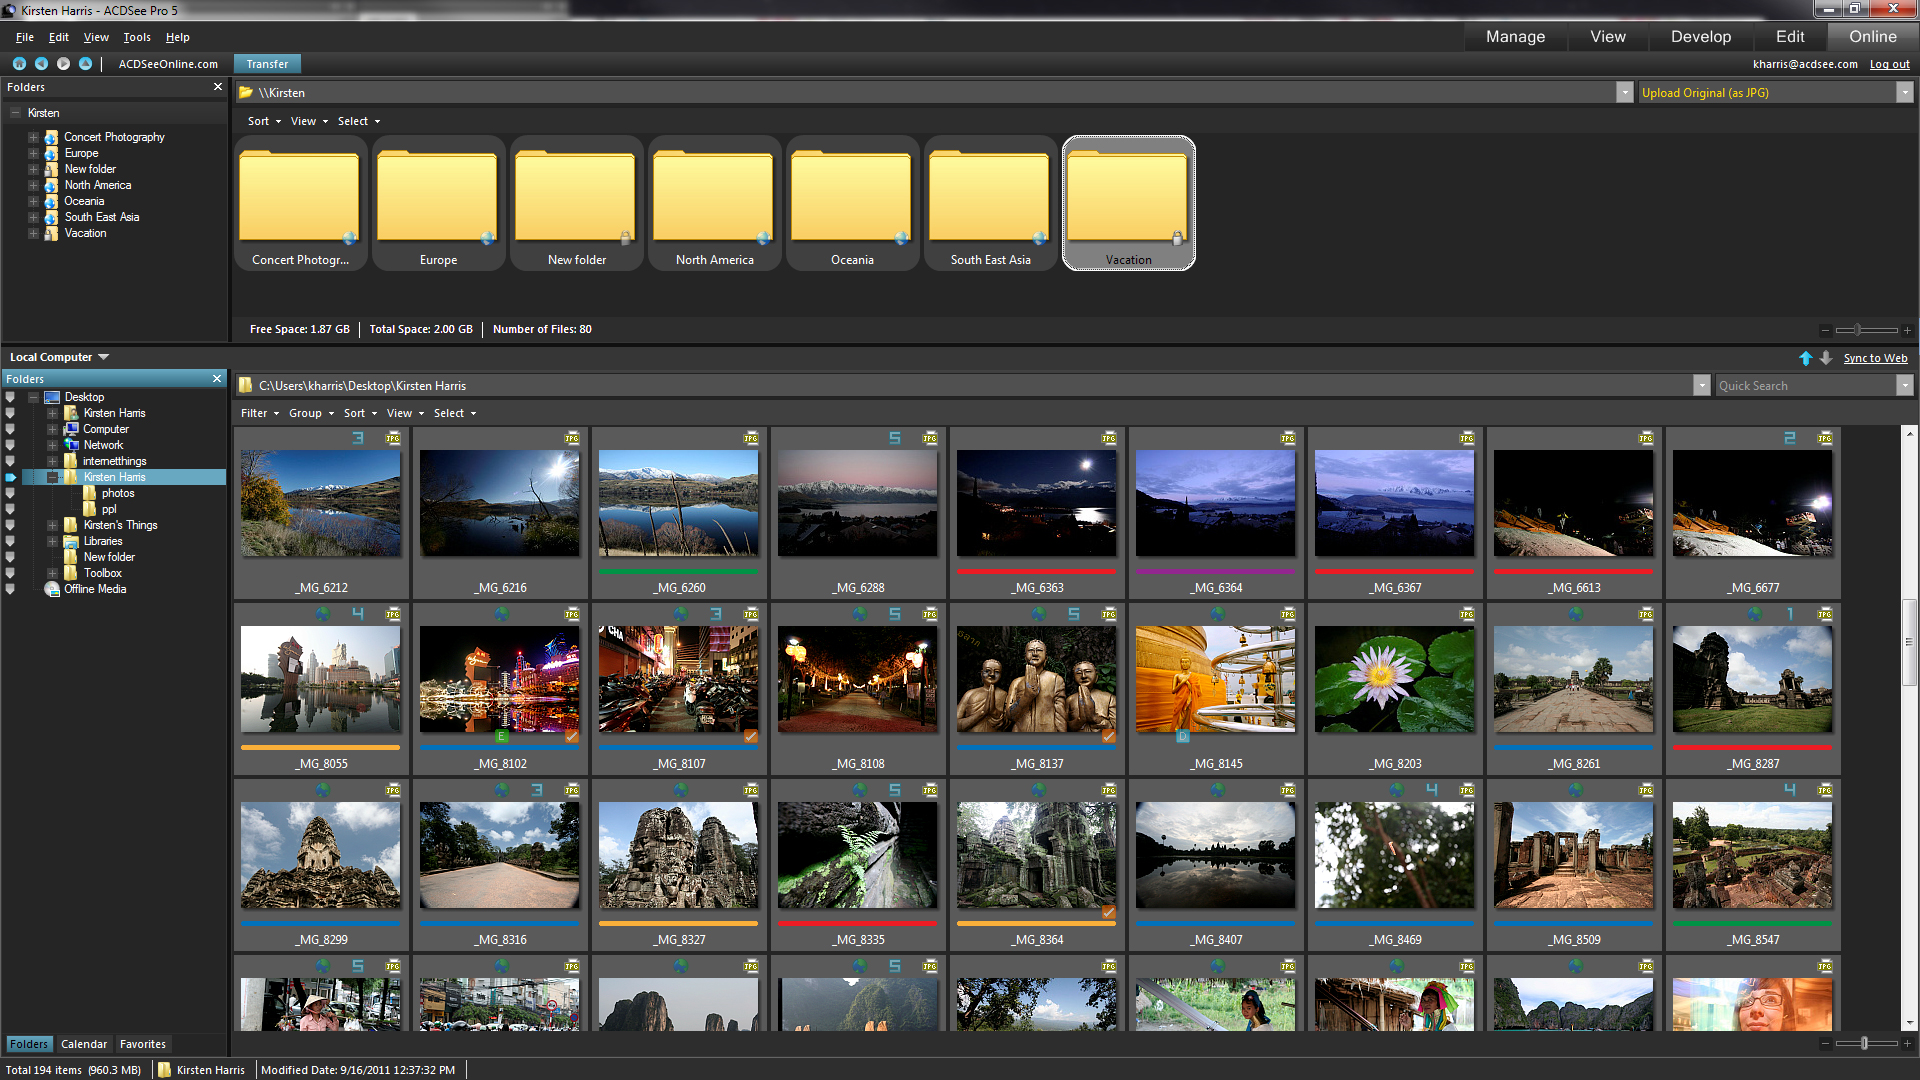
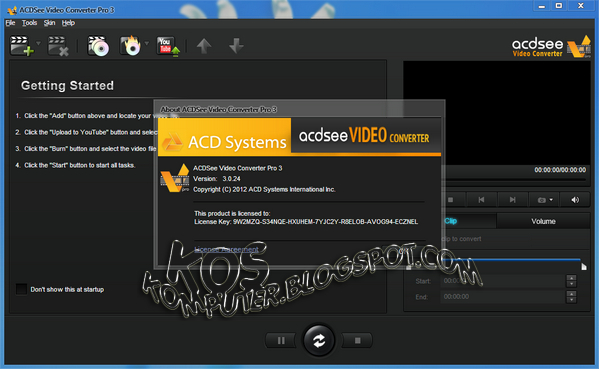
System Requirements To activate your software, you will need a valid email address and an internet connection. But one click did the job. To get started, we first need to import our video files. If anybody has the resources to keep up with evolving Raw formats, it's Adobe. Normal mode displays the selected image but it's surrounded by a bottom toolbar for zoom and scroll, among other things , a filmstrip to navigate to other images and a status bar to describe the currently displayed image.
ACDSee Video Converter Pro 5 Product Support

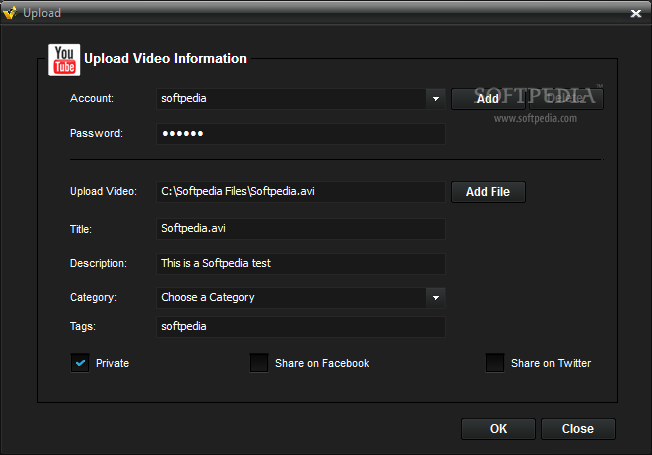
In , I mentioned a couple of times how effortless the process is. Edit metadata on the fly. Raw Support You can thank the camera manufacturers for making every software developer play catchup with their proprietary Raw formats. Just to give you one example. This is actually the server edition of windows 7 and has a great photo tutorial on tweaking Windows Server 2008 R2 to work like windows 7! Of course, we had to know about that, too.
ACDSee Pro Review
Software is an investment that follows you from computer to computer, just as those old lenses you can mount on that new body. We could change the strength of the correction and even limit it to just Contrast or Color. You can even set the program to close after the batch conversion is done, or pause and restart at your convenience. The interface is clear, simple, and offers exactly what most people will need for simple productions. They are quick fixes with pleasing results. Let's look at the features for each mode.
ACDSee Video Converter Pro 5 Product Support

We knew what changes we wanted to make in the Geometry and Detail tabs, but we wanted to play around with the Tune options. And even though we did this in Edit mode, View mode's Show Original still was able to show us the washed out original and Manage mode still let us revert our changes back to the original image. You would make your changes to the controls in the accordion drop-down and they would be evident on the image. A few are explained in these tutorials. In other words it is high rated application with user friendly interface. We knew we had greens and purples in the image and in fact they were the main colors in the flowers themselves. Just the way it is.