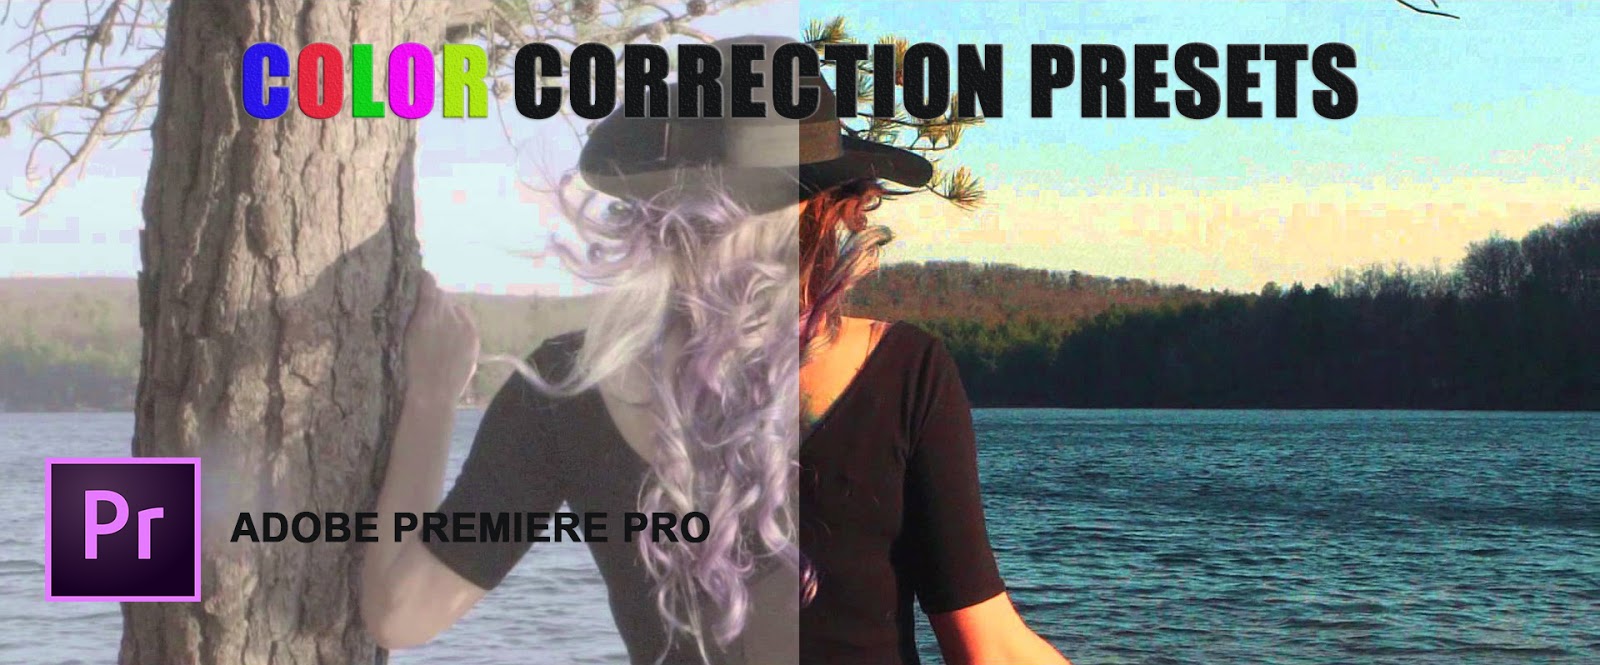
Adobe premiere color correction presets. Color Grading Presets for Premiere ~ Actions ~ Creative Market 2019-04-25
Adobe Premiere Pro CC: Learn Video Editing In Premiere Pro Udemy Free Download
This is quite intuitive and works fine for short timelines. Apply looks to make your video look like a professionally shot film. With a few extra manual tweaks, the match is better. I always hide the Transport Controls to get more space on my screen, so I use the keyboard shortcut. Both are explained in detail.
Adjust and correct color in Premiere Pro CC
Machine learning can easily read black and white levels, but the midtones are a challenge. All the other ones reset individual parameters. Displays all hues in the color spectrum with their maximum brightness at the top of the color spectrum, decreasing to their minimum at the bottom. Drag the Start Softness and End Softness sliders to control feathering, which determines whether the boundaries of the color range are sharply defined or soft. Here are some of the ways you can manipulate control points to adjust your color. The presets are now installed. Match Shots When the hero shot is done, you can start matching the other shots to it in Comparison View.
Color grading and finishing in Premiere Pro CS5.5
It may be necessary to do individual tweaks to some clips after adding the adjustment layer. Try updating your graphics card driver. In this case, I just need to lower the whites. Available for instant download Well what are you waiting for? The Creative section The Faded Film raises the blacks and lowers the whites for a duller look. Drag to change the shape of the curve. But we can tweak it further manually.
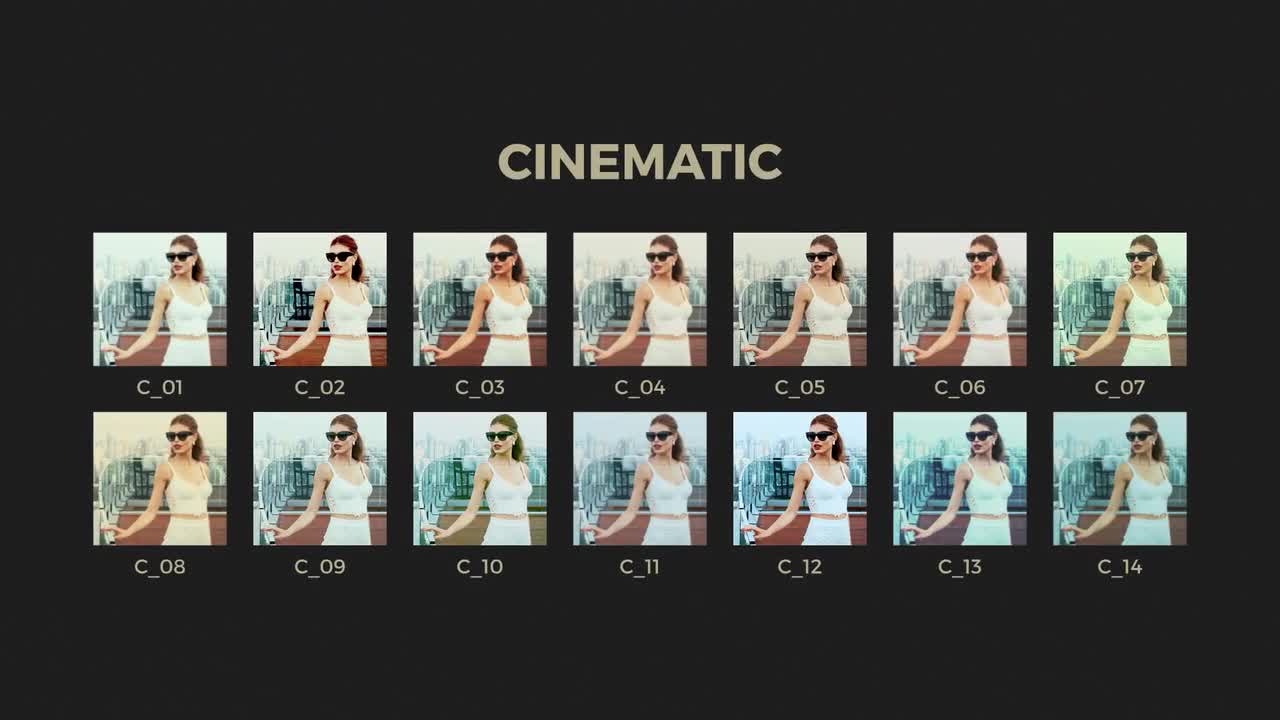
Hollywood Color: 14 Free Premiere Pro Lumetri Looks

Each mode has a set of pre-configured commands. Most projects require you to carefully treat each clip you are working on and you must pay close attention that all clips have at least similar color values because discrepancies can be easily spotted by the viewer. You cannot get it to select other instances. Changing the color, sharpness, and so on should not affect the key and should always work based on the original pixels. The Fast Color Corrector and the Three-Way Color Corrector effects have controls to quickly balance colors so the white, grays, and black are neutral. The system necessities of this software program given below.
Adobe Premiere Pro CC: Learn Video Editing In Premiere Pro Udemy Free Download

Watch the mask view closely while dragging the sliders. You drag the triangle on top of each slider to adjust the range, and the bottom triangle to make the transition between selected and non-selected pixels smoother. Note: These presets are a bit old now. Coming up with stylized grades is one of the biggest challenges of being a Colorist. For the Midtones, only the slider has been touched.
Adobe Premiere Pro CC: Learn Video Editing In Premiere Pro Udemy Free Download

Check the video tutorial here to know more. Method 2: Using Presets On the right side of the Adobe Premiere Pro's work surface, you will see a lumetri color panel, that allows you to choose between a large number presets. If necessary, use the Tonal Range Definition controls to define the different tonal ranges. The result after increasing the Exposure Figure 06. Let us know in the comments below. If you use face detection, there is a slight increase in the amount of time it takes to calculate the match. The results can be seen in the figures below.
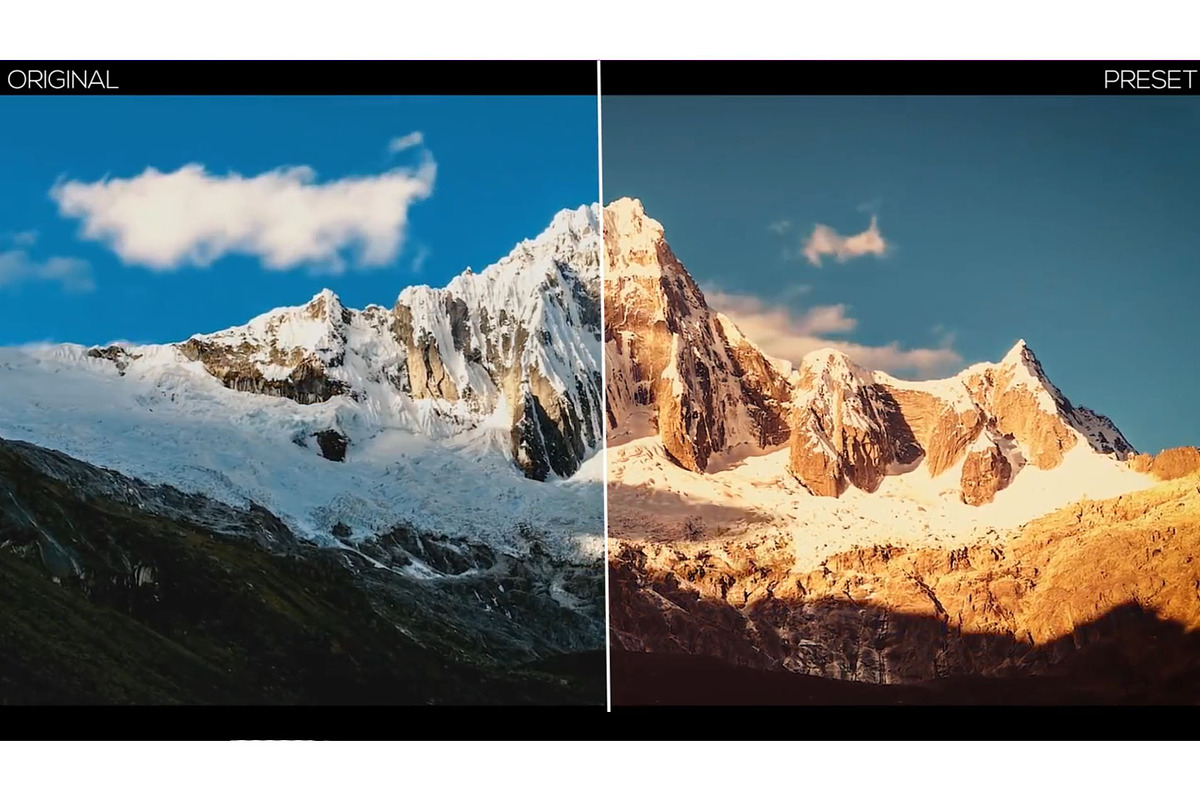
Free Color Grading Presets for Premiere Pro and After Effects

This feature yields much higher quality matches of skin tone especially when there are distracting colors in the background, but you can disable it for situations where you want or need the whole frame to be evaluated equally. Add vignettes with the Vignette section. Throw this preset on all your clips in one go before you start grading, and your overbrights will be preserved. Open the Looks folder, then open Cine Looks 4. Do not rely on this effect to take care of your levels. Keeping the perpendicular handle of this control close to the center of the wheel makes the adjustment very subtle fine. This process may take some time, since finding the right ratio for all of these options is a skill that takes some time to master.
52 Free Color Grading Presets and Looks

For example, you define a range of colors that selects only a blue shirt in an image. This option is quite useful if you wish to apply the same values to more than one clip, but you need to pay attention if some of the clips are over or under exposed or if the contrast is too strong. These are my settings, not the default ones. Docking the Lumetri Color panel and the Effect Controls panel together lets you easily switch between them. You can find the color- and luminance-adjusting effects in the Color Correction bin inside the Video Effects bin.
Adjust and correct color in Premiere Pro CC
Most of the time, this is a good thing! This disables all the effects on all clips excluding fixed effects like Motion, Opacity, etc. Click the Swap Sides button to swap the images and the reference timeline slider. They control exactly what their names indicate. However, applying presets isn't always a good idea because they might make your images look too dark or the colors can become oversaturated and unrealistic. By specifying a color or range of colors using the Secondary Color Correction, you are isolating a color correction effect to specific areas of an image. These free color grading presets work great in Final Cut Pro X, Premiere Pro, and After Effects.