Apple mac backup external hard drive. The Best External Hard Drives for Mac 2019-03-06
How to back up your Mac
Backup mac computer is a priority when might lose some of our files from the computer. The all-aluminium enclosure gives the drive a premium look and fell, while also protecting your data from knocks and drops, and keeping the drive cool when used. The files you want to back up may already be in the proper folders, nicely organized, in which case you can skip this step. Step 5: Get rid of your old library A personal plea: Please, please, please make sure your new library is live and working on your external drive before you follow the steps below — once you've thrown away your original library, it's gone! For example, a photographer who has hundreds of thousands of pictures saved on his or her desktop won't be able to back everything up with a smaller unit. As you might have guessed, the answer is more tradeoffs. Backblaze and Carbonite are also popular options in the market, though I have yet to give them a try. Pros: Rated to survive 4-foot drops.
How to use Photos for Mac with an external hard drive
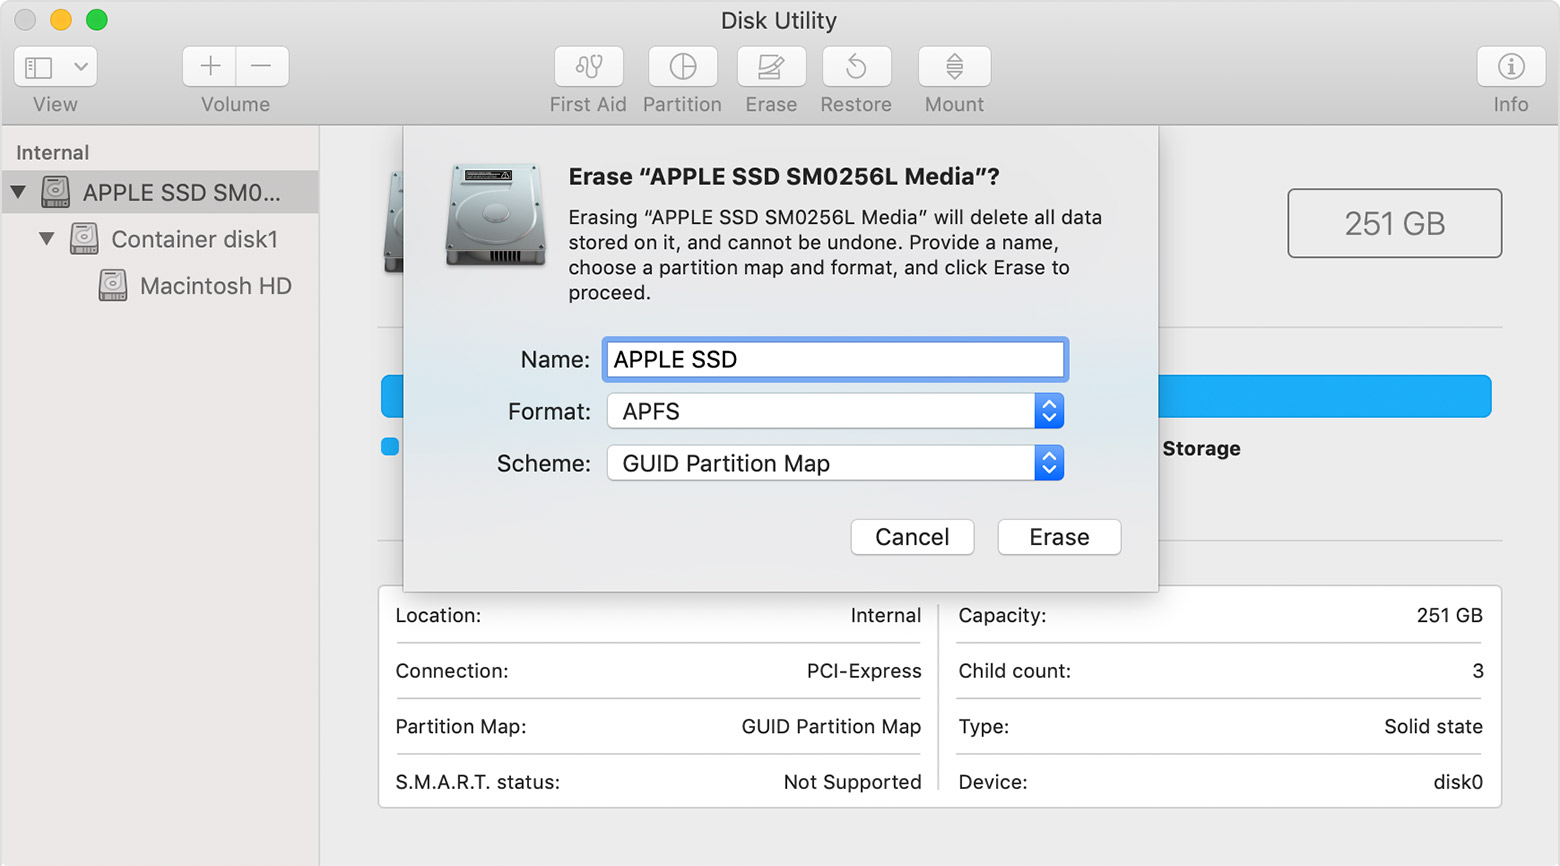
Why would you do this? Now that we have explored the interfaces available, lets talk capacity. So, what kind of data does Time Machine backup? But what happens when you throw yet another variable into the mix: the connection between your drive and your Mac? If you already have an external drive, you can always use it for storing your Photos library and save on cash. I hope you find this tutorial helpful. Step 3: Make your new library your system default You'll now have an empty library on your external drive. After that, all the Time Machine backups are; Incremental forever. For a Mac user this is of small concern because I would recommend you reformat — put a new file system on the external drive anyway.
The Best External Hard Drives for Mac
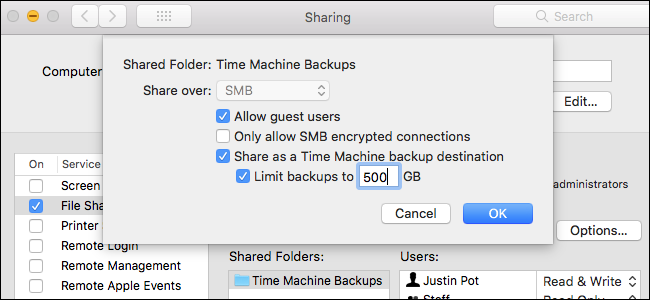
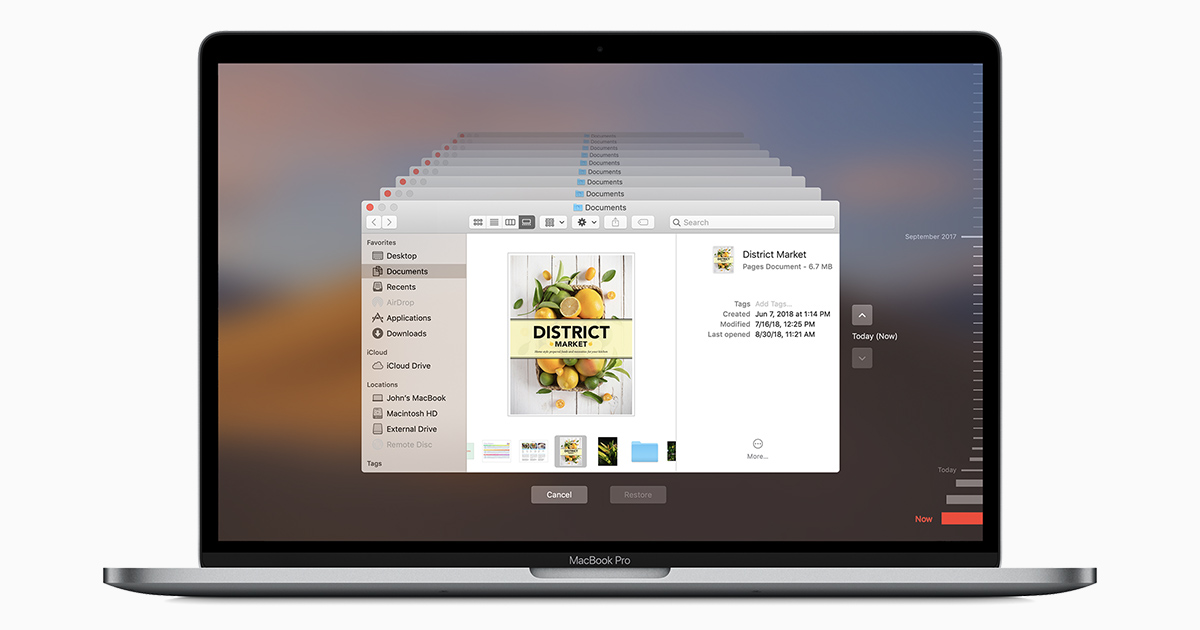
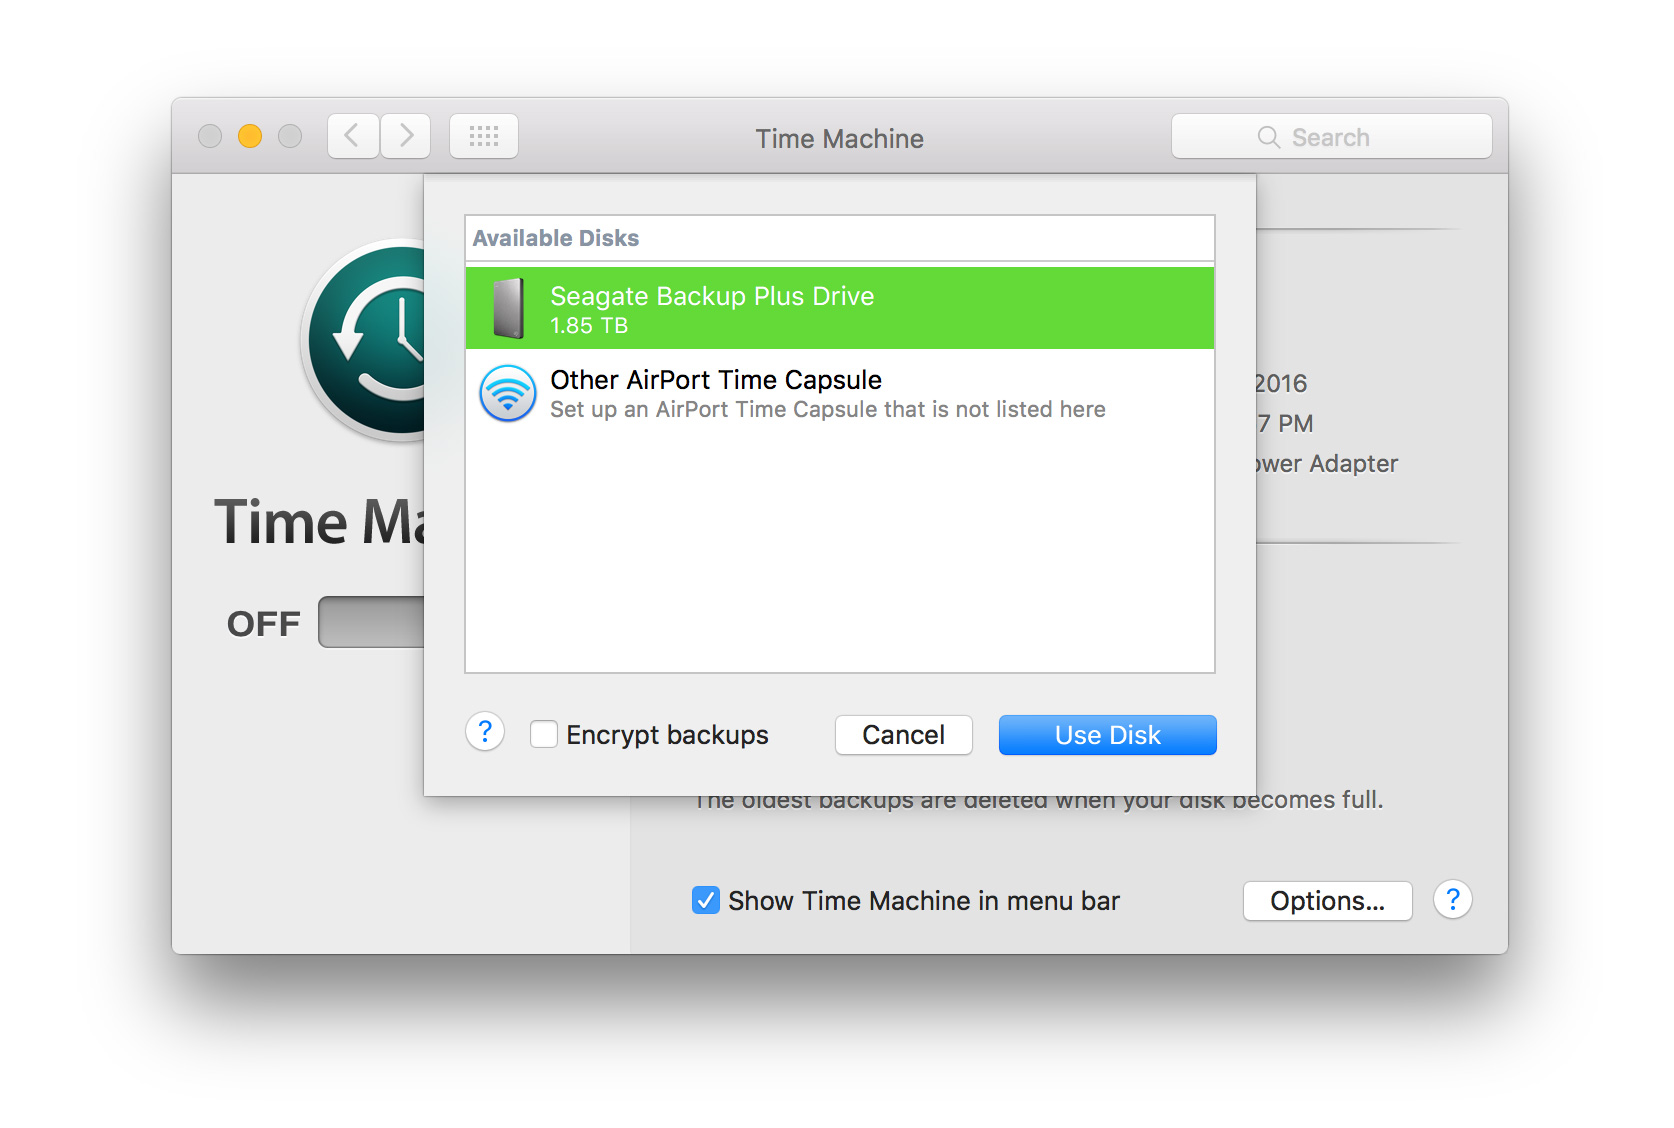
Stick with me to find out. It was just nice to read your article making it all sound so easy. Backup large amounts of data via Time Machine Time Machine allows you to back up your Mac with automated, scheduled backups. Or Go back in time and restore a single file from a few months or even years ago. Depending on the size of your library and your internet connection, this may take up to 24 hours; don't disconnect your external drive or turn off your Mac during this time.
The Best External Hard Drives for Mac
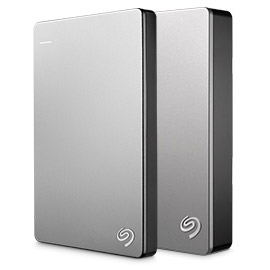
There is an article on the site. I did this several weeks ago while preparing my MacBook Pro for the High Sierra update. Now is the time to use that information. In any event, it would be, however for this guide! In this guide we'll look at the top external hard drives that offer quick and easy as well as affordable ways to expand the storage space of your Mac or MacBook. They say the beachball is a sign that one of the programs is hanging up, but I have yet to determine which it is. You'll be able to save an entire system to a device with that much room, so if you need a new computer, you will be able to reinstall everything as it was previously.
Backup mac to External Hard Drive
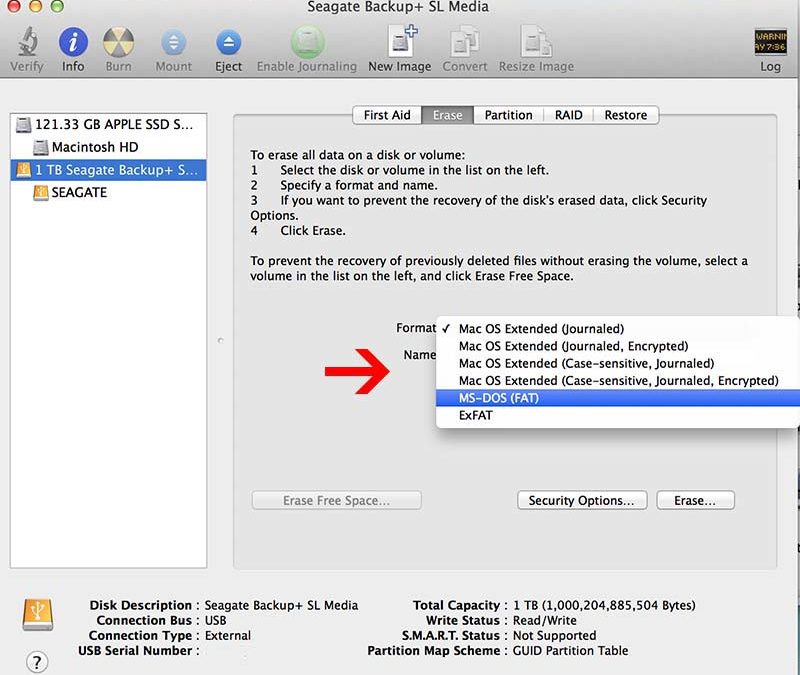
Here's how to do it, and some reasons why you should — and shouldn't! Step 2: Create your new Photos library Once you've done this, it's time to create a new library. Only 27W of power delivery. This last consideration is perhaps the most important, as when you're entrusting your important files to an external hard drive, you need to be confident that it won't break and lose your data. All drives and volumes on your Mac will be listed in Disk Utility, so make sure you pick the right one. Under Select Disk, choose the drive for backing up your data. They are top of the range, the fastest drives and the more expensive option. It does mean the price is higher, but if transfer speed is the most important consideration when looking for the best external hard drive for your Mac, then this is the drive to go for.
Change iPhone backup to external hard dri…
If you read my previous post about , you know that I bought a and managed to create two partitions on the disk — one for Mac backup purposes, and the other for personal use. Photos, videos, documents, applications, system files, accounts, preferences, messages, you name it: They all can be backed up by Time Machine. Supports daisy-chaining other Thunderbolt 3 devices. But if your files are a little scattered, you may want to head up to the folder icon in Finder and create new folders to gather your valuable data properly. Please note that the backup tool that I used is Time Machine, a built-in app provided by Apple. Unless your drive is never going to leave your home or office, you should also consider its physical durability. Note: If you're worried about accidentally creating libraries, you can always launch Photos by option-clicking on its icon in the Dock or Applications folder; this will give you the option of picking which library you'd like to launch.
Backup mac to External Hard Drive

No software required for Macs. After about an hour and a half, it says only 15 minutes remaining Step 5: Eject your external drive and unplug it. If you don't use iCloud Photo Library, you can skip these steps. If not, head to Preferences and select Sidebar, where you can what appears in the Finder sidebar. It is far better to keep your backup physically separately, on a hard drive that is external to your Mac — hence the term external drive.
External Hard Drives for Mac
The speed will be down shifted to match your Mac and your pocket may be a little happier. While there are options to keep your Mac from running out of space, like if you use iCloud Photo Library, it comes at a cost: Without a fully-stored Photos library, you won't be able to create secondary. Serenity Caldwell contributed to an earlier version of this post. Cooling fan can be disabled. They are that bit larger. Next up: Making it your system library.