Audi a pillar trim removal. a3 a pillar interior trim removal 2019-01-12
The Audi TT Forum :: View topic
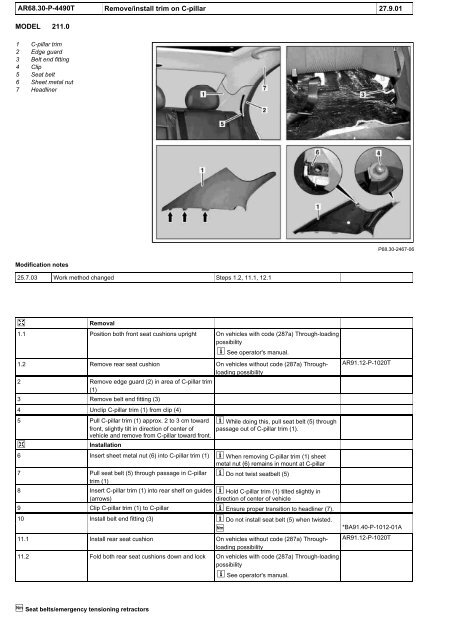
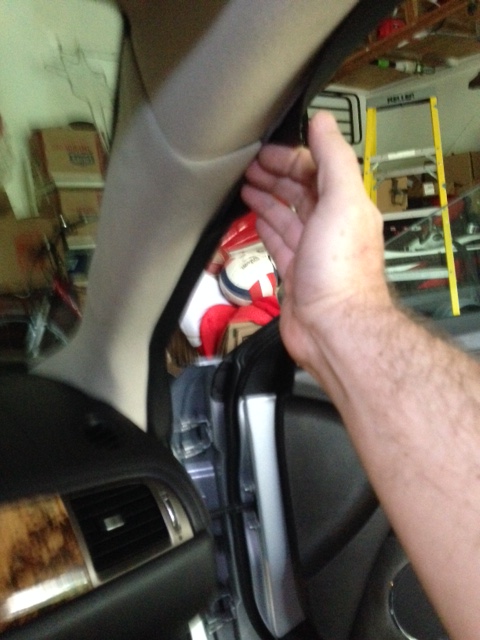
I reckon you'll crack one side that's how bad they are! Step 3 — Remove the B-pillar To remove the B-pillar, you must first remove the seat belt. Roughly how much are the upper parts? Refer to Rear Quarter Upper Trim Panel Replacement in Interior Trim. This article applies to the Audi A6 C5 Platform 1998-2004. It feels as if it should remove, but I have reached the point where I do not want to pull any harder in case it is accompanied with the sound of plastic snapping and cloth ripping. Extreme care must be taken when removing the motor, timing may be thrown off causing possible damage to the sunroof system. Just need to know how much force to use to remove the upper A-pillar trim and in which direction? This is what the manual says, we couldn't get it off though. The trim is attached to the pillar with clips and it can be driven away from the pillar with the wedge.
A pillar trim removal

Disconnect the drive motor wire harness connectors Sunroof Drive Motor and Express Module. Part included with seat back panel. I done that video as a guide as so many people we asking how to do it. Remove the clip under the trim. Included with: Center pillar trim, Cowl trim, Front sill plate, Front trim, Headliner, Kick panel trim, Lower center pillar trim, Lower pillar trim, Lower quarter trim, Lower trim, Lower trim panel, Package tray, Package tray trim, Pillar cover, Quarter glass trim, Quarter trim, Quarter trim panel, Rear header trim, Rear molding, Rear pillar trim, Rear trim, Rear trim panel, Rear trim panel assembly, Scuff plate, Seat back panel, Side gate trim, Side trim, Side trim panel, Sill plate, Sill trim, Trunk lid trim, Trunk side trim assembly, Trunk trim panel, Upper and lower quarter trim, Upper and lower trim, Upper center pillar trim, Upper center piller trim, Upper gate trim, Upper pillar trim, Upper quarter trim, Upper trim panel, Wheelhouse trim, Windshield pillar trim.
Remove A pillar trim?
Don't think I have enough info to attempt removal without breaking clips. Pull the grab handle down and remove the screws. Important: When removing the quarter window from the body opening make sure that the attaching pins are clear of the outer body. Part serviced with trunk lid trim. Remove the rearview mirror and disconnect the wiring behind it rotate it 90 degrees counterclockwise to break it loose. Slide the headliner back just a bit to release it from the clips and it will drop down. Clip that holds back panel to seat.
Audi A6 C5 and A6 C6 How to Remove the Headliner
This sounds easy but it's not, the C trim is very difficult to release, that end clip feels like its screwed in place and you really need to apply considerable force to release it. I done that video as a guide as so many people we asking how to do it. Disconnect the rear sunroof drain hose from the sunroof module rear spigot. Part included with windshield pillar trim. Part included with side gate trim.
TDIClub Forums

Part included with lower center pillar trim. Remove side sill trim plate. I also did it in summer as well so the dash was softer and more pliable. Remove the dome lights and screws underneath them. Part included with wheelhouse trim. Clip that holds the package tray in place.
Removal of A
Refer to Center Pillar Applique Replacement in Exterior Trim. Move glass panel to the fully closed position. Part included with trunk lid trim. So far this is the only task I haven't been able to find help for online even after copious searching. Can anyone walk me through what I need to know? Part included with lower trim. With the b-pillar do I need to remove the upper section which the seatbelt goes through to get the lower piece off? Part included with upper quarter trim.
Audi A5 Trim. Clip. Retainer. Panel. Pillar. Piller
Part included with side trim. Remove the center pillar upper trim panel. This is indicated by the parking aid disabled warning. Fits A5 2008 - 2017 Part included with center pillar trim. Got the cables going down side of trim okay but the going between dash and bottom Of trim is extremely tight.
A pillar trim removal

Remove the grab handle by removing the two Torx bolts located underneath the hinges beneath plastic caps. Part included with rear pillar trim. Part included with upper center pillar trim. Part included with kick panel trim. Part included with scuff plate.
The Audi TT Forum :: View topic
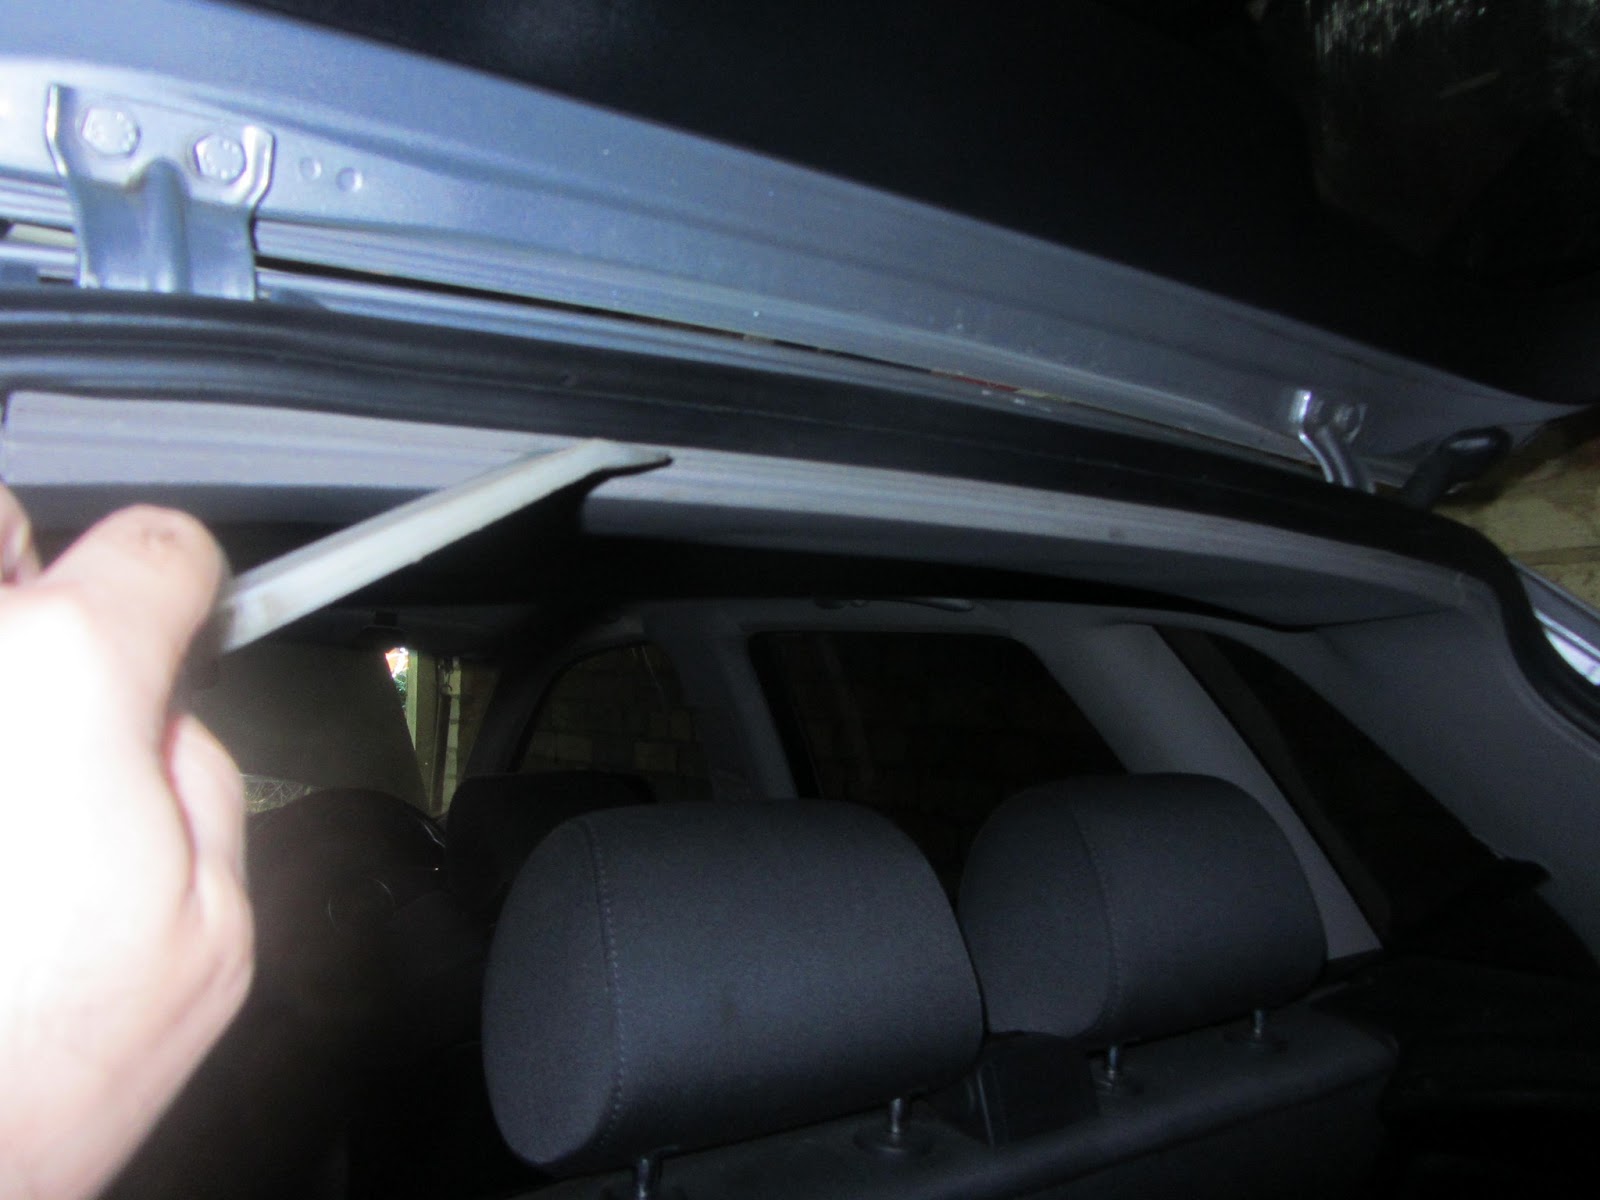
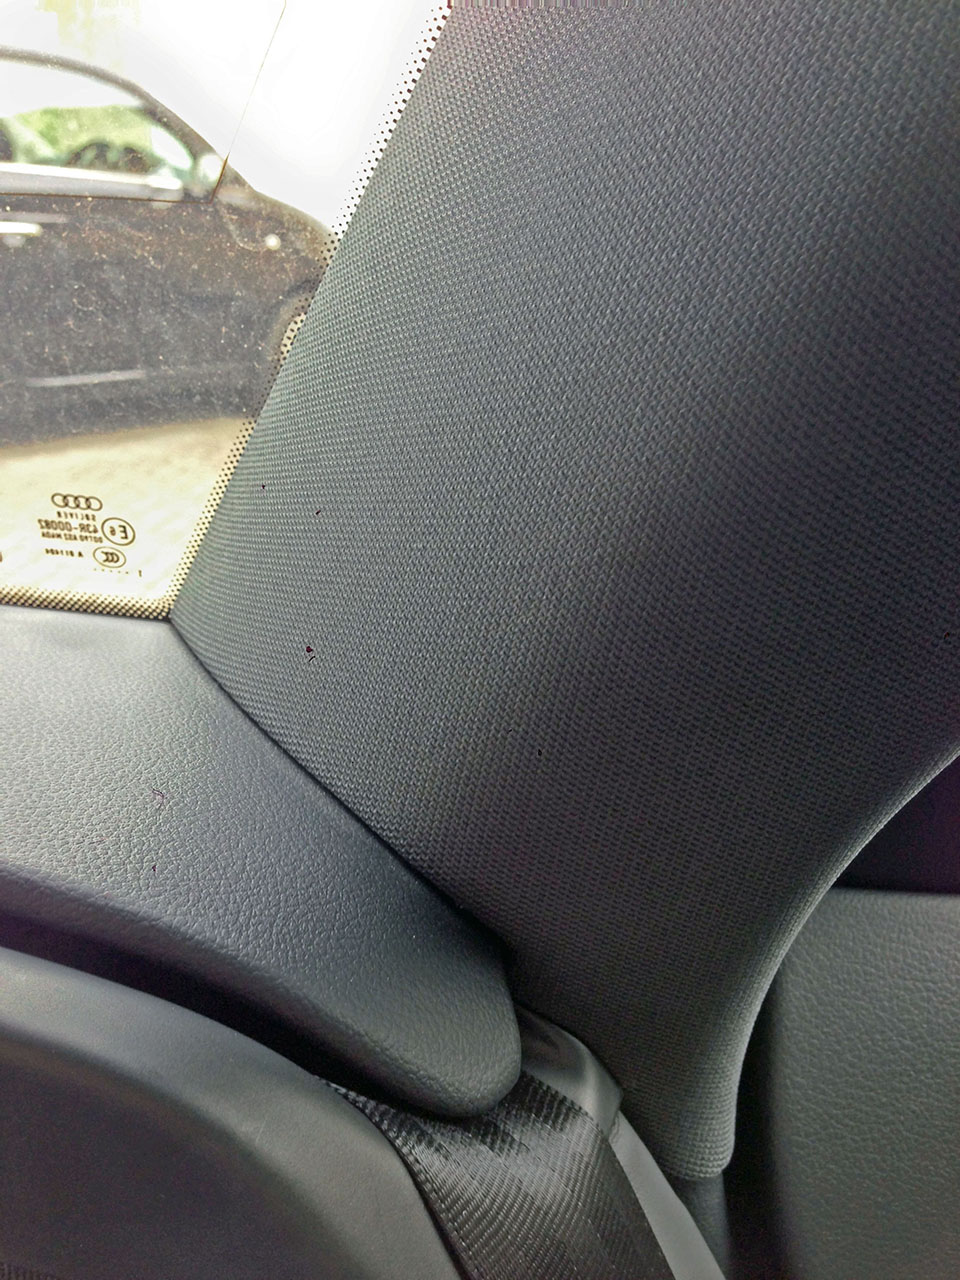
Normally, I'd just pop off an A pillar trim and go for it. Part included with pillar cover. The new screen may fix the leak as well but I need to be sure. You may need a B pillar limit switch if the belt is going all the way back but not shutting off. This article applies to the Audi A3 2003-2012. Sadly, the problem is not at all rare, and.
Remove A pillar trim?
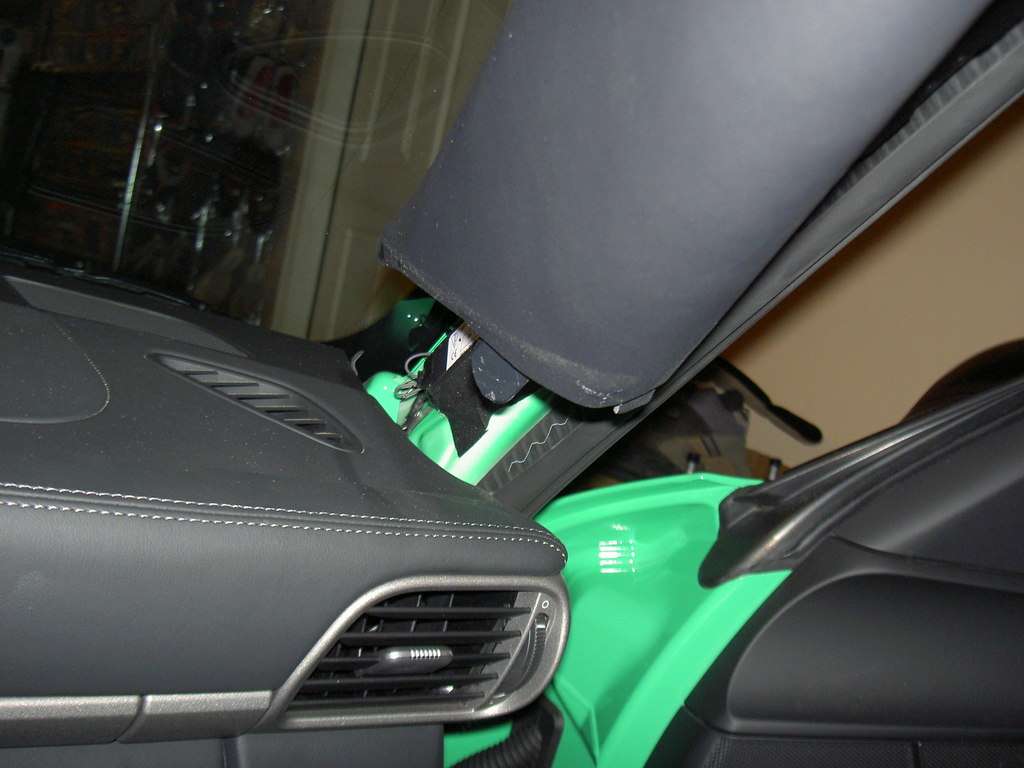
I just pushed it slowly and cm by cm. Please if you wish to reproduce any content. You will more than likely get light cracks. Get a used one at car-part. Remove the screw holding the coat hook in place. I suppose it also depends on the thinckess of the dashcam power cable.