Best ls1 books. LT1 Vs LS1 2019-02-14
LS1 Book

This ultra-cold treatment aligns the molecular structure in the metal, resulting in a stronger part. Caution: The seal tends to fold over itself and cause a lot of headaches for owners when the seal leaks. The wrist-pin-to-piston clearance is usually set by the manufacturer, but it still needs to be checked. We like to set the clearance between. The reason for this is that the piston chases the exhaust valve up the bore on the exhaust stroke. The square port allows for more airflow which means more power.
1

This is not cheap, but as a rule it is less expensive than a new aftermarket crankshaft. The block is now ready to have the main bearing caps and straps installed. The old rule of having 10 pounds for each 1,000 rpm is okay up 5,000 rpm. Step-2: Inspect Oil Pump Drive Gear A new gear is cheap insurance. Precision Race Components Includes: Stage 2. It also offers intake manifold porting and valvetrain kits with a specially designed camshaft. An optional nitrous exhaust port can increase flow to 290 cfm at.
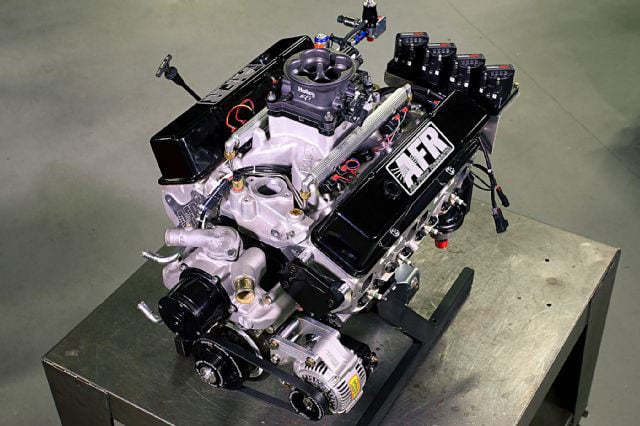
The Ultimate Assembly Guide for LS1

The runner size makes it appropriate for high-boost, smaller-cube combos, or larger-cube naturally aspirateds, with a 3. Their power is matched with incredible fuel economy and eco-friendly emissions that can triple gas mileage of a big-block with the same power. You are guided through selecting or fabricating motor mounts for the project. Put this seal in when the cover is installed on the motor. This, in turn, allowed for higher and more consistent cylinder temperatures.
Best LS1 Book?

Custom pistons vary in quality. Being based behind the water pump, service and maintenance are far more inconvenient than a conventional distributor. Step-7: Insert Ring into Bore Tip the ring into the bore carefully. Something to keep in mind is that the thinner the walls are, the harder it is to keep cool. However, most likely a solid roller and shaft-mount rockers is the chosen pairing with these heads.
Complete Engines for LS1 for sale

Install a main bearing and torque the cap. Not too much aftermarket development has been done with these engine as the platforms they were offered in never really were geared toward performance. Step-6: Install Oil Pan The bottom is capped off by the oil pan. Click the button below and we will send you an exclusive deal on this book. Another option is to cryogenically treat the parts.
Ultimate LS Cathedral Port Cylinder Heads Guide
Each program is well thought out to appeal to a particular and common customer need. The end play of the wrist pin needs to be near zero. He has contributed scores of magazine articles to Car Craft, Rod and Custom, Dragzine, Super Chevy, and others. Step-2: Inspect Oil Galley Plugs Continued There is an important galley plug at the rear of the engine not to miss. Step-15: Add Lube to Rear Seal The rear seal gets a small amount of assembly lube to help drive it home and seal it well. Offset the ring gaps prior to installation. Any damaged or stripped bolt holes are repaired.
Best LS1 Book?
Now it is ready to be checked for any cracks. Though cathedral ports are usually not the preferred choice for large-cubic-inch builds, these heads could change all that. West Coast Cylinder Heads Includes: Edelbrock 4. Pistons The next piece of the short-block puzzle is the pistons and wrist pin assembly. If you have done a good job and the bores are clean, the surface has a greenish cast to it. Be sure that the bearings do touch in this area; this means the rod bearings also. It is important to note that some seals on the engine are installed dry and others need to be oiled.
HP Books Chevy LS1/LS6 Performance HP1407

This manual will help you avoid common pitfalls and a garage full of expensive, unused engine parts. As soon as my order is placed it seems it is on the way. Next come the cam bearings, and then install the camshaft and make sure it turns freely. There is no bore size limitation. Trick Flow Specialties GenX 225 The GenX 225 picks up where the 215 head left off, adding greater volume and flow; best suited for 4-inchor-larger bores though it can fit a 3. The larger chambers on the 6. This Tech Tip is From the Full Book,.