Boot drive mac. How to Boot a Mac from USB Drive (with Pictures) 2019-04-22
How to Boot a Mac from a Bootable USB Drive
It was much faster than the 5400 speed 2. This is useful when attempting to install an operating system e. Click Next and the installation will begin. Step 3: Press and hold the Option key immediately after you see the Apple logo. The installer weighs in at a hefty 4. If you've already downloaded the file—it'll be listed as Open otherwise, click Download.
How to Create a Bootable Install USB Drive of Mac OS X 10.10 Yosemite « Mac Tips :: Gadget Hacks
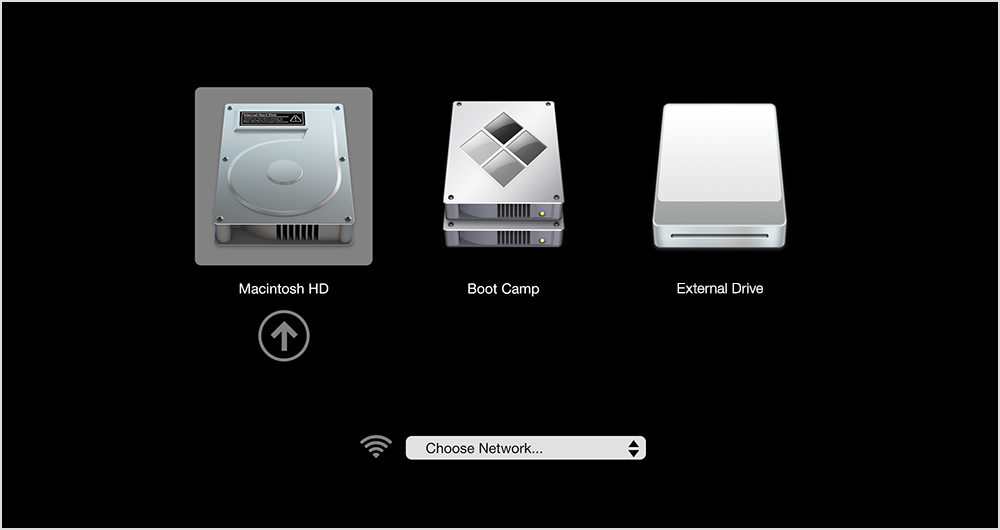
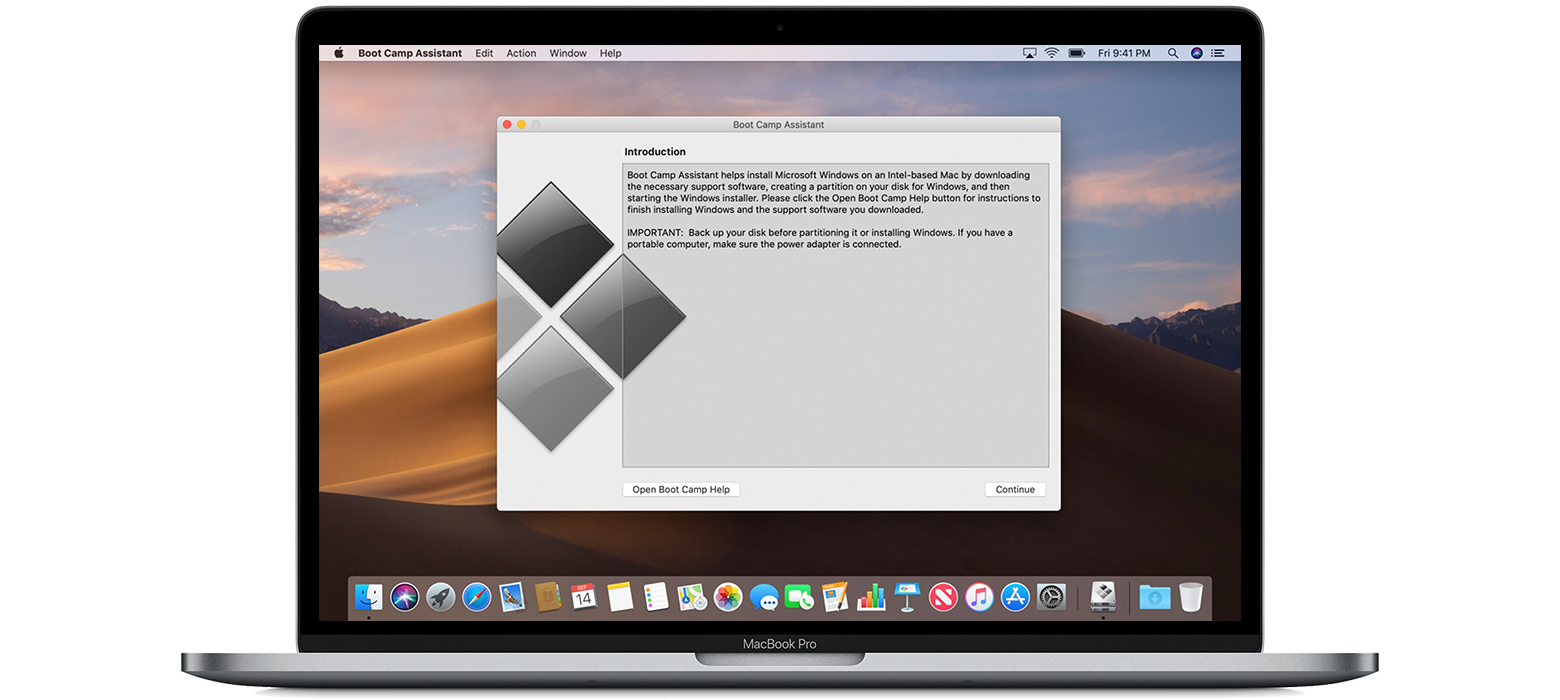
Once the Startup Manager screen appears, release the Option key. Boot Camp Driver Open Boot Camp Assistant in the Utilities folder, and download the current Windows Support Software from the Action menu. You can let go of the keys when you see a screen similar to the screenshot below. This will commence the Windows 10 installation. Conclusion That may seem like a lot of steps, but the most difficult thing about this installation is the waiting period required by the Windows installs. Then follow step 1 as per this tutorial.
How to create a bootable macOS Mojave installer drive

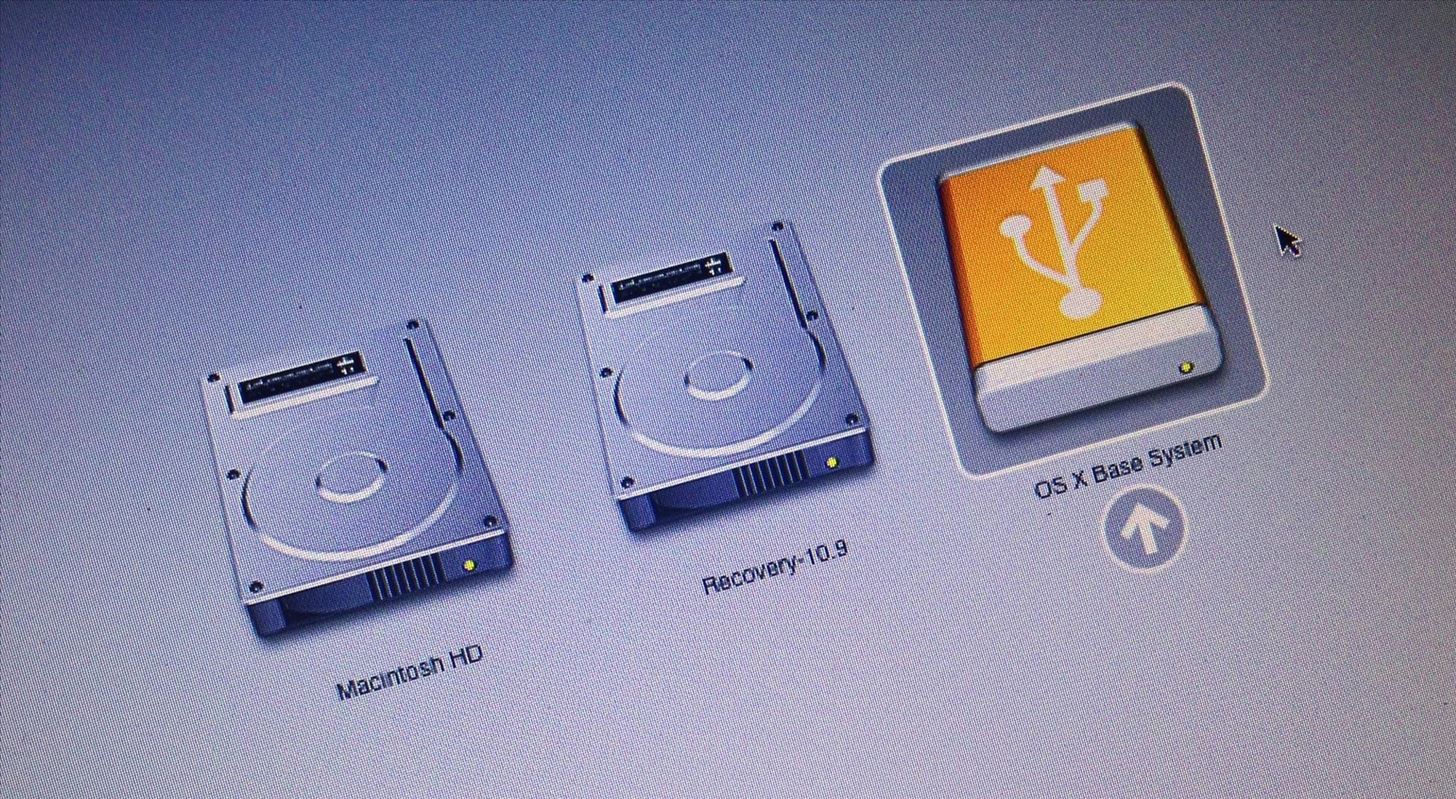
If that's okay, click Erase Disk Figure B. Upon starting the Install feature of Recovery, you will be presented with the option of choosing which Disk the installer is going to do its work on. Continuing to hold this button down will bring up a menu where you can select a disc or drive to boot from. It's great to hear from people! Quit Disk Utility after this operation completes. Sign up for the TekRevue Weekly Digest using the box below. Update: the public Yosemite version is out now, and you can download it from , , or.
The 5 Best Ways to Make a USB or Pendrive Bootable

How to Use Your Bootable Mac Disk Now that you have created a second bootable drive, you are able to plug it in and reboot to it at any point in time. A new window should pop up, and once it does, open the Installation folder. Apple Once the download is complete, the installer will launch automatically. This will bypass the selection menu and immediately start from the disc. Make a bootable installer drive: The quick way I used a free app called to make the installation drive. Can only download the installer app on a current Mac from the Mac App Store app. Hence, using an external drive for Windows Boot Camp is the perfect solution for me.
How to choose a startup disk on your Mac to boot from USB
Once the Startup Manager screen appears, release the Option key. The computer will start up from the chosen volume, but bear in mind performance will likely be much slower than when you normally operate your Mac. This method is a safe way to keep a second bootable machine safely on a hard drive in the event of your internal hard drive crashing. The Startup Manager only lists drives that include bootable content. A general understanding how your system loads can provide the basics needed to understand what is going on when you use boot media.
How to create a bootable macOS Mojave installer drive

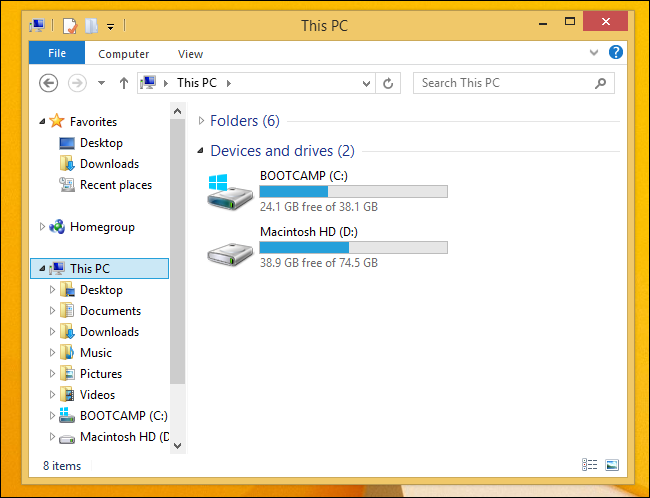
This should all be one line. Why is this method not working? Once Boot Camp Assistant reports that the Windows support software has been saved, and the WindowsSupport folder is on the desktop, close Boot Camp Assistant. Be sure to select the correct drive! Step 31: Open the Boot Camp drive in Windows Explorer, and drag the WindowsSupport folder from the Windows desktop to the Boot Camp drive. Once in the command prompt, there are usually 3 drive letters available: X, C, and D. Make sure the drive is empty and that there is only one partition.
How to create a bootable USB installer drive for macOS
And we're almost done now. Download the installer file The first thing you must do is download the installer file from the App Store. Press Command-R during startup to start your Mac from the Recovery System. Step 28: For destination disk select your external drive from the drop-down menu and click Next. Cover image via Related Woah! I have iMac and created usb as well as dvd both are bootable.
How to create a bootable USB installer drive for macOS

Select the version of Windows that is closes to the version of Windows installed on the Mac Windows 8, Windows 10. Step 37: After setup is complete, you should see the Windows 10 desktop. After you do this, the app will take a few minutes to create the boot drive. Make sure you have a backup first, just in case. Clicking the External will start your Mac up on this new volume.