Bootable usb mac os x lion. How to make Mac OS X 10.7 Lion Bootable USB 2019-03-30
How to make a bootable Lion install disc or drive
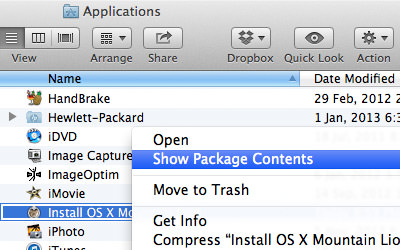
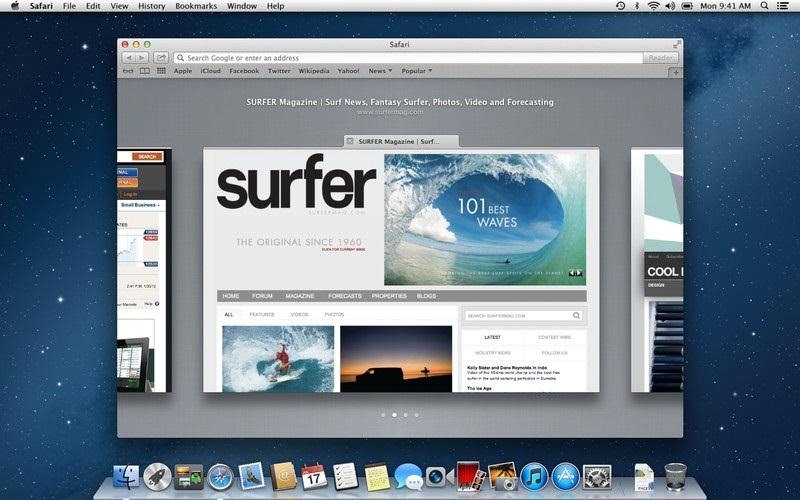
It even has Safari that you can use to. Image via Before You Start The obvious first step here is to. Highlight the partition by clicking on it in the space it is shown below the Volume Scheme drop-down and then click on Options underneath it. Similarly, any bootable Mountain Lion install drive you create will not automatically be updated to the latest installer version. Some people like yo keep a second clone disk as a second backup, but you really need to unless you want the security of that second backup. If so, upon restart the installer app deletes itself. For Lion, I explained how to.
Create OS X Mountain Lion Bootable USB from Windows

Creating Your Bootable Drive Lion DiscMaker makes this part of the process a snap. Just trying to look forward. Make sure the drive is empty and that there is only one partition. This is pretty easy to do, but I have made the walkthrough as simple as possible with plenty of screenshots, so just follow along the instructions. If the Mac App Store date is newer than the Modified date on your copy of the installer, you need to re-download the installer to get the latest version. Go to to download the latest MultiBeast 5.
Create A Bootable Mac OS X 10.7 Lion Flash Drive www.littleboyblu.com
I don't know why someone told you that. Select Okay and then, to confirm that you're aware the volume will be erased, click the Erase then create the disk button. If you get stuck, there are many users with similar hardware in the to provide support. In addition it includes System Utilities to repair permissions and a collection of drivers, bootloaders, config files and handy software. Name the drive anything I want. Having two separate installations of has several advantages over installing Lion atop your existing 10.
Create OS X Mountain Lion Bootable USB from Windows
He now has many, many bootable install drives. This is what will enable you to dual boot between 10. For example, if you want to on multiple Macs, a bootable installer drive can be more convenient than downloading or copying the entire Lion installer to each computer. Then, it proposes to build a bootable install disk and make it look as nice as possible. If that doesn't work, switch to the Mac App Store's main page and then Option+click the Purchases button in the toolbar. Browse to and log in. If there is no bootable volume present command-r will skip right to Internet recovery same as command-option-r.
How to Make Mac OS X Lion 10.7 Bootable USB Flash Drive

Update: Apple appears to have recently made this process easier: If you previously purchased Lion from the Mac App Store, the button next to Lion in the Store should simply say Download—click it to re-download the installer. If you have any space left over on your flash drive, you can add a few of your favorite applications and files, to customize a new installation. The whole process should take no more than an hour on even the slowest of Macs. Or just make a boot disk and not worry about it again. Finally, if you need to —assuming you have the license to do so—a bootable install drive makes it easier to do so. If you don't, you'll have to re-download the installer from the Mac App Store before you can create a bootable install drive.
How to make a bootable Mountain Lion install drive

Yes that can be an issue. If you've had success using this guide, consider a to help keep the sites going. The key here is to install Lion on the newly created partition and not the default which is atop 10. For more on Mountain Lion,. My apologies for being unclear. Note: In versions of the Lion installer prior to 10.
Create OS X Mountain Lion Bootable USB from Windows
You can adjust this to be 10. For example, when the inevitable 10. Get the latest version of the Mountain Lion installer Before you make a bootable install drive, you should make sure you have the latest version of the Mountain Lion installer. When Lion is finished installing, your Mac will now automatically boot into 10. Click on the restore to complete the copying process.
How to make a bootable Lion install disc or drive
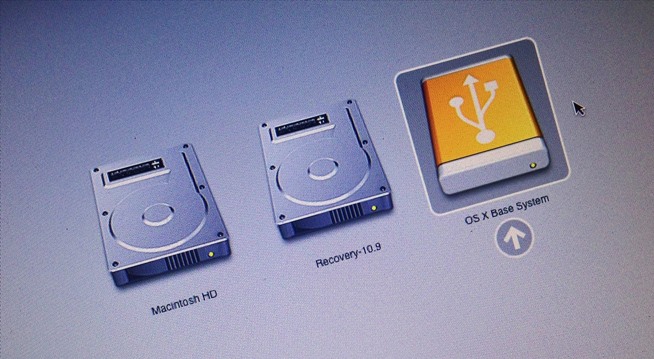
Make sure you just move folder contents. I'm not quite clear on what you are trying to do. If you do not find this file you will have to download it again. If you create an install drive and later download an updated version of the Mountain Lion installer, updating your install drive means erasing it and repeating the procedure below. You would want to save any personal data like documents, music etc you have on there. Now to boot from it just select it as the Start Up disk in System Preferences or hold down option key on boot and select it from the choice of bootable devices.