Cinema 4d keyframe editor. animation 2019-04-16
Editing, moving, and copying keyframes in After Effects
Property values appear in columns C, D, and E, depending on the dimensions of the property. The reason is that it can create awkward bumps or challenges to your animation and it's much better to have those keyframes lined up vertically within a given keyframe Track. Jaume Osman Granda Barcelona-based designer Jaume studied multimedia programming at the Polytechnic University in Terrassa, and now works as a freelancer. The plugin will allow you to adjust pose to pose animations by just clicking though the pose keyframes, rather than adjusting keys on the timeline or in the curve editor. This adds extra steps that can get gruesome later.
Keyframes and F
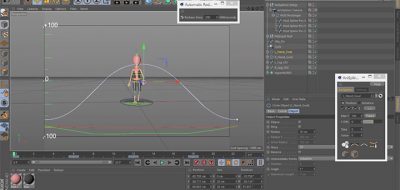
Select the small handles to smooth out your effects even more. Add 3D objects to existing environments with Camera Tracking or use Object Tracking to replace real-world objects with your 3D creations. In Attributes' Force tab, set both Follow Position and Follow Rotation to 10. Go to the Timeline and set it to 300 frames. Let's take this Scale and Rotation, also highlight the Summary Keyframes and move them forward in time. Generate exquisite photorealistic materials with multi-layered reflections or unique abstract effects using Cinema 4D's multiple material channels and many special purpose procedural shaders. If I go back to that keyframe and change the Key Value to be 0, then there it is back on the ground again.
lego system creation with cinema 4d xpresso « Cinema 4D Tutorials
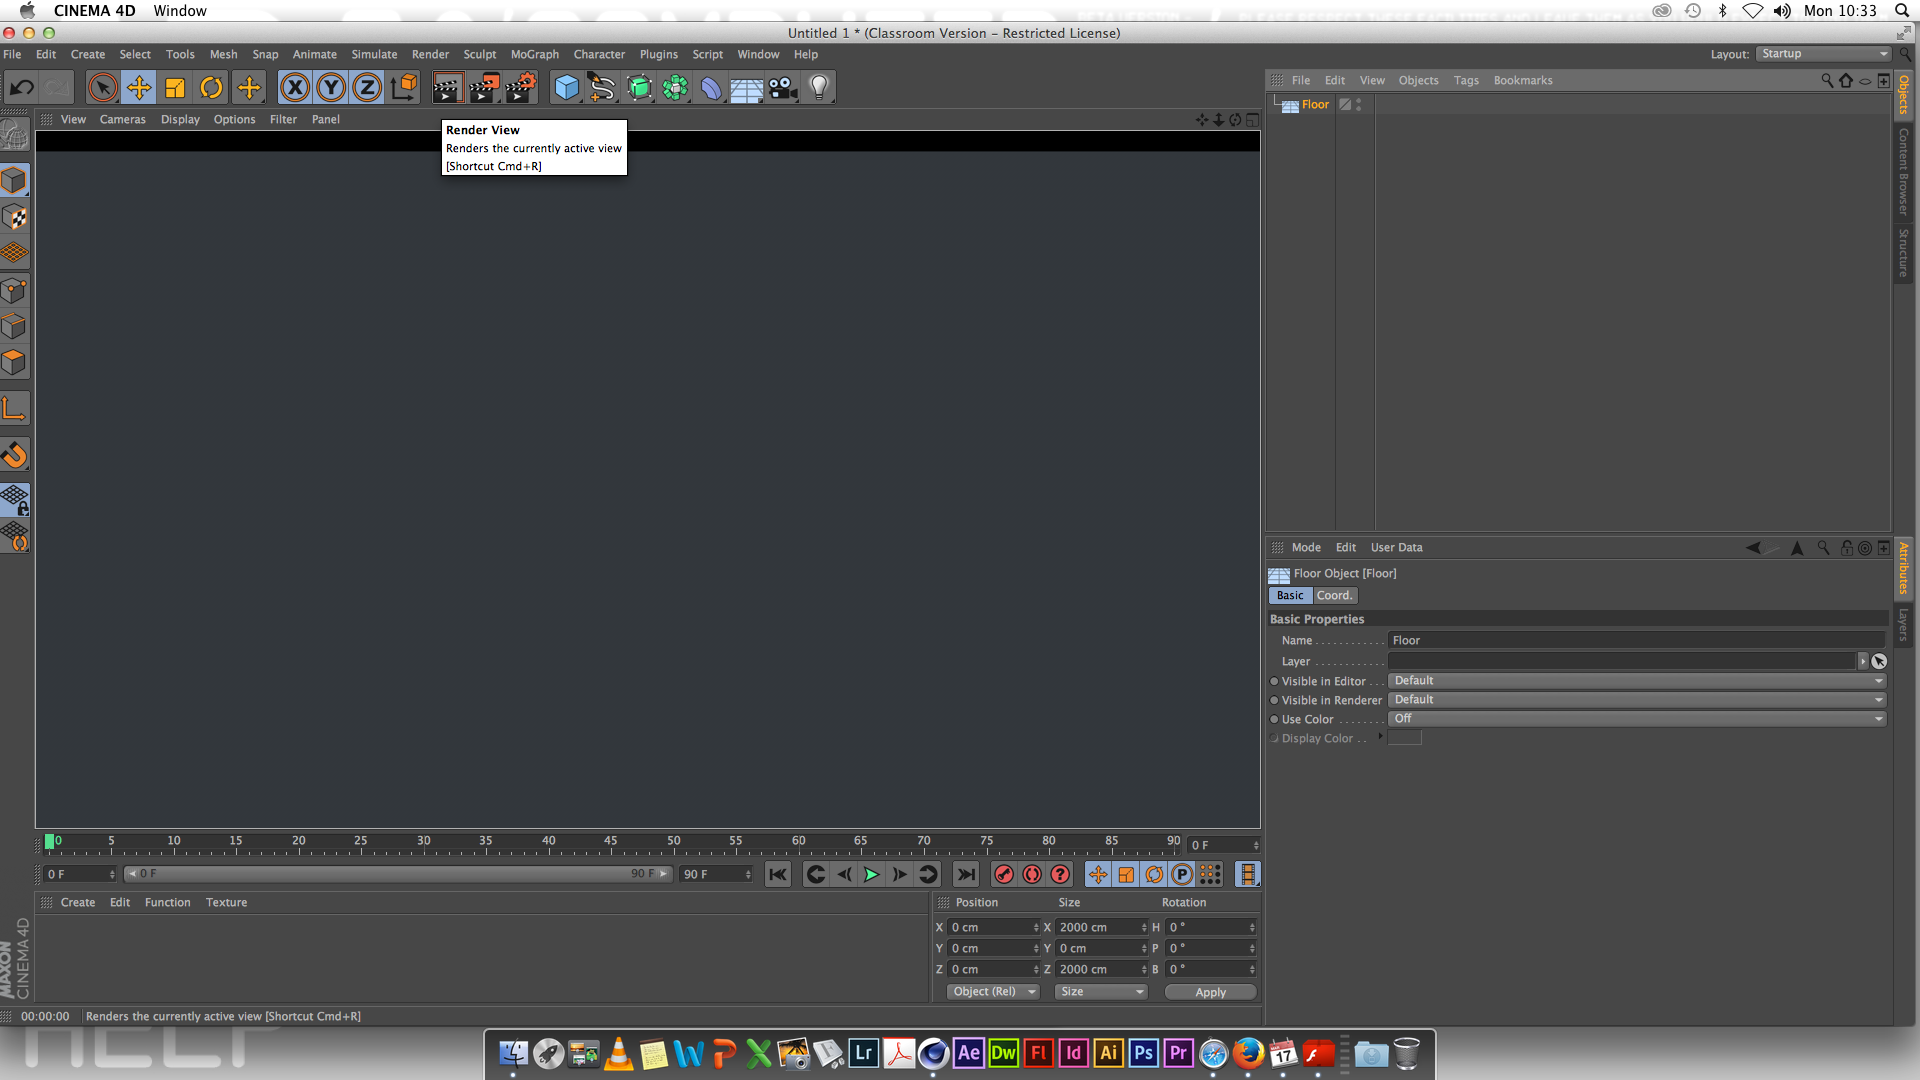
After pressing the keystrokes, you should move the mouse to position the keyframes. From setting up a basic tools to setting up a scene and animating it. To get started, you have to just require Cinema 4D software. In the Objects tab, drag Sphere onto Cloner until the cursor shows a downwards arrow to parent it. Blender have various selection methods. Only, I know the reason it aint Unity's fault, either. Cinema 4D Studio R20 lets you unleash your creativity and enjoy 3D without limits.
Buy Cinema 4D Studio R20 $3,510.25
The plugin works by letting you adjust the timing of an animation, simply by clicking to the next pose keyframe. So I'll highlight that one and go 0 tab 0 tab 0. The camera is now active. If you have any experience in that area, this will be familiar to you. Through this class, he will help you learn how to create complex collision interactions with dynamic simulations.
Editing, moving, and copying keyframes in After Effects

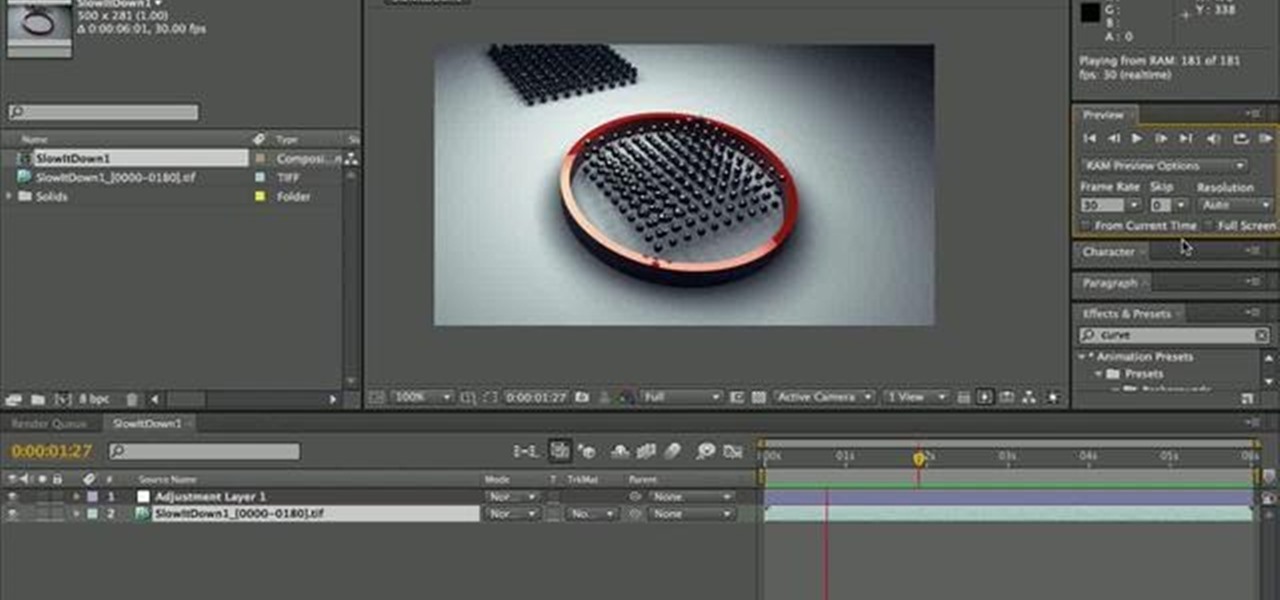
On completion of this certification, you will able to handle more challenging projects in an efficiently. Everything else on this site is copyrighted by lesterbanks. You can copy keyframes between layers for the same property such as Position or between different properties that use the same type of data such as between Position and Anchor Point. Let's hit Play real quick again to see that animation in real time. And now my object is small, I can't see it; let's set a keyframe for that.
Editing, moving, and copying keyframes in After Effects
This video collection plays for over 5 hours and runs the full gamut of timeline tools. Infinite Skills is one of the leading companies in Canada that offers top quality online learning solutions. By joining it, you can enhance a lot of skills including visual effects, animation, compositing and Cinema 4D. Check out the Top 5 Features of Element 3D V2 for After Effects! Its very easy to check and adjust the beats at which things happen. In turn, double-click on each copy, click Diffuse A in the Material Editor and change the Color value. When you select multiple keyframes with the Show Transform Box button selected, a free-transform bounding box surrounds the selected keyframes, and an anchor point appears in the center of the bounding box to mark the center point for the transformation.
7 Best + Free Cinema 4D Courses, Classes & Tutorials [2019 UPDATED]

F-curves This chapter discusses working with f-curves using a spline-interpolation. I reserve a smaller timeline space for changing start and end-frame, but otherwise the dopesheet is perfectly fine doubling as timeline. With BodyPaint 3D and Projection Man, high-quality custom textures are just a brush stroke away. I don't know what's negative in your experience, but relying on manual single selection and border select sure is error-prone. Be sure to check out for weekly tutorials on Cinema 4D, After Effects, Element 3D, Adobe Fuse and other cool motion graphics apps! Through this online training, they will help you learn basic tools that are required to create 3D models. Once selected, you should be able to see a small change in the way in which your clips behave. Learn about the top 5 new features of Cinema 4D R17 here: To check out new features added to Cinema 4D R16, check out this video! Creators swear by the Skillshare platform since it allows them to take up thousands of courses around different aspects of creativity at a fixed subscription cost.
Buy Cinema 4D Studio R20 $3,510.25

Sidenote: when recording this video I hadn't fully recovered from a cold, so I excuse myself for any unwanted sound effects that might pop-up from time to time :. . Want to learn see even more Premiere Pro quick tips? I don't ever want to accidentally do something like this. Currently, there's no fix for this and it makes c4d animation in Unity near impossible. Cinema 4D's extraordinarily powerful lighting system offers numerous options to control color, brightness, falloff and other properties, and for adjusting density and color of each light's shadows. You can actually manipulate the values in the keyframes when you know exactly what they need to be. This tutorial also covers using the f-curve editor in Cinema 4D for After Effects to create easing, as well as working with motion curves, and other tips and tricks for creating animation in Cinema 4D R17 and Cinema 4D Lite for After Effects.