Diy cnc pdf. DIY CNC 2019-04-28
Diy Cnc Plans PDF Woodworking
You will only need to tap the top side on the tube but the through holes will allow you to transfer the hole locations on tho the work table. The power supply was mounted in the box to the bottom side and the G540 was placed on the top panel. These simple tools allow you to quickly create G-code without any programming knowledge. The resistor needs to be wired to the connector that is connected directly to the controller. Make sure to hook up the power supply correctly, otherwise you may short out the components and could destroy your electronics. I had to make adjustments in the setup to get the sharpie at the right height to mark on the paper.
Diy Cnc Plans PDF Woodworking
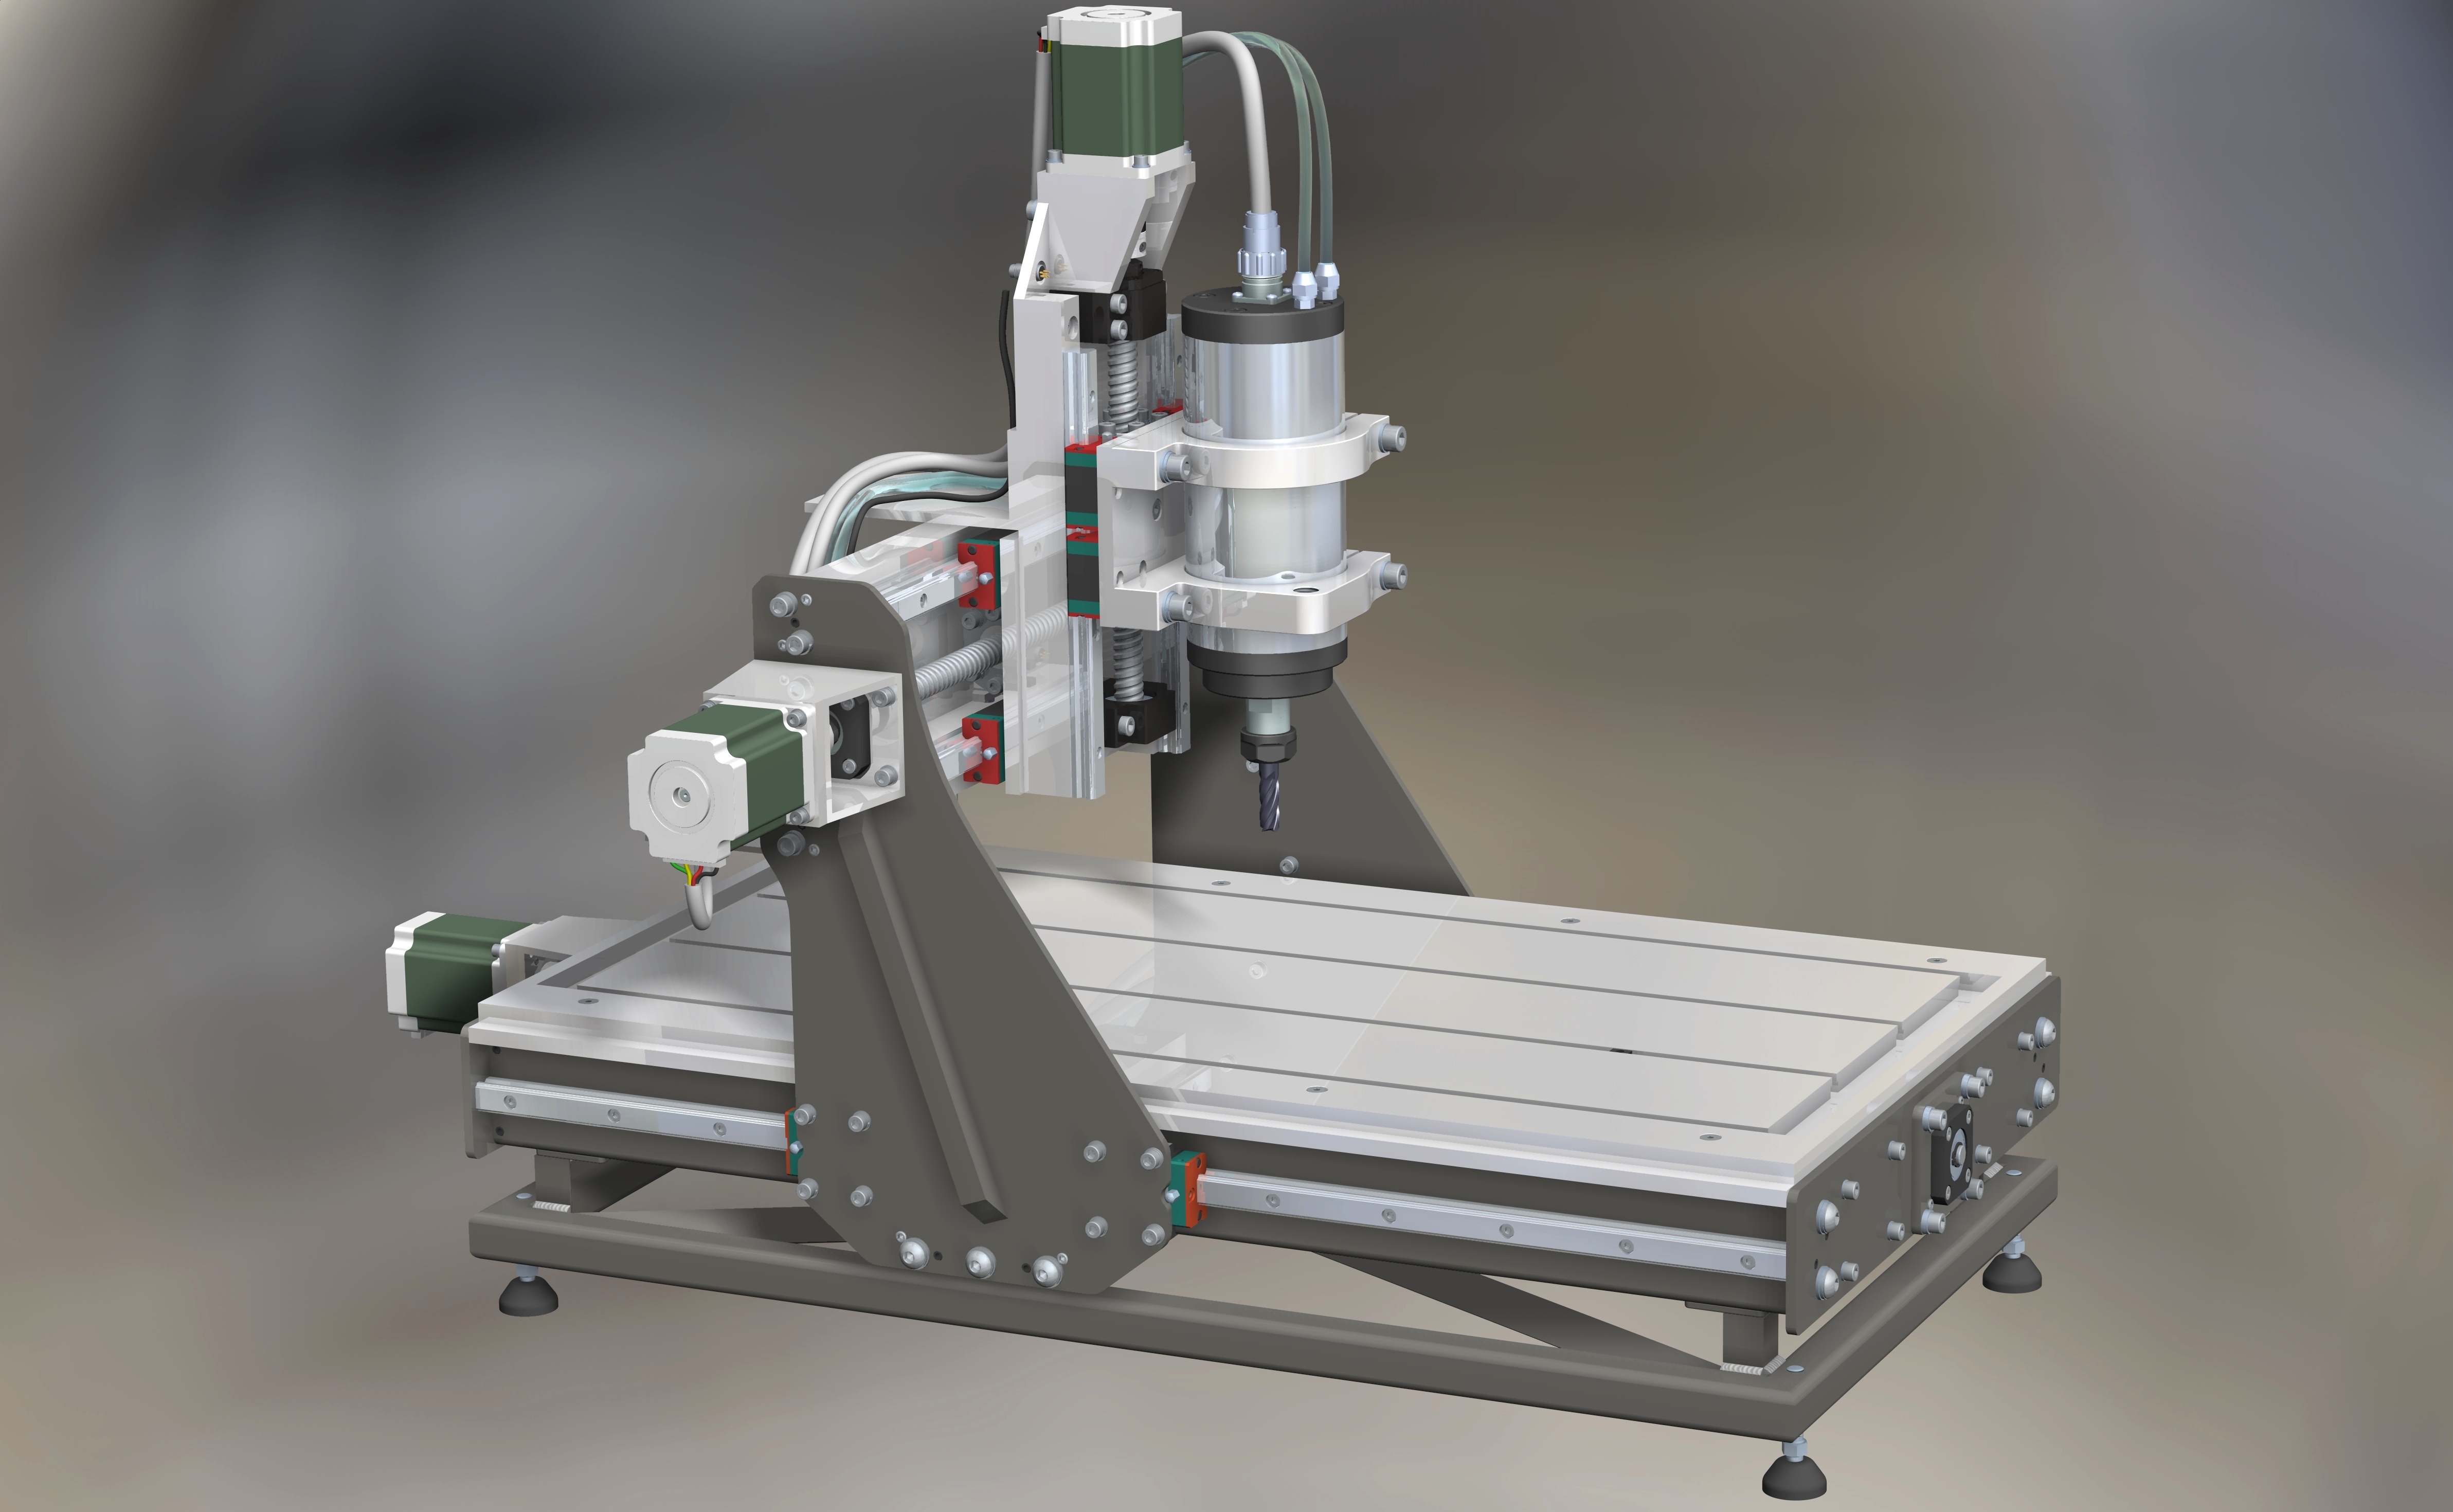
Then with the plates still attached to the frame weld the tubes to the plates. The gantry is mounted on the long axis so that when it is slid out of the way, access to the table with a full sheet of material is easy. Check out the z axis assembly, step 22, for a picture of how the drive screw is assembled. All five parts are basically the same except for the plate that mounts the z axis stepper. Then repeat this process until you drill all the way though the part or to the depth you want. Would you maybe have a photo which includes the full machine I would love to add on another step to the Instructable showing other peoples versions. There are no angles to cut or parts that seem impossible to get right, just straight cuts and holes to drill.
Modular DIY CNC Machine: 11 Steps (with Pictures)
You could even just draw your machine on paper. I have included a few tips about working with metal and some tools that make life a lot easier in this instrucable. I gave in and cut my pieces using this machine. This build can be very sturdy if built correctly. The enclosure I used is an outdoor electrical box which I decided to use after seeing. I was able to purchase a single 24ft piece from a local steel supplier,. I originally designed a wheel carriage system but found it to be difficult to maintain alignment.
DIY CNC Router: 30 Steps

Greetings galaxyman7 tekenika5 years agoReply The angle with the two bearings works only if you have a method to tighten them onto the rail. Their C-Beam machine has all screw drive but is a little different style than this machine. The cut outs on both ends were done with my band saw in the vertical position. A single start screw has one thread a 2-start has two threads and a 5-start has five threads. I also added in a couple drag chains to clean everything up.
DIY CNC

They were not drilled with much precision so you will need to transfer punch all the locations for each rail. I read this about one year ago, and purchased a kit from outland86 soon after. I designed it this way but did not fully follow through on the other change that makes this more useful. I purchased and again you can find part numbers on the parts list. Super impressively he also resisted the urge to cheat and cut all his pieces by hand.
Diy Cnc Plans PDF Woodworking

To make this more reasonable, break up the holes into sections and do each set individually. Let me pick on your brain and experience if you don't mind : - How fast do you run the router? Its also good re-lubricate with tap Magic during this process. Ten threads per inch means that if the screw in spun around 10 times the attached nut will move 1 inch along the screw. You should go deep enough to allow the stud and nut to sit below the surface of the wood. I also run the Gcode before having any tools in to avoid damaging the tool if the Gcode isn't quite right. I wish I had something like the model when I was first assembling the machine; it took a lot of trialand-error to figure it all out. As group A beginer there are a lot of variables that are leaving to narrow down your choices.
CNC Router Plans: Download free CNC router plans

I see this a lot when parts are to be welded together. Joes 2006 R-1 Design This is another very popular design. The ends match the hole pattern on the stepper motor mounting plate so just use your jig to transfer punch those locations. Routing Change My initial routing scheme was to place the Arduino on the X Plate Outer and route everything to it as shown Option A. All other relevant files can be found through the Thingiverse link. To do this just lay out all your holes and drill them all the same size, a size that you have a transfer punch for.
Check Out These Amazing DIY Plasma Cutters and CNC Tables

Keep in mind though that a lot of acronyms and jargon are used on cnczone but if you have read cncroutersource you should be able to figure it out. The windows are from acrylic, also bough at Lowes. Custom Parts: As mentioned, I used Ponoko to custom cut my carriages. For simplicity, I only showed one side. In the videos it looks like on both the laser and dremel by the 2nd or 3rd pass there is some drift i.