Diy hot rod headliner. Make Custom Headliners like Ron Mangus 2019-03-16
15 Hot Rod Budget Build Alternatives: Do This, Not That ~ Roadkill Customs

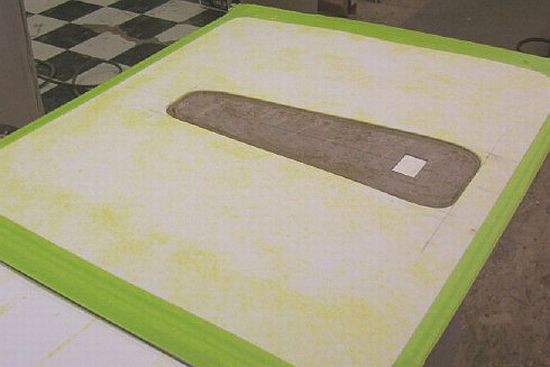
There just is not a way to explain how to do it with out sitting in my shop and watching. Remove the tape and once dry, flop your foam over on the cardboard. . Fill that sucker full of staples. You'll notice I work in a bit of a curve. Then transfer that line a third time to the top side of your foam.
Hotrod Panels Makes Custom Door Panels

You would hate to install this much work in the car and find out a corner is too short!!! The team has their shop in Plattsmouth, Nebraska, just south of Omaha and they make it a priority to work very close with the owners and builders to understand their thoughts on style, form, function and design. You may not use that approach, but some do. Once everything is in place, centered, and straight, the interior screws and gas tank can be tightened up, holding the panels in place. Transfer those measurements to the backside of your thin cardboard and round the corners as before. Please by all means tell us how you did it with illustrations. Spray glue on the center three coats and spray glue on a piece of foam larger than the cardboard not pictured. If the entire tail won't tuck under, you may have to trim more off.
Do

What you want to do is line it up with the back edge of your above door grip strip and sink a staple or two. American Autowire includes a new headlight, ignition, and dimmer switch as part of the Highway Series kit. When the contour of the roof is matched on the bow, hold the bow in place and mark where the bow is next to the hole. What we are creating here is a quick simple cheat to be sure the rear of our headliner gets stapled straight. Starting a build with any of these original power-plants could break the bank. He has also shared a number of this techniques and build tips with enthusiasts and do-it-yourself rodders in his instructional videos. Finally, you can flip the entire piece over.
Hotrod Panels Makes Custom Door Panels
I'm sure you must use different densities in different areas to get the shape and firmness. And as a beginner, you can turn the machine by hand one stitch at a time to keep straight!!! Roadkill Customs has become the de facto resource for low budget, back yard builders and do-it-yourself hot rodders. Set your stapler against the tack strip and slide it up till it stops at your cardboard guide strip. Based on what I have read here, before I do my final leather interior, I will use the wood as a template to make metal backing panels. I paid to contribute and donated money to this site before I posted pics. We make our living off of this and for us to tell you step by step how do build an interior is not the right thing to do. Repeat the above for the other side.
Making and Installing a Custom Classic Car Headliner
This will leave the cardboard beneath exposed. The time you invest in choosing the right classic car insurance coverage worth the value and peace of mind that the policy of quality assurance provides homeowners a collector of classic cars. Unsure how the final finish would turn out, I was half-expecting to need to topcoat the dash, at the very least. This one isn't for the faint of heart. This doesn't mean we won't help you out with certain questions but just keep in mind of what was said above. Next we'll head into the car for a bit more prep around the rear quarters and back window. After painting the dash to match the rest of the truck, I installed a new chrome dash trim set and three-spoke steering wheel from Speedway Motors.
Tech: Upholstery Tips from the Pros #1

See how easy that cardboard guide strip made the install? I'm not trying to show off,Just posting pics that show work that can give people ideas. Both guns come with the corresponding-size fluid nozzles, taking the guesswork out of setup. I did luan wood for inner kick, door, and quarter panels. At this point resist the urge to trim the tail hanging down. I'm sure it's just like body work, a lot more work goes under the finished product than anyone would expect. Tag us on your favorites list or put us as your home page! My 1952 Ford F-1 build has been steadily building steam as of late, culminating most recently in the completion of the interior. Trace the opening along the top and exactly at the door opening edge.
Headliner Installation

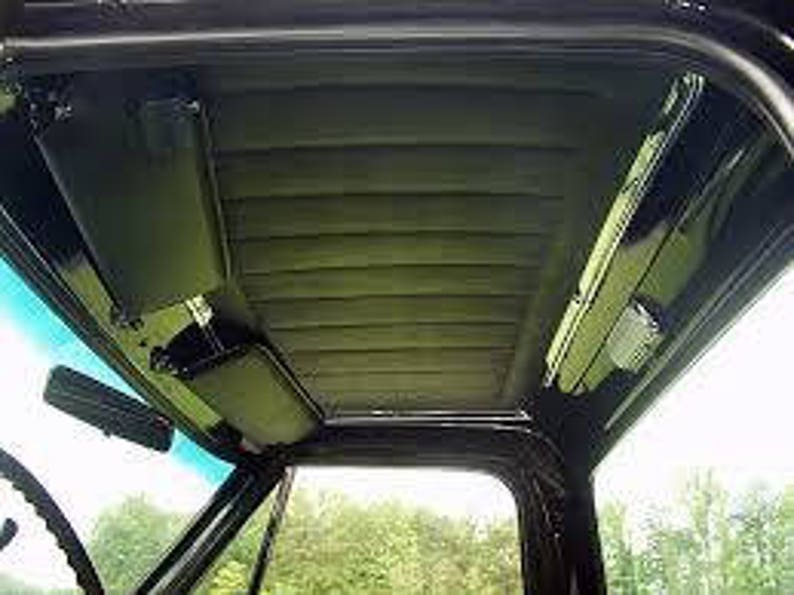
I chose this seat as not only was it the right width and came with integral seatbelts I have a pre-teenage son , but it tilts forward for access to the battery, toolkit, and spare wheel. We sent the stock 1952 Pontiac gauges out to Classic Instruments where their custom shop totally restored the cluster, as well as the clock, with new pointers, faces, and updated motors. Be sure you have good mounting points to attach your headliner to. It took us a while to select the right steering wheel to top off our Flaming River polished stainless steering column, but I think the three-spoke black wheel from Mooneyes fits our restomod interior perfectly. Get the same materials and start see what you can do with them and some imagination.
Making and Installing a Custom Classic Car Headliner

Repeat on the opposite side you may need to create a pattern from the 1st to get the second looking the same and work around the rear tack stip untill you have a complete guide strip of card board from one door to the other. . The entire process goes smoother for the builder, painter and interior crew! Some cars have a tack strip in the opening to staple to. Turn the entire piece upside down and place it under the sewing machine. The new cluster will be mated to new, modern sending units, delivering accurate information to the cluster at all times. Are you a professional and have more insite, or would like to change something? As far as headliners go, not all cars were constructed the same — but generally vintage cars have rods underneath the liners spanning side to side which hold them in place.
Hotrod Panels Makes Custom Door Panels

Horsepower No other language speaks to fellow gearheads clearer than a big horsepower number. Thank You Like Recovery Room said it has taken us years of learning thru trail and error, this a trade and we are very proud to know this trade. When doing a restoration with aftermarket pieces, the project is a lot more user-friendly but even seat covers or headliner installation is kind of a black magic or lost art. Then bend the end 90 degrees at the mark. Turn upright and smooth the material out, workin' it into any design you have cut. We mounted the fuse panel in the stock location, on the firewall, under the dash. Strongly consider getting an interior rendering done by one of the many talented illustrators in our industry.