Free snipping tool windows xp. Finding the windows snipping tool & how to make screenshots for free. 2019-05-13
Windows XP
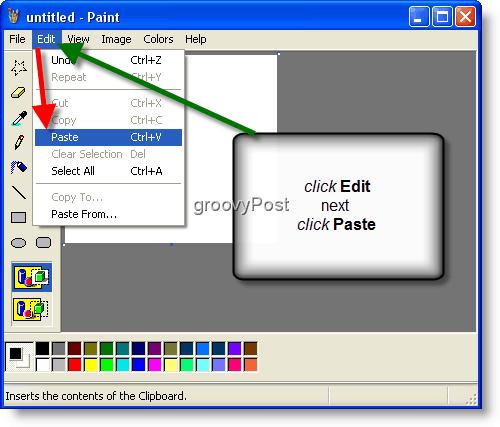
This will make it easy to paste the screen shot into an image editing application which makes it possible to email it, upload it to a site or just save it to your computer. When you capture, it will sent the image directly to the clipboard. It can also help if they want it in a particular format or you can send a collage of snippets. The only way Microsoft wants you to take a screenshot is to use the print screen command. It is way more powerful than the Snipping Tool for Windows 10. Access to more screen options Perhaps the best part about this tool is that it has plenty of options that you can do to your captured screen.
snapshot
The earlier used methods are still there, but now it is much easier to take screenshots with Snipping Tool in Windows 10. A good snipping tool should give you options to quickly install and access it whenever you need to use it. Screen shot tools are extremely useful if you want to show someone else how to do something on a computer, or explain a problem you are experiencing. Rectangular snip means that all of your snips are automatically shaped into rectangles. If you are using a Mac computer then the application choices for snipping the screen will be lower.
Download XP Snipping Tool 1.0.0.0 Beta
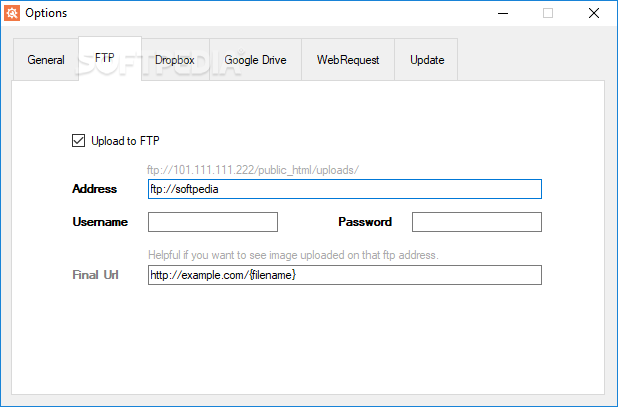
One of the greatest things about taking a snip is the ability to share it with others when needed. Simply go to Cortana on your taskbar and type Snipping Tool and press Enter. This is done by pressing the arrow on the Send Snip button. I'm presuming that people interested in this answer may be able to test this. To capture a pop-up or drop-down menu or any part on the screen, you can follow the steps below. This is why I find myself leveraging Google more and more. Then you can select from several options you see on the list.
Snipping Tool
I would highly suggest Greenshot and I use it daily at work. Depending on the Windows version you are using, you may be compelled to click through different security messages. Step 4 — Installing the tool Once the application has been completely downloaded to your computer, you then need to click it to run the install utility. Set the options and play around with it. How can I make a screenshot from a menu? Features: - Share Screenshots - Set the path to save the screenshot - Screenshot display, you can decide to save or discard screenshots - Trim the captured screenshots - Browse and edit all history screenshots Download and start taking screenshots.
Snipping Tool in Windows 10 and Alternative to It
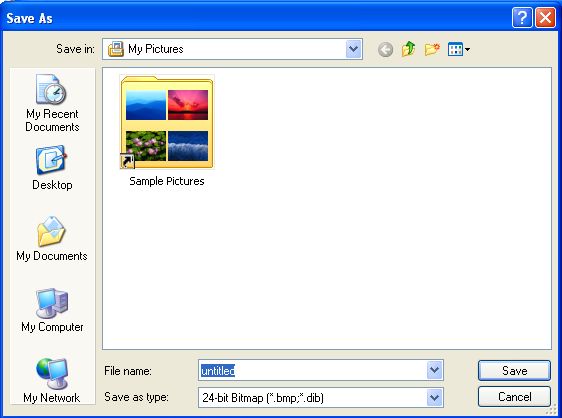
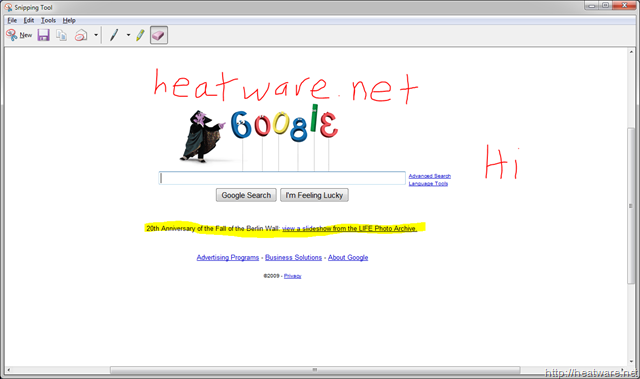
This will then instantly capture the image and save it where specified, and also copy it to the computers clipboard. The snapshot is displayed within the main window once you save it, and you can use the application's toolbox to pinpoint important areas using the highlighter or freely draw on top of the picture with the pen. Mode The Mode button refers to different modes of taking a screenshot using this tool. Use the cross hairs to identify the area you want to capture. Before delving deep on the features and overview on how to use it, here is a 3 step guide on how to download and install it. This step will be skipped if you selected Full-screen Snip mode.
Snipping Tool Free Download
This is complete offline installer and standalone setup for Snipping Tool. Finding a snipping tool for Mac computers however is more difficult. With plenty of snipping tools available for windows you are spoiled for choice. Tips: Snipping Tool on Windows 10 only gives you 5s to create a snip. Secondly, just move the cursor around the area you want to capture or drag the cursor around the screen to capture a rectangular snip. Clicking it will immediately let you select the area you want to capture.
Snipping Tool for XP
The last type of snip is the Full-screen Snip option that will allow you to capture the entire screen. Screen shot tools are extremely useful if you want to show someone else how to do something on a computer, or explain a problem you are experiencing. Full screen snip takes a screenshot of your whole screen. There are a few options to choose from, these make it possible to either capture the entire screen, a certain area of the screen, or just the active window. Step 4 — Installing the tool Once the application has been completely downloaded to your computer, you then need to click it to run the install utility. Everyone once in a while, if not daily, we all have to work with images. There you can edit the screenshot.
XP Snipping Tool Free download for Windows 10, 7, 8

This feature can be useful when you want to take a screenshot with right click options of some program, etc. Annotate, Edit, and Share your Snip If you want to play around with your snip, you can do so at the mark-up window. Clicking on it cancels the process and takes you back to the mains screen of Snipping Tool. Final word Above is just a partial list of possibilities that makes this tool the best and free screen capture software you can get. Next, go to all programs, select accessories and click on the snipping tool to open it. All in all Snipping Tool is a very simple and productive tool that can be used for extracting images from your desktop screen or from any webpage.