Headlight bulb for 99 toyota camry. 1999 Toyota Camry Headlight Bulb 2019-02-20
Toyota replacement bulb guide

Then the bulb twists out of the parking light. Take the wire, push it in, then lock it into place. Again, you never want to tighten with a power tool. Guess I got to take the good with the bad. Notice the bulb metal base has 3 small prongs that fit into 3 notches on the base of the headlight housing.
1999 Toyota Camry Auto Light Bulb Size Chart

There's a little clip right here on top. Give the connection a slight twist to lock it in place. Remove bulb from headlight housing. Remove the black rubber waterproof boot. I am used to the replacement bulbs that do both high and low.
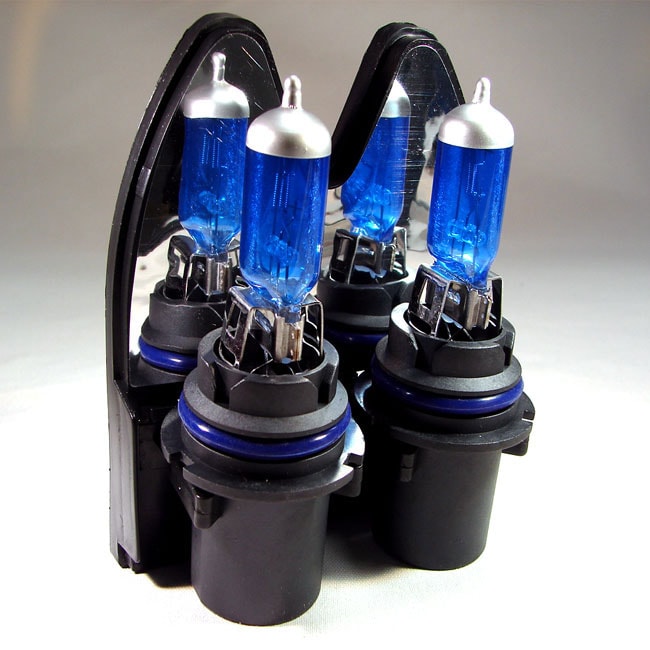
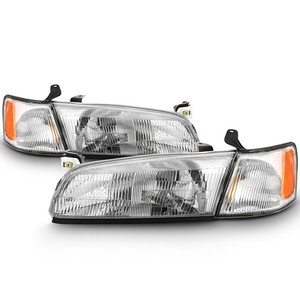
Toyota Camry Headlight Bulbs, Camry Halogen & Xenon Replacement Headlight Bulbs
Who had some ideas about this? My experience shows that they have a… The whole headlight assembly comes out by pulling up on two tabs located on the back side of the plastic headlight housing. Always verify all light bulb sizes, bulb voltage usage and bulb wattage before applying any information found here to your 1999 Toyota Camry. There are long threaded pins on the front of headlamp assy they stick out beyond the grill. To install the parking light, put the bulb back in and twist to lock it. Just do the reverse to put it back in.
1999 Toyota Camry HID Kits & LED Headlights

If you do, the bulb could explode due to the fact that you have contaminated it with the oils from your skin. I just had to do this today. If your low beams are burned out you will need H11. Reinstall by reversing removal instructions. You only want to tighten by hand so you can control how tight they are. In this video, I'll quickly go through just replacing the bulb for those that might be looking at it for that, and then get into replacing the headlight itself as well. If I can do it, anyone can! Here at Advance Auto Parts, we work with only top reliable Low Beam Headlight Bulb product and part brands so you can shop with complete confidence.
1999 Toyota Camry Headlight Bulb

Remove the parking light by using a screwdriver. If your adjuster here, though, is in good shape, there's really no need to remove it. Detach wire harness by pushing on clips and pull straight out. You can just use a regular wrench. The only thing holding the lens at this point is another plastic tab at the lower corner that is behind the fender.
How to Replace Headlight 97

The lamp is now free. The lamp assy comes out without tools. The combination of downroad, sideroad, and white light produced helps the driver achieve more clarity during night time driving. Under the hood, I removed the bolt in the center of the plastic shroud. To reinstall it, put it in. Done This was very helpful since I did not have the maintenance manual and it was not obvious to me that the boot could just be popped off easily. This is important as you would fight to get it through and possible bend the new lamp contacts.
Toyota Camry Headlight Bulbs, Camry Halogen & Xenon Replacement Headlight Bulbs

If you are going to change transmission fluid do not forget to change fluid in differential. The right parts, installed correctly that's going to save you time and money. Look at the replacement bulb to see where the tab is. You look in at the back of the passenger side headlight, here's the washer bottle. Now, if you want to replace the bulb or complete set, then you have plenty of room to unscrew and replace the whole kit or just replace the bulb. If it isn't, then the beam will be off.
How do you change headlight bulb Toyota Camry 99

There should be one Phillips head screw that goes into a tab at the top of the lens. The mentioned air vent tube is fastened with a plug that looks like a button from above, it only needs to be pulled up at this spot and then can be folded to the left. My Wife noticed it was blown this morning. You pull the middle of the clip up, and then you can kind of get under the clip and pull it out. When it comes to your Toyota Camry, you want parts and products from only trusted brands. Advance Auto Parts has 21 different Low Beam Headlight Bulb for your vehicle, ready for shipping or in-store pick up.
Toyota Camry Low Beam Headlight Bulb
What you have to do is to open the hood of your Toyota and dependant upon which side of the car the bulb is being replaced look behind the headlight. Look at the rubber boot that is behind the light. You should be able to see the wire clamp that … is holding the bulb in place. Our Toyota Camry light bulb guides allow you to easily replace light bulbs, replace headlight bulb, change a broken lightbulb, install a hid headlight conversion or install led light bulbs instead of spending countless hours trying to figure out which light bulb sizes in your 1999 Toyota Camry. The bulbs screw in from the back and sometimes you have to remove the light to get to the back.
Toyota Camry Headlight Bulbs, Camry Halogen & Xenon Replacement Headlight Bulbs

This is common replacement method for most 90's model Voyagers. Plug in the connector plug with wires. Then turn the bulb socket counterclockwise to remove it. Once you have it loose, you can position it to get to the headlamp socket. Now we'll install the parking light.