Mac finder on windows 10. How to Share Files Between Mac OS and Windows 10? 2019-04-08
How to Find MAC, IP, and DNS Address on Windows 10
Knowing their details would help you when you are setting up a new router or. On Cortana search field, type cp and select that appears as the result. Tap on the Start Button or press the Start logo key to open the Start Menu. A list of printers as well as other devices that are connected to your system will appear. Once you have done this, you will notice the paths to your file at the bottom of the folder you have open. This is the partition you want to install Windows 10 on.
How to Use the Finder on Your Mac
Click on the name of the network to find out its properties. You can't find the client Mac address from a remote server. Also, if you use Windows 10 without a password, this would save you from having to setup a password on your account. By default, when connecting from another machine, you have to enter the username and password of an account that has access to that shared folder on Windows 10. Installing Boot Camp software is the last step that makes Windows 10 run well on your Mac.
How to install Windows 10 on a Mac

Type cmd as shown and the Command Prompt appears in the search results. Speaking of that your only chance might be using an entire Windows shell replacement. It's important that you select the 64-bit Architecture, unless your Mac specifically supports only the 32-bit architecture very few do. If you're not sure whether your computer is using 64-bit or 32-bit Windows,. Make sure there are no other flash drives or external hard drives connected to the Mac. To set which operating system to boot up as default, use the Boot Camp control panel Windows or Startup Disk in System Preferences Mac.
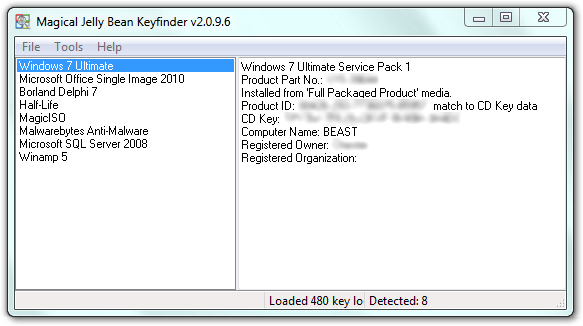
Find out the MAC address of your Windows 10 Laptop
Select it then click on Format. Since, the address is registered and encoded by the manufacturer is it also known as hardware address. Instead, it gets you the basic network information including Bluetooth network connection, Ethernet and Wi-Fi. Knowing the respective commands to find out the exact details about either of them will help you save time. It is often located under Local Network section. The partitioning will takes place and then the Mac will restart. The first three bytes represent the manufacturer identifier.
12 Ways to Find the MAC Address of Your Computer
You have to print it from the printer or from the computer as well. Click on Permissions and then add groups or users that you want to give access. See how — Through Configuration Page i. To create this article, 74 people, some anonymous, worked to edit and improve it over time. This addressing depends on the company conventions. If you don't see this message, open the flash drive, and double-click on the Setup file inside the BootCamp folder.
How to Find MAC, IP, and DNS Address on Windows 10

Select Network and choose either AirPort or Built-in Ethernet, depending on how you access your network. Finally, look at the output that appears for the Physical address of the printer. The installation process will then ask you to confirm the Windows edition you want to install, and ask you to agree to the terms and conditions. I suggest clicking on Advanced Sharing as you have more fine-grain control over everything. To turn it on, open any folder, click View and then Show Path Bar. So to help those users I decided to write this post.
12 Ways to Find the MAC Address of Your Computer
When new window appear, click on the Details button. Open the System Settings from the Dashboard. Note that this is the only time you can pick the partition size for Windows so make sure you make up your mind before continue. That page sometimes also includes devices that are not currently connected, but were in the recent past. Confirming the formatting of the BootCamp partition.
How to Share Files Between Mac OS and Windows 10?

Click on Wi-Fi or Ethernet and scroll down until you see Network and Sharing Center. I recently upgraded one of my computers to Windows 10 and setup a shared folder so that I could easily transfer files from my MacBook Pro and Windows 7 machines to Windows 10 over the home network. This field helps to identify the company which manufactured the computer. For many modern printers, the Configuration page, and the Test page are the same. You have to make sure the firewall is configured properly. On the right pane, select your printer.
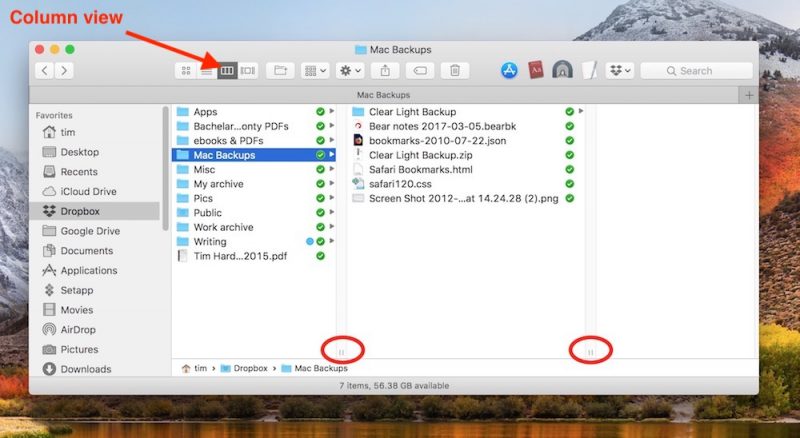
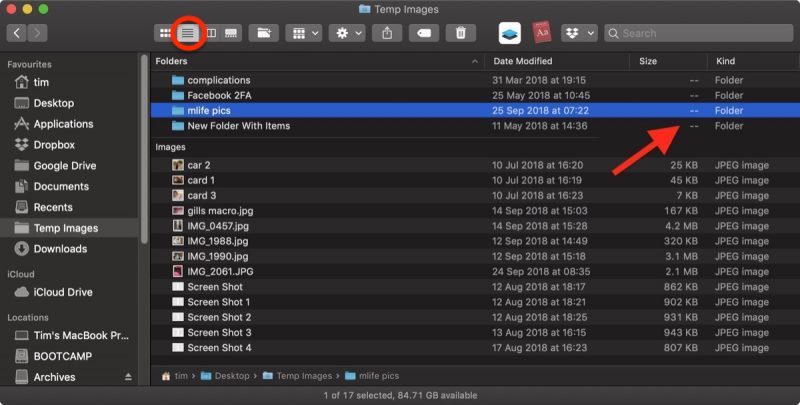
How to Use the Finder on Your Mac
Pick the third option that reads Remove Windows 7 or later version then click on Continue. Last updated on 8 Nov, 2018. Go its right pane, select the printer and hit the Manage button. Make sure you have that ready. Now giving a terse description about the data bits. If yours already has Windows 7 or Windows 8 on your Mac, you can. In addition to the Back, View, and Action buttons already present in the Toolbar, you can add functions such as Eject, Burn, and Delete.