Mercury mercruiser service manual number 24. 1998 2019-03-20
Download Mercruiser Service Manual Number 15 Marine Engines Gm V 8 Ic79050 Pdf Enligne 2019 PDF Book

Are you using a Scan Tool? If still excessive, replace worn or defective parts, since no provision is made for adjusting pinion clearance. Allow transmission to drain completely. This feature is only active between 400-700 rpm. Install nut and washer to cable barrel stud. A filter wrench may be needed to loosen element.
DOWNLOAD Mercruiser Merc
The over-full condition results in the engine crankshaft splashing and agitating the oil, causing it to foam become aerated. If such a tool is not available, a cotter pin may be bent, as shown, and used. Remove wire from sender terminal. Torque the fasteners evenly in a diagonal pattern to 150 lb-in. If pump assembly is installed incorrectly, top of pump assembly will contact air horn casting. Remove four nuts, Phillips head screw and two regulator leads.
DOWNLOAD Mercruiser Merc
Crank engine for ten seconds if engine starts allow it run until it stops to relieve any fuel pressure in the system. Does scan tool indicate fuel pressure sensor voltage Step 4. After downloading your Mercury MerCruiser Service Manual Number 24 you can view it on your computer or print one or all of the pages needed. Engine must be as level as possible to ensure complete draining of cooling system. Remove distributor cap and set it aside. Tighten all hose clamps securely. To correct, reverse primary coil leads.
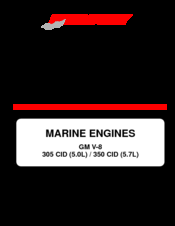
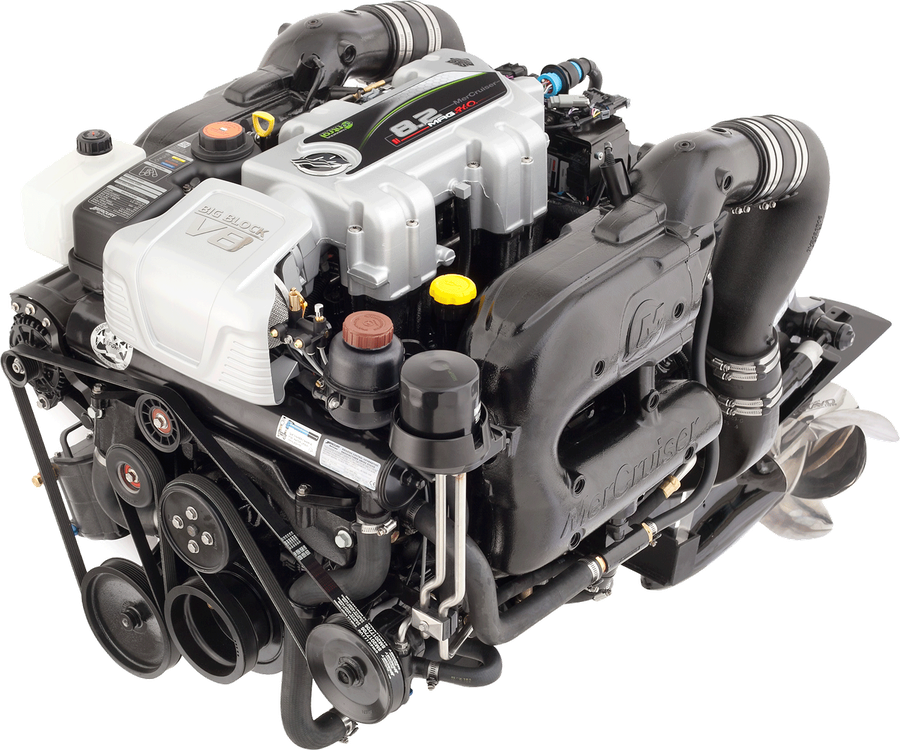
MERCRUISER 305 CID (5.0L) SERVICE MANUAL Pdf Download.

If dial indicator deflects over. When the old plugs are replaced, replace the entire set. Do not smoke or allow spark or open flame in area. Place solenoid in drive housing and tighten screws. No warranty will apply to failures that occur under these conditions. Remove end caps, sealing washers and gaskets from the heat exchanger. Also, mark position of distributor housing on intake manifold.
Mercury Outboard Service Manual Free Download PDF
Apply a thin coat of clean engine oil to the bore of the seal retainer. Refer to the special information on service and maintenance, which you have received from the tank or boat manufacturer. Install float assembly and hinge pin. It takes the stress out of docking and maneuvering in tight spaces and less-than-ideal environments. .
Owner's Resources
Check for poor connections between field winding leads and slip ring terminals. After coolant has drained completely, reinstall petcocks and hoses. If removed, install new plug in end of input shaft. Empty gear lube from monitor. Ensure that all cooling system hoses are connected and tight. In some cases, this may allow for more individual tasks to be performed in a single visit to the serving dealer, rather than multiple visits. Attach cable to throttle lever stud.
Mercury MerCruiser Service Manual Number 24 Supplement PDF Download
Remove oil pan and dipstick tube. The chart below is a guide to crankcase oil selection. Disconnect battery cables from battery. Remove filings with compressed air. Use compressed air to remove abrasives.
Mercury MerCruiser Service Manual Number 24 Supplement PDF Download
Strict observance of the so specified items will enable one to obtain the full performance of the vehicle. Inadequate cooling of engine due to deterioration of cooling system. Are you using a Scan Tool? Connect volt- meter positive + lead to the battery negative — post. Customer Service Was a problem found? Disconnect electrical connector at Knock Sensor located just ahead of starter motor. Crank engine for ten seconds if engine starts allow it run until it stops to relieve any fuel pressure in the system. Use rocker arm stud remover to partially remove old stud as follows: a. Engine will misfire and idle rough.
Owner's Resources
Sudden loss of pressure could cause hot coolant to boil and discharge violently. Starboard side is right side; port side is left side. Install sensor into housing and install two retaining screws. Connect an ohmmeter as shown for Test 1. Remove oil pan as outlined. Check propeller shaft for straightness. Timing can- not be properly set using the conventional method.
Mercruiser Service Manuals Removed!!!!! Page: 1

It is normal for an engine to use a certain amount of oil in the process of lubrication and cooling of the engine. Remove drive and associated parts from drive housing. Install timing chain and sprocket or gear on camshaft -align marks with crankshaft. Remove drive and gear from planetary shaft. Please visit our to see a complete list of all the useful service manuals we offer. Remove crankcase ventilation hose from flame arrestor and starboard rocker arm cover. Replace components as appropriate for your model.