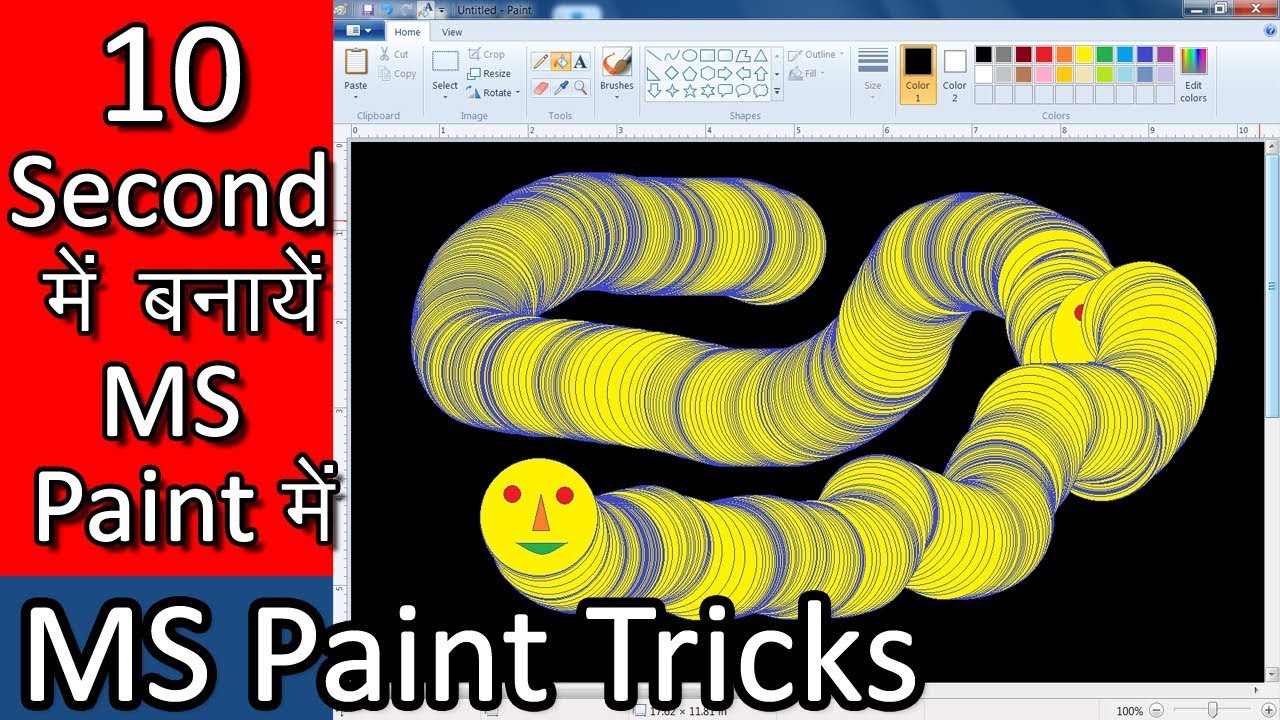
Ms paint tricks. Microsoft Paint 2019-04-26
How to Use Microsoft Paint in Windows (with Pictures)

And here comes the explanation on how to do that: First, you copy your lineart and put it next to your original picture for this it is wise to have a large canvas : Then you colour the image! Its simplicity has made it very easy to manipulate images, take a screenshot of the active screen and much more. Tempra is not rain proof - … Latex is great for out door application. Unfortunately, even with all these improvements, I would still prefer to use the previous version. This is the color that you'll use when using the left mouse button on the canvas. Now open up paint and click edit paste.
How to Use Microsoft Paint in Windows (with Pictures)
Quick Undo Quick Undo lets you quick delete the part that you accidentally added. When I paste it on the rectangle I get the desired result. Another feature, that was brought to my attention by Hazard Rush Studios is one that is nameless in nature and appears to be completely useless, and may possible have no practical function at all. Of course it cannot do things like Photoshop or an equivalent tool can. This ends up in frustration. I want to paste the circle on the rectangle.
Neat tricks in MS Paint
Microsoft paint was introduced in the first version of the Windows 3. Hold Shift and drag it around. Conclusion These are few basic and interesting tricks that may lure you into using this otherwise neglected tool. Make gradient To make a gradient in Microsoft Paint, follow these steps: 1. Make Transparent Background Transparent background images make very easy to merge with other images. I'm not sure about you, but this feature appears to be pretty useless.
The Complete List of Microsoft Paint Keyboard Shortcuts
Ctrl + — num pad would work to decrease the size. Check out the links below. This feature may not appear to be useful at first, but if you're drawing small lines and squiggles such as fur or something, this tool is a godsend and may save you some medical bills for repetitive strain injury for hitting Ctrl+Z so much. Outline the part of your image that you want to remove. After you hit invert color only the selected part of image will be inverted. It doesn't really have that much use, and, more often than not, is accidentally toggled by the user.
Top 5 Microsoft Paint Tips & Tricks
Paint on Creators Update 1809 10. Paste the 1st picture; Select it,resize it if necessary and position it; then do the same with the 2nd picture. Fill a section with color. In , the toolbar icons and default color palette were changed. Change the brush size Of all the mentioned hacks, this is the easiest and the most handy. The tutorial is overall very approachable and easy to understand for even novice users, keyboard shortcuts will be mentioned as they are used with the aim of not leaving anyone stuck.
MS Paint: Tricks that you probably didn’t know you could do

Tapes On - Peels Off Inexpensive Blocks glaring sun. That means we have to find a way to make the whole image completely black and white, and only black and white! In the secondary color box, select the color you want to replace said exiled color with. First, open the image you want to make a transparent background in the paint. But you can lay a base coat of white latex to improve Tempra. Make sure that white is the underlying colour, and that you choose the see-through option! Like this box I drew. Here are four cool tricks that work great for me. A dotted rectangle will revolve around the chosen area.
MS Paint: Tricks that you probably didn’t know you could do

Now, there is a slight problem with this image. This is, again, a matter of Microsoft removing very useful features that they think no one uses. Its a col clock animation. It can also be used for entering or editing data and formulas. It is still widely used for simple image manipulation tasks. You can also select the specific portion of an image to invert the color Tap on the select menu and select the free form selection or rectangular selection.
MS Paint for Windows

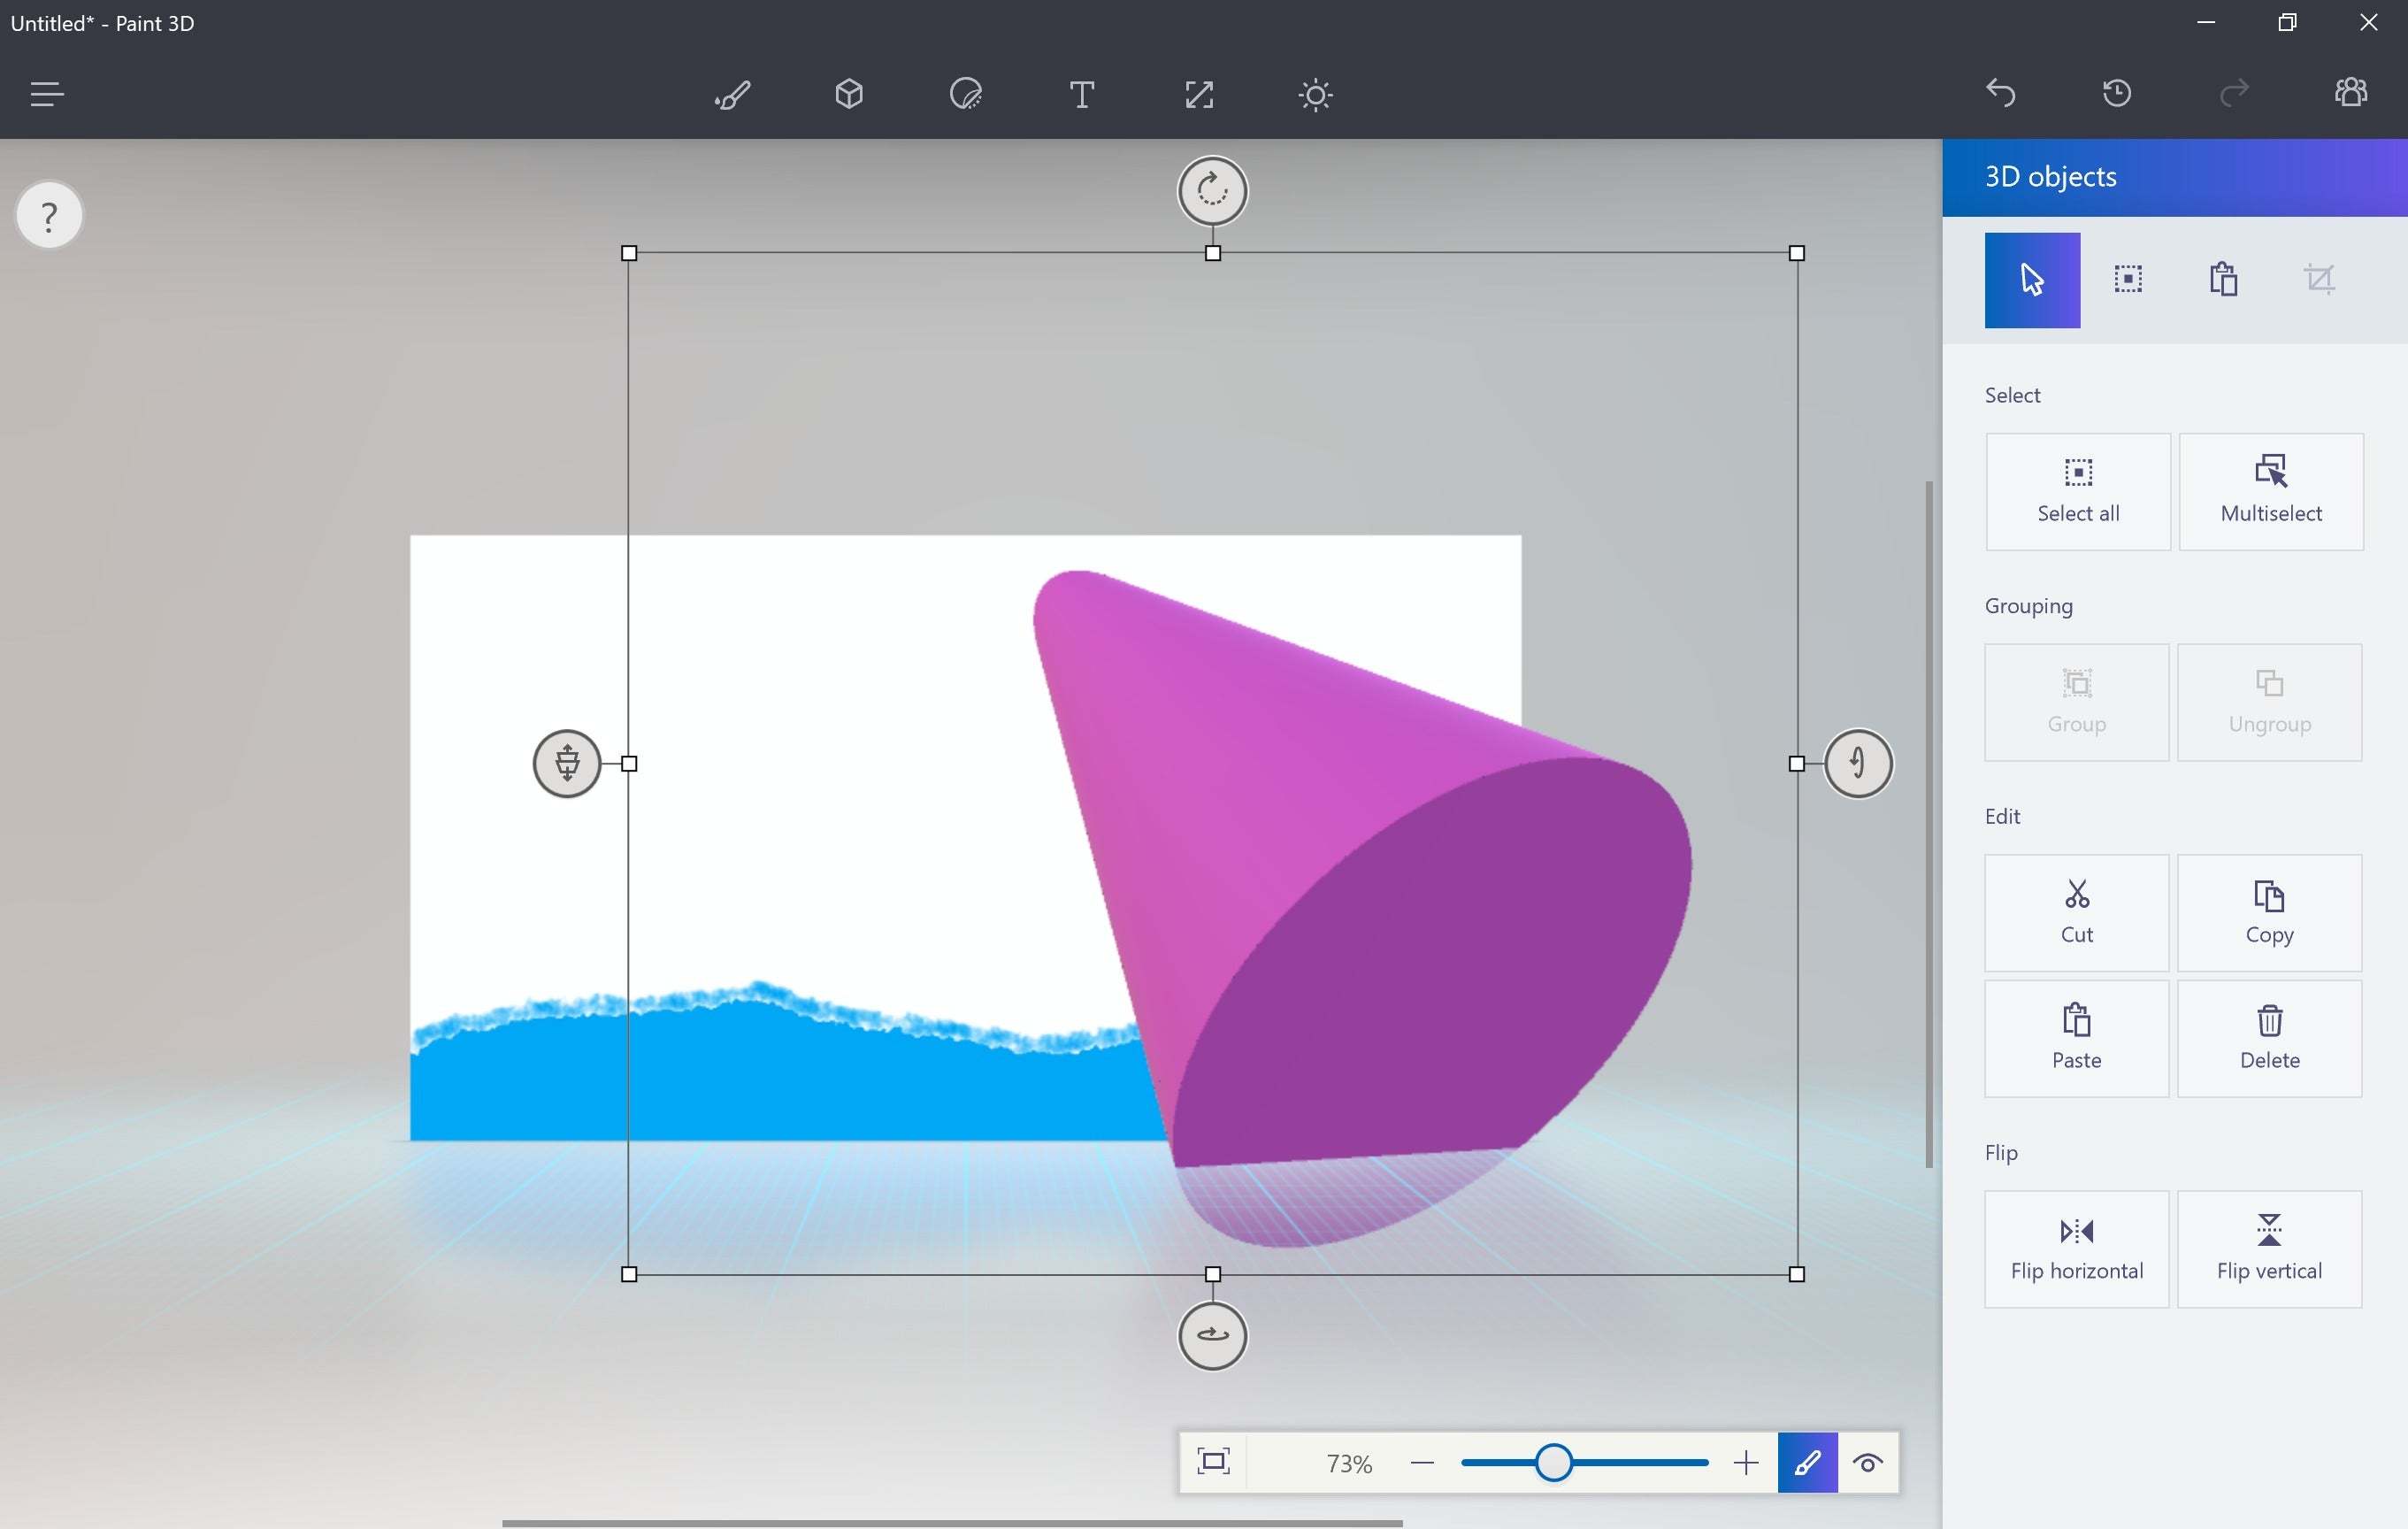
All it takes is a single keystroke! In later versions of Paint, the color erase brush may be simulated by selecting the color to be replaced as the primary color, and the one it is replaced with as the secondary color, and then right-click dragging the erase tool. So far the list appears to be comprehensive. As well as your suggestion, which more or less sounds like starting over. So let's say you have a 2D picture that you want to add a 3D feel to it , then you need to shade. Save changes to an existing Paint project. A shape that you think your brush should have.
MS Paint Tricks

The ribbon was added to the Windows 7 version of Paint. Name Box Located next to the formula bar, the Name Box displays the cell reference or the name of the active cell. Select the width and height of your gradient image background. As part of the tutorial will be resizing, cropping, brushing and much more! Change the horizontal value to 1. So then you move onto the mouth, you start drawing, and it's going good. If you however, is completely new to Microsoft Paint, I suggest you have a look at below video first before returning to this one. Repeat step 3 but with the horizontal value set to 500.
Goodbye MS Paint : 3 Tricks that you didn't know
It may seem like the Win7 Paint has more functionality, namely better zoom, more brushes, shapes, and perhaps the best improvement, the addition of rulers and a grid. Such plug-ins are included with and. Despite the warning, Paint was shipped with Windows 10 v1809 and v1903. Tip 3 — Use the Eraser as a Color Replacement Tool Say you have an uneven patch of yellow color on an image that you now want to replace with blue. However, when inserting text in Zoom view, the user cannot move the text beyond the zoomed viewport while the text window is in edit mode with either the mouse or keyboard. Later versions of Paint do not support this feature. Create Custom Brush Yes, the choice of brushes is not limited to what appears on the interface.