2003 vw jetta headlight replacement. 2003 Volkswagen Jetta Auto Light Bulb Size Guide 2019-01-19
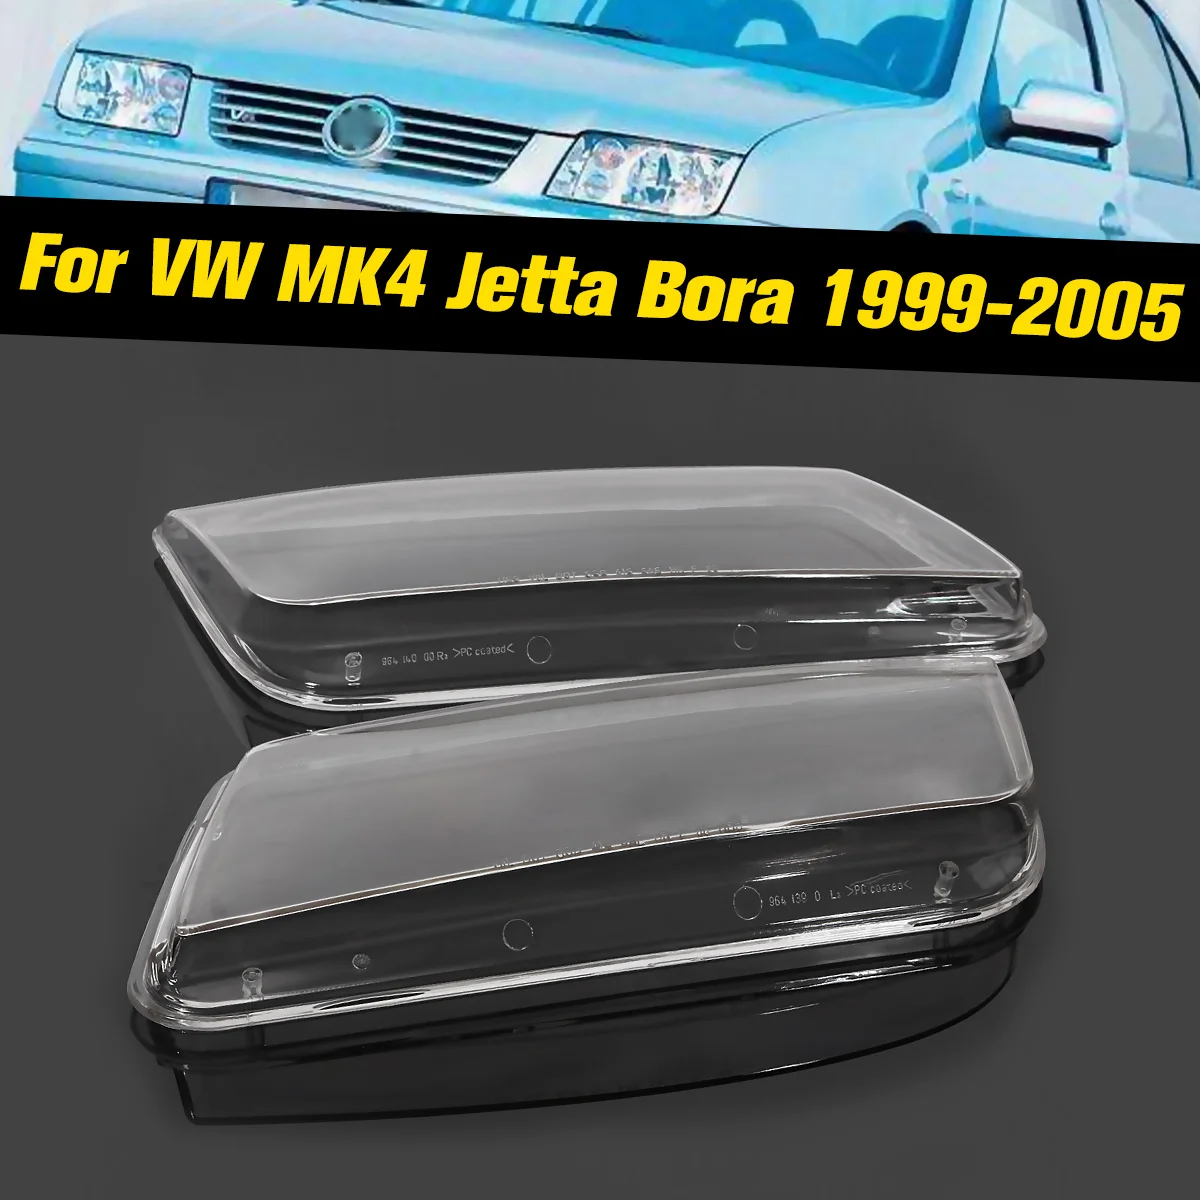
2003 Jetta Headlight Replacement
Always replace bulbs in pairs. If you must, wear gloves. This does have the advantage of holding the bulb in place while you put the retaining ring back in place. It will have one line going in and out of each end. Step2: Detach the release lever holding the front bumper, and take off the radiator grille. Step3: Unhook the quick release… for front right turn signal Jetta Just did it to my 2001 Jetta 1. Take off the battery cover and perservere.
How do you replace a headlight bulb on a 2003 VW Jetta

I agree with the comment on Sylvania Silverstars. It will look like a can of peaches without the label. I took me some time to…. I had to remove two Phillips head screws retaining the lens cover to expose the bulb. On the high beam, there is only one point, located at the seven o'clock position, and it allows vertical movement only. They must go up over a little nibs of plastic so a screwdriver can be used to pry them up slightly if it makes it easer. Takes… A few things to remember: 1.
2003 Jetta Headlight Replacement

This job requires some patience the first… The low beam lights have three attachment points and these act as the adjustment knobs; looking at the light, one is at the 11 o'clock position, the second is at two o'clock, and the third is at five o'clock. The easiest way is to access the bulb assembly is from the bottom of the car, there is a plastic cover under the fender and in front of the tire that can be removed by unscrewing two screws and two nuts. There is a small tab on the top of it that you must depress to remove it. Unhook the electrical connectors from the coolant fan and thermal switch. I'm not a big fix-it girl, but my uncle told me it's relatively straightforward so I gave it a try… Well turn your lights on and determine which bulb is not working. To check to see if it is good or bad… Had to do one myself. This needs to be done so the inner door panel will move far enough away to slip out the latch.
How do you replace a headlight bulb on a 2003 VW Jetta

Do not attempt to replace bulbs while vehicle is on. I then had to carefully use a pair of slip joint pliers, housing access is too small to get your fingers in there , and grab the bulb with sandpaper to prevent slipping and then carefully without too much pressure to break the bulb, work it back… I just changed one in my wifes wagon yesterday. I had heard that the driver's-side bulb would be a bear to change, but it really wasn't that hard. Step1: Unfasten the drain plug on the bottom of the radiator, and let the engine coolant drain into a resealable container. It was so easy on my car -- what gives????? Window track rivets must be drilled out and re-bolted near latch.
How do you replace a headlight bulb on a 2003 VW Jetta
If so, I had the same problem and after numerous repairs and lots of money, I replaced the fuse in the emergency flasher. The passenger's side bulb is located behind a cover with a slot in the top, directly behind the bulb. Start… I hope that you are referring to the bulb and not the assembly. Ok this person really didn't answer your question at all, I am pretty confident that you know that you can take it to the dealership. Remove all bolts holding the front bumper and take off the bumper. A retaining tab runs through this slot and sticks out twoard the engine.
2003 Jetta Headlight Replacement

The directional signal lamps are accessed from the engine compartment. Both my Jetta and MzLauraLee's waggin burned out the driver's side headlamp bulb within a couple of days. But nothing short of E-Codes can touch a set of Cibie Z-Beams I had a a couple of cars years ago. Disconnect the temperature sensor connector and if necessary remove the spoiler. This will give you much more room to work, but it will still be a bit cramped. That black plastic cowl is held on with the plastic screws they are threaded but you may have to pry up on them gently while turning them out.
2003 Volkswagen Jetta Auto Light Bulb Size Guide

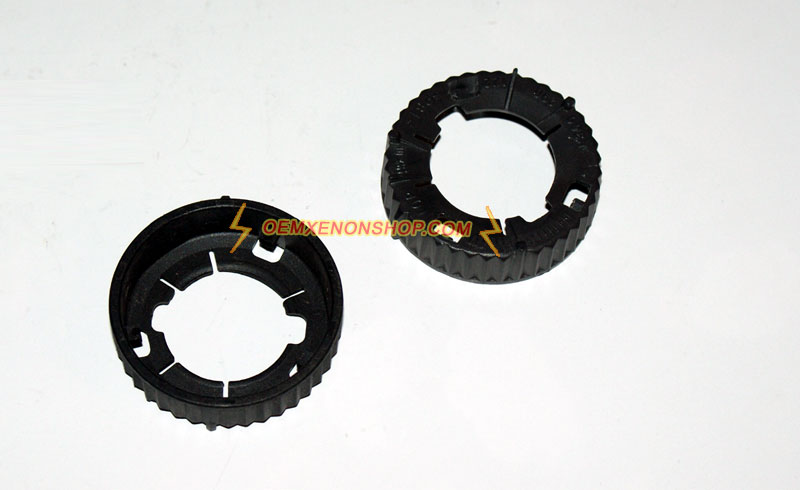
You will need a special 12 point male bit to remove two screws visible when door is open near latch. Remove locking ring, pull bulb straight out from carrier housing and install new bulb making sure to secure it in the locked position, reinstall locking ring. It appeared that the battery was closer to the radiator frame crossmember on the waggin. Open the hood and look to the right side of the headlight housing. You may want to consider replacing both left and right at the same… I assume you mean the car key with the flip button.
2003 Volkswagen Jetta Auto Light Bulb Size Guide
Of course the best bet is to chuck the stock lights and put in a set of E-codes but that costs a few more pesos. Unhook the lines These can be tricky and simply replace the fuel filter. The 2 hardest things are going to be the big adjustor nut on the left, it'll take off the tension on the belt. They recommend you replace both at the same time and I highly recommend it since both of mine went within 2 weeks of eachother. Do one side first, so you can use the other side as a reference.
How do you replace a headlight bulb on a 2003 VW Jetta
The Modified Life staff has taken all its Volkswagen Jetta headlight bulb replacement guide, Volkswagen Jetta light bulb size guides, Volkswagen Jetta light bulb replacement guides and cataloged them online for use by our visitors for free. It still took me less then 10 minutes to change both. Never touch the actual bulb. See sources and related links below for replacement bulb information. . Next release the top bolt, in which holds it to the little crank doo dah, and now pull like hell.
2003 Volkswagen Jetta Auto Light Bulb Size Guide

Then consult your owner's manual for the tail light bulb replacement procedure. Use of the replacement bulb size information is at your own risk. I had heard that the driver's-side bulb would be a bear to change, but it really wasn't that hard. Release those and swing the plastic plate back, sliding the 2 tabs on the inboard side out of their… review the Haynes or Bentley manual to orientate the parts - Disconnect battery negative cable, - Remove engine cover,- loosen passenger side front wheel- raise vehicle passenger front, set on stand , remove wheel,- remove the electrical connections from the alternator, including the small nut which holds the wires to the alternator body. I wonder if the Z-Beams really were E-Codes.