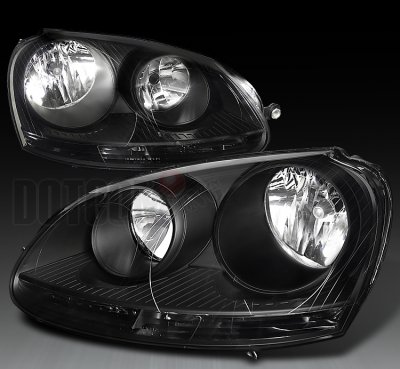
2009 jetta headlight replacement. 2009 Volkswagen Jetta Replacement Light Bulb Size Guide 2019-01-20
How do you replace a headlight bulb on a 2009 VW Jetta

This must be a design flaw. Be careful as the tab can snap because it is made of plastic, but I pressed it pretty hard and it did not. There is a small tab on … the top of it that you must depress to remove it. Mine would move about half the distance necessary to release the headlight. . So I thought low beam replacement would go as easily as high beams but so far it's been quite a bit harder. The casing will hang over your bumper Pull out the headlight and plug the new one in.
How to replace a headlight bulb for a 2009 jetta?

Sometimes you have to remove the light assy. To all of those providing insight on this topic, thanks. I was able to replace the drivers side bulb without removing the battery. Takeyour time, do not be frustrated by the lack of space to work in. This will give you enough room to work in the headlight compartment unless you have unusually large hands.
How to replace a headlight bulb for a 2009 jetta?

Use gentle pressure, rather than excessive force. The plastic ring was then able to slide all the way into positionwhere I was able to easily turn and lock it into place. There is three littlegrooves that the bulb fits into, to ensure correct placement. As stated above, there is a cover on the back of each headlight housing that must be removed. We changed one at the shop where I work and it took 5 hours with two people working on it. Since you have to take the entire headlight assembly out just to change a bulb, this will be covered in the article as well.
How do you replace a headlight bulb on a 2009 VW Jetta
The two at the top are under plastic caps which have to be prised off. Thank you so much for this info, it worked like a charm. Line up the tabs of the bulb base with the slots in the reflector housing and drop the bulb in. There is a spring or hasp that keeps the lamp in the housing. The locking collar didn't want to slide back in place once I got the headlight assembly back in and I had to remove the whole collar assembly and file a piece of plastic off by the lever that was rendering the collar useless. I think there is a little square tab that you need to push down while rotating this locking ring. Wiggle or tug until it pulls out.
2009 Volkswagen Jetta Replacement Light Bulb Size Guide

Refit the motor to your new headlight again by manipulating the ball joint together and screwing the motor back in. Take off the plastic cover to that bulb's housing. Some earlier units also had a locking clip. The clip flips back and opens up. Always verify all light bulb sizes, bulb voltage usage and bulb wattage before applying any information found here to your 2009 Volkswagen Jetta. Same for replacemen … t.
How to replace a headlight bulb for a 2009 jetta?

Once you move the handle a little, have someone else try sliding the light out while you keep trying to move the handle. The high beam bulb is below it, and you can see this bulb plainly. It's usually pretty tough to slide the release, but be patient. Now just reverse the procedure and you are good to go! It is hard to see and reach. The O-rings slide off and on like tight rubber bands. It is held down by two Phiilips screws.
How to replace a headlight bulb for a 2009 jetta?

Then, to remove the bulb, slide the inside edge of the spring clip right side for the passenger side bulb, left side for the driver side that holds the headlight bulb in place down, and let it pop open. Once the lamp is pulled out you are almost done. This will alsomake it impossible for the black plastic ring nut from sliding overthe bulb and locking into place no matter how hard you push andturn. Maybe I'l try the vaseline thing to put it back inside. If you do the oil from your fingers will make a hot spot on the bulb and it will burn out quikly. There will be twometal clips that use pressure to hold the cover in place. The headlight should go up against the fender fairly easily.
Low beam replacement? 2009 Jetta : tdi

Around the bulb is a plastic ring that acts like a nut. The bulb is held in with a spring-like wire. You will have to take the battery out if the lamp is on the driver's side. I am mechanically inclined person but it took one hour to put it togetherit is very hard to take out and to place it in to alin with the locks to get it properly locked on both sides. It's locateddirectly above the headlight. Plug the electric connectors in and insert the housing completely.