Best ford aod transmission. Ford AOD Transmission 2019-05-13
Broader Performance

If there is damage and resulting metal particles are present in the fluid, the transmission must be torn down, inspected, and thoroughly cleaned. With the accelerator pedal at rest, the throttle should be at idle stop. Then again, we believe the Easter Bunny story, too. Any distortion will cause servo malfunction. Step 13: Install Forward Clutch Piston Return Springs Use a C-clip retainer with the clutch piston return spring.
Performance Guide: AOD, AODE, and 4R70W Transmissions.
There are plenty of swaps performed in other Ford vehicles such as the Maverick, Comet, Fairlane, Torino, F-Series trucks, Bronco, and a host of other vintage Fords. The base motor was a straight six cylinder, but a wide variety of V8 options were also available. Step 2: Check Intermediate Clutch Depth Precision Measurement When you get to the last intermediate steel plate, check clearances with a depth micrometer. Seal protectors are available from most automatic transmission parts supply houses. Because seals tear and distort easily, they need genzerous amounts of lubrication. It should turn one way but not the other and do so smoothly. Pack the bearing with plenty of transmission assembly lube.
Broader Performance

When this throttle rod is properly adjusted, all you have to do is make minor adjustments at the throttle body or carburetor. But reputations can be turned around. Step 2: Install New Bushings and Seals Install a new bushing and seal in the tailshaft housing. Step 4: Install Reverse Clutch Frictions and Steels Alternate reverse clutch frictions with steel plates. Step 3: Install Direct Clutch Piston Press the direct clutch piston into place using seal protectors to safeguard the piston seals. The rod and cam should be lubricated with assembly lube.
Ford AOD Transmissions

Home Of Top Quality Transmissions and Components We pride ourselves on serving a wide customer base with top quality products for use in most any application. Cam Type What type of cam are you running in your motor? Expect to experience some slippage or even a harsh shift or two at first. Some applications have two springs; others have one. It could also be found in the. The Performance Automatic re-designed clutch and band application ratios to provide firm, positive shift characteristics. You should use 1967-up because of the shift detent positions.
Broader Performance
Coat the gear teeth and bearing with assembly lube and work the sun gear back and forth. When the throttle is opened, cable movement and tension increase, modulating line pressure accordingly via the throttle valve, which is what you want when power is applied. Add fluid in small amounts and allow the transmission to reach operating temperature. The clutch hub should be checked for irregularities that may hinder clutch friction movement. During normal acceleration, you want a firm but not hard shift. If the pan already had transmission fluid in it, do not use Glyptal.
Performance Automatic

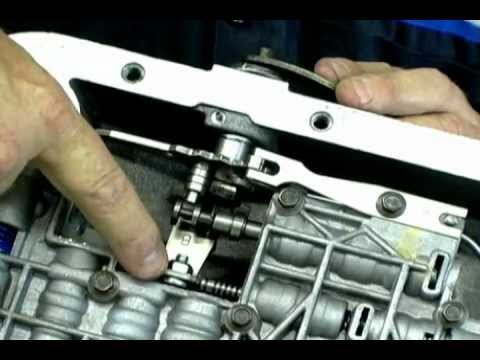
Make sure all passages are properly lined up. Band and Servo Installation Step 1: Align Bands for Servos Manipulate the geartrain and bands so the servos and band actuating rods line up. Step 2: Install Pump Gasket Lay a thin film of transmission assembly lube on the pump gasket and transmission mating surface. If the ball is missing, the governor does not function properly. So, we do what we do best — we make it better, and create a transmission worthy of the Gearstar name and brand. The intermediate roller clutch snap ring is replaced with a spiral plus locking ring. Step 4: Install Manual Shift and Throttle Valve Shafts Install the manual and throttle valve shafts with new seals.
Ford AOD Transmission Installation and Swapping Guide by DIY Ford

Add transmission fluid to the minimum mark on the dipstick while cold and start the engine. The torque converter must be replaced because it is virtually impossible to flush out contaminants. Make sure the snap ring is deeply seated and secure. You want a balance between cable tension and no cable tension with the cable slack, yet just short of tension. When installing a new or modified driveshaft, harmonics balance can be an issue.
Ford AOD Transmission Installation and Swapping Guide by DIY Ford

Protect your eyes and face. This is an adjustment that must be precise or it can cause serious transmission damage. Always use an assembly lubricant that works with transmission fluid. The Mustang was a very light car, built on one of the first uni-body platforms the body and frame are one piece, unlike most cars of the time period, which used a body mounted on a separate frame. The ReCalPro Valve Body Recalibration Kit raises full-throttle shift-points about 1,100 rpm.
Ford AOD Transmission Installation and Swapping Guide by DIY Ford
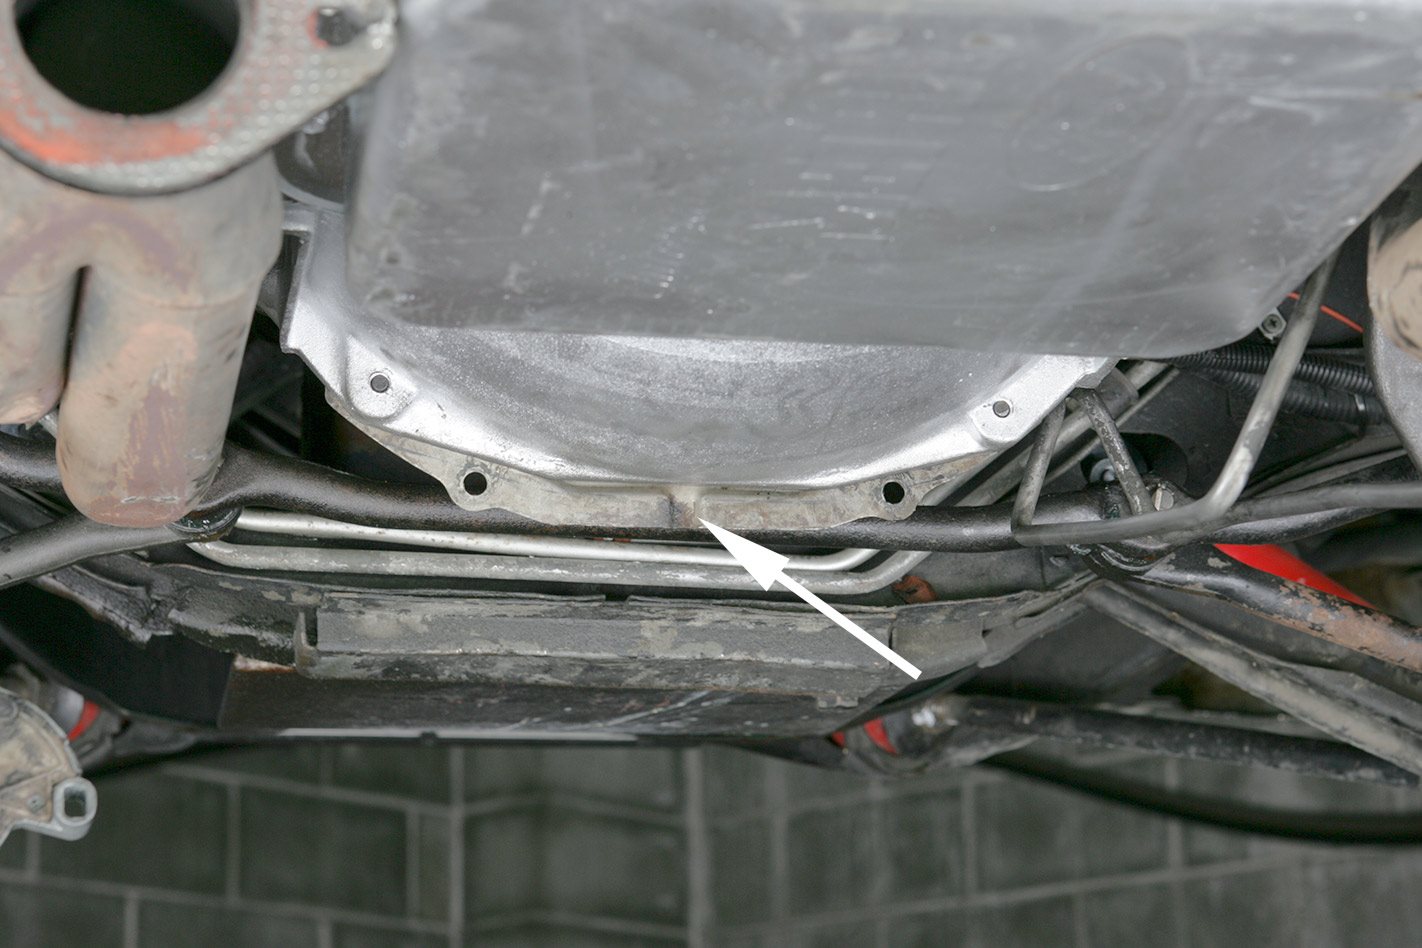
It clears virtually everything including aftermarket headers. We are dedicated to giving you the technical support you need, when you need it! Errors can mean expensive damage because you missed important adjustment techniques. Make sure all surfaces are hospital clean. If this is the case, you have to remove the transmission and inspect for damage. Step 3: Inspect Output Shaft Assembly With the output shaft, ring gear assembly, direct clutch, and low-reverse band in place, it becomes clear how these components fit together in the case.
Ford AOD Transmission Assembly Guide

You may also use C-clamps. Giving the Transmission a better mechanical advantage and in turn, better take-off acceleration, slightly lower fuel consumption, and designed for better gearset strength. The forward clutch sealing rings are near the end of the clutch support. The number-5 thrust bearing goes between the sun gear and drive shell which you install next. Reusing worn hard parts can lead to premature transmission failure because the same problem will persist.