Fl studio time stretching automation clip. FL Studio 20.1.2.207 Crack + Serial Key 2019 2019-01-29
In FL Studio, how can I automate tempo without affecting pitch? : edmproduction
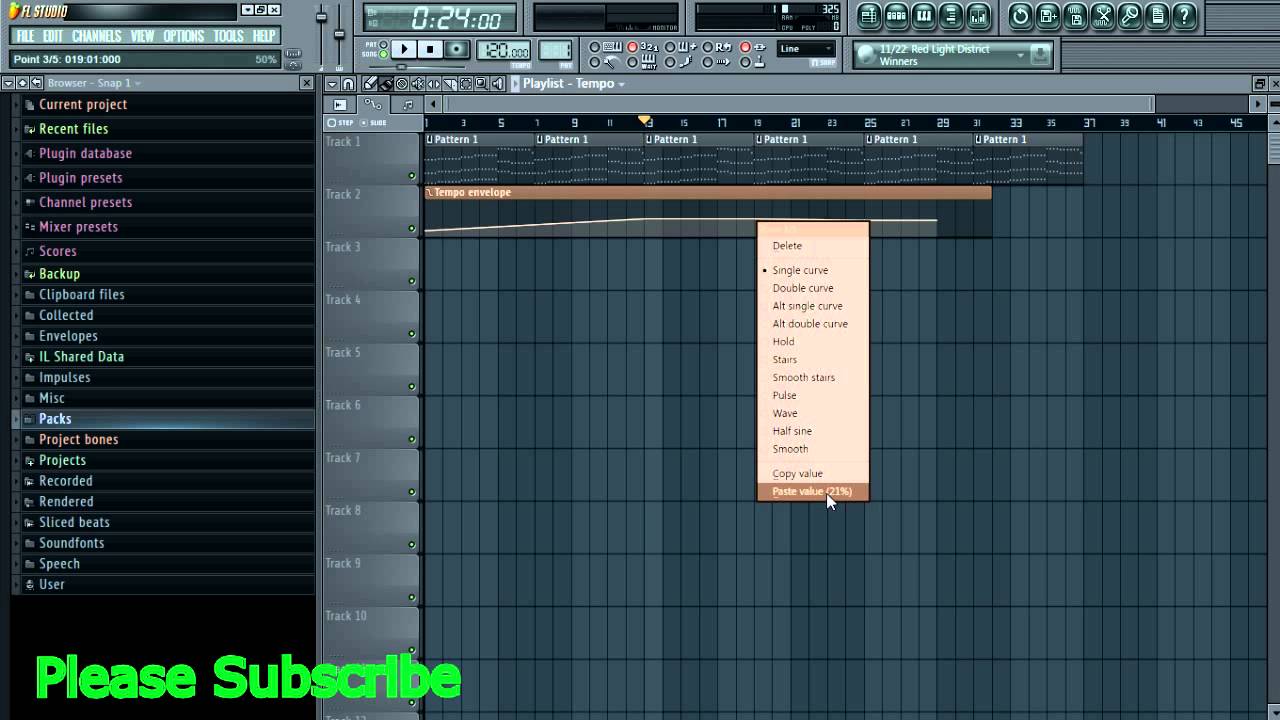
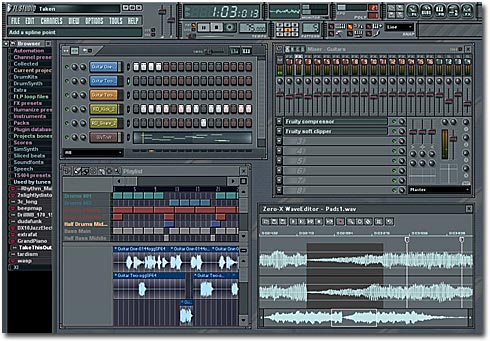
This window has two parts, patterns at the top and soundtracks at the bottom. It gives vectorial interface so that the user is accomplished of resizing and rearranging interface. From working with the playlist to the piano roll to the step sequencer, each one gives you a different approach to a similar task. See below: Left click the zoom time control and move the mouse up or down to zoom in or out. The Mixer Mix and master music to the highest professional standards. Then, left-click and voila, you have an new control point. To link an automation clip to the channel volume knob of our Lead trance channel , right click the knob and choose Link to controller.
Realtime Audio Stretching in FL Studio 12.3 : www.littleboyblu.com
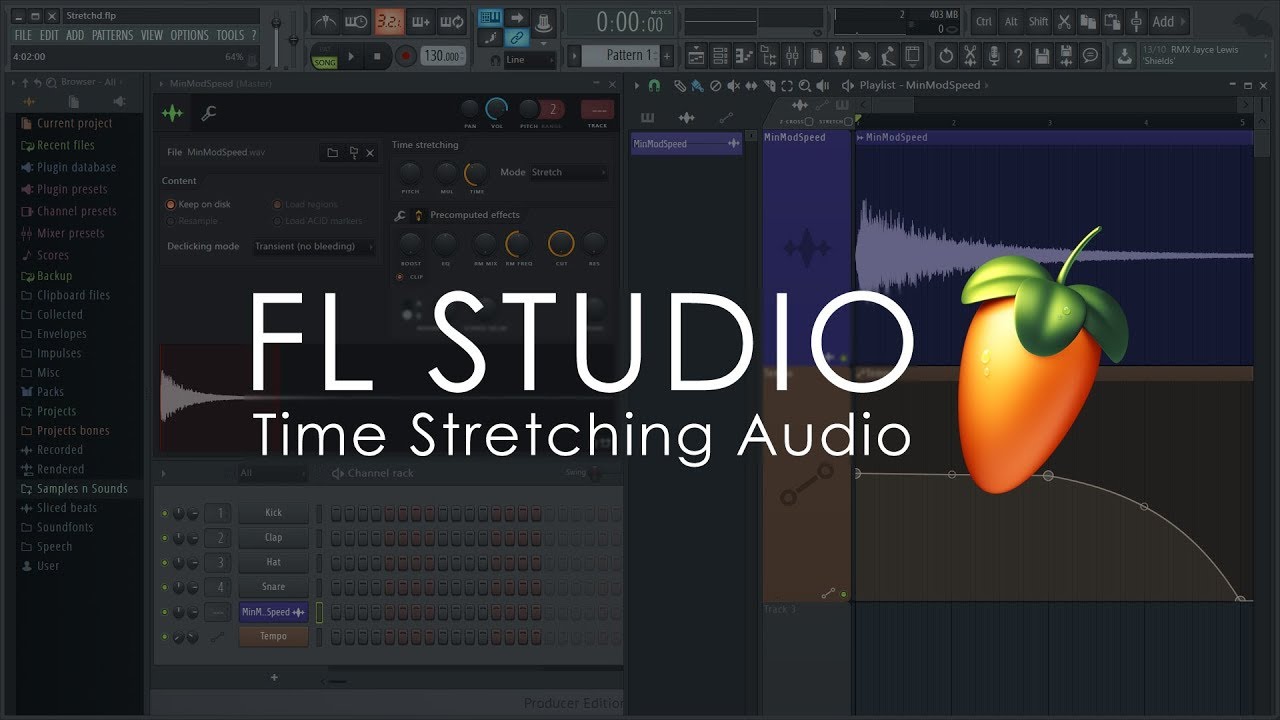
To remove a control point, right-click it and choose Delete in the menu. Sequence all elements of the project to make the final song. But if you do need them to time stretch with the song and not change pitch, I can't help you there. I hope those are some ideas to get you going with automation! Be careful not to right click the area around the line or it will erase the instance of your automation clip from the playlist. This allows you to take your audio in your project and apply the realtime algorithm to get the audio to sync to any tempo without artifacts while in playback mode. It helps you to produce music with high-quality music master.
The Ultimate Guide to Using Automation Clips in FL Studio 20 • GratuiTous
You can make your own desirable playlists with the help of the browser. With this enabled, all the audio is locked in with the project tempo. Typical delivery estimate is between 3-10 days. The shape of the automation clip will closely resemble the compression curve and peak controller curve in the previous methods. It's not zero but default which is why the pitch changes with the the tempo. As far as I am concerned, there are no golden rules with respect to automation.
FL Studio V20 Software

Via the Step Sequencer you can access them again. We can create and also save these later who we can use in our sound project as like on our mobiles. There are also more than one windows to edit. Release the mouse button when you are done. It represents more than 20 years of the inventive development efforts by them.
FL Studio 20.1.2.887 Crack with keygen 2019 Download
We can see that the new peak controller curve looks very similar to the compression curve from the first technique. It offers a quite simple and user-friendly integrated development environment to work. It permits you to create and record music without real music instruments, such as drums, piano, guitar, bass, and others. As well, it has a large number of music mixing and effects feature. Tracks can hold notes, audio and automation. No other music tools can match the flexibility of this software. Feel free to leave any comments.
Image Line FL Studio 20 Signature Bundle Academic

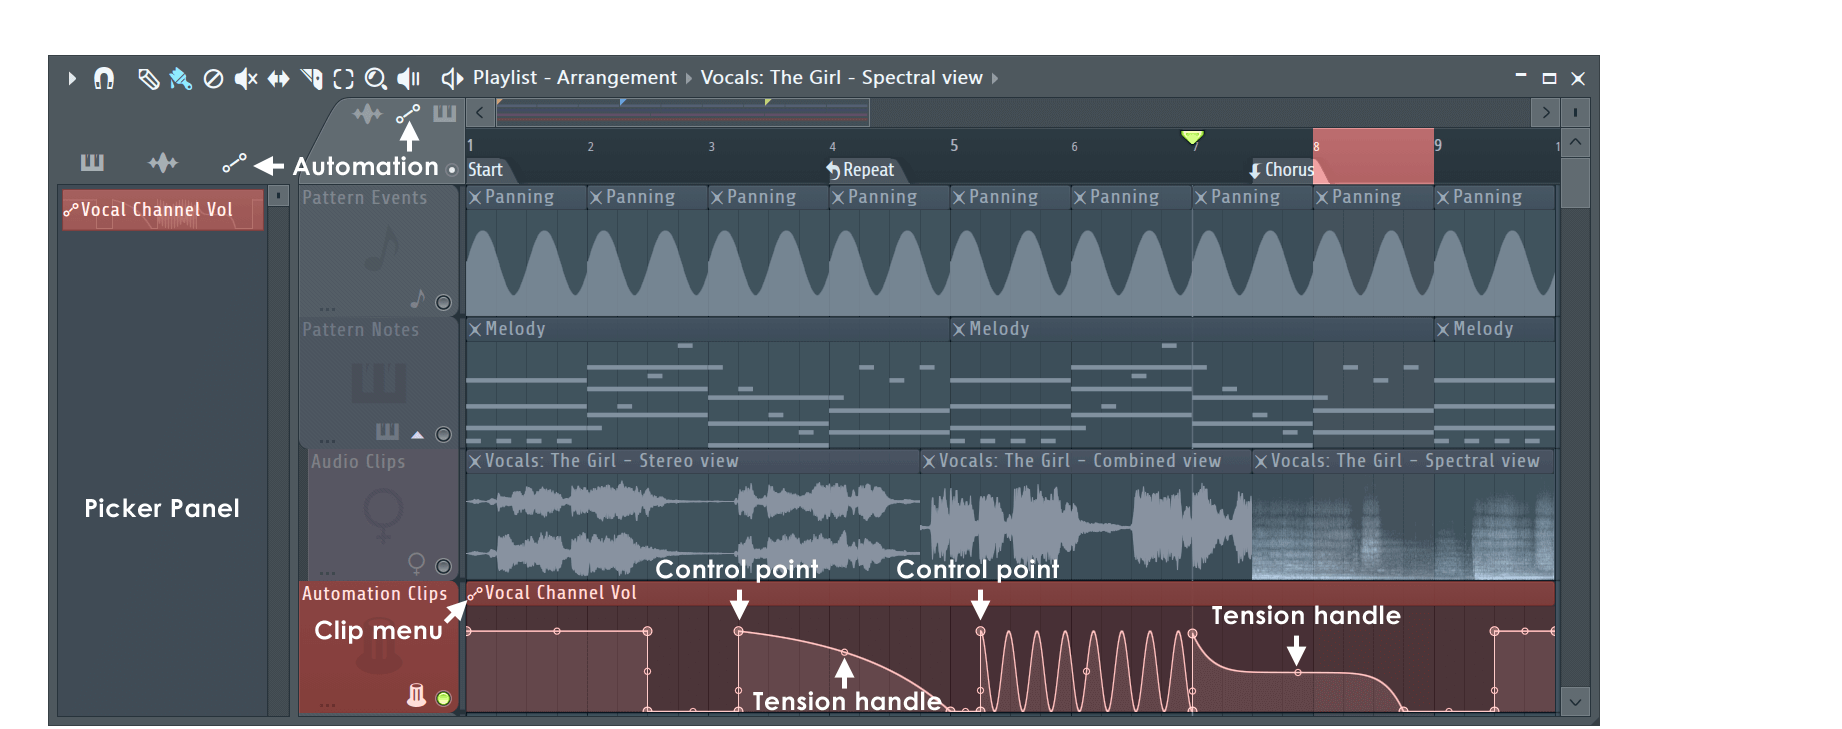
There are many other features in the software such as the browser window. For example: If you Left Click + Hold and hold down Shift, you wont be able to move up and down, you can only move left and right. With its help, the user is capable of rearranging and resizing the combination interface. Its advanced ideas assist both beginners and professional to compose, arrange, record, edit and mix music. You should see a new automation clip appear in your playlist. The upper part is the automation clip which varies in time check points 1,2 and 3. The first step to making your very own automation is to pick a parameter that you automate.
The Ultimate Guide to Using Automation Clips in FL Studio 20 • GratuiTous

And if you are a composer that does most of the work in the piano roll then really there is no alternative. To give the clip a shape, add control points. In my case, I want the volume level to start at 0% and raise to 80%. Just double-click the clip to bring up its properties box. You can adjust these to control how aggressive your automation clip is. You may wonder why you would use such a feature.
FL Studio 20.1.2.877 Crack + Serial Key 2019 Free Download
Simply put, the opposite of a boring, dull trance composition is a song with variety, variety, variety and automation is one way to achieve variety. If your thread is only tangentially related, it is probably considered off-topic. When applied properly, this one can be used to get rid of popping and blips as well. But this one keeps the parts of the curve closest to the start and end points straight. Should be somewhere in this SeamlessR video about the pianroll. For additional options and international shipping,.
FL Studio V20 Software

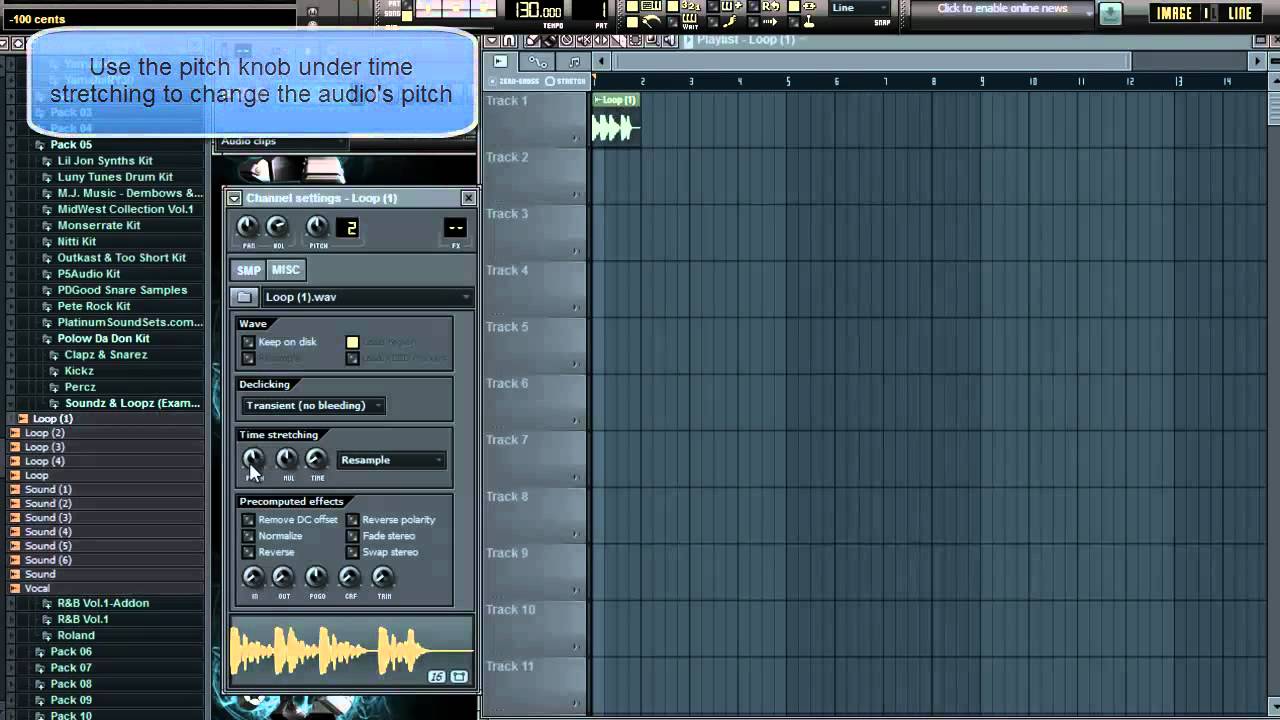
If this does happen, select the automation clip again and left click on the playlist to add it back. For workflow purposes, if I did want to extend this automation clip by dragging a middle point, I would then disable Slide, and the automation clip would grow to my desired size. This was done by automating the channel panning control. By default, the Mode is set to Single curve. This will stretch and compress your audio clip without it re-pitching it. Zooming in and out can be done using the Zoom time control in the upper right corner of the playlist.
How to Use Automation Clips in FL Studio
In electronic music like trance, house, and techno, we usually do it with the kick and the bass. I then selected the Graph Editor in the top right of the Step Sequencer. Step 3: More Settings If you followed this to the tee so far, you might not get the same sounding result as me. After right clicking and adding more points they can be controlled in the same manner as before. Guess I'll find another way. It allows you to record an unlimited amount of audio tracks simultaneously, only limited by the power of your computer and the amount of inputs on your audio interface. Its most important quality is that it is simple and easy to use.