Format usb on mac software. Format External Hard Drive or USB Drive for Mac 2019-05-15
Download Disk Formatting Software for Mac
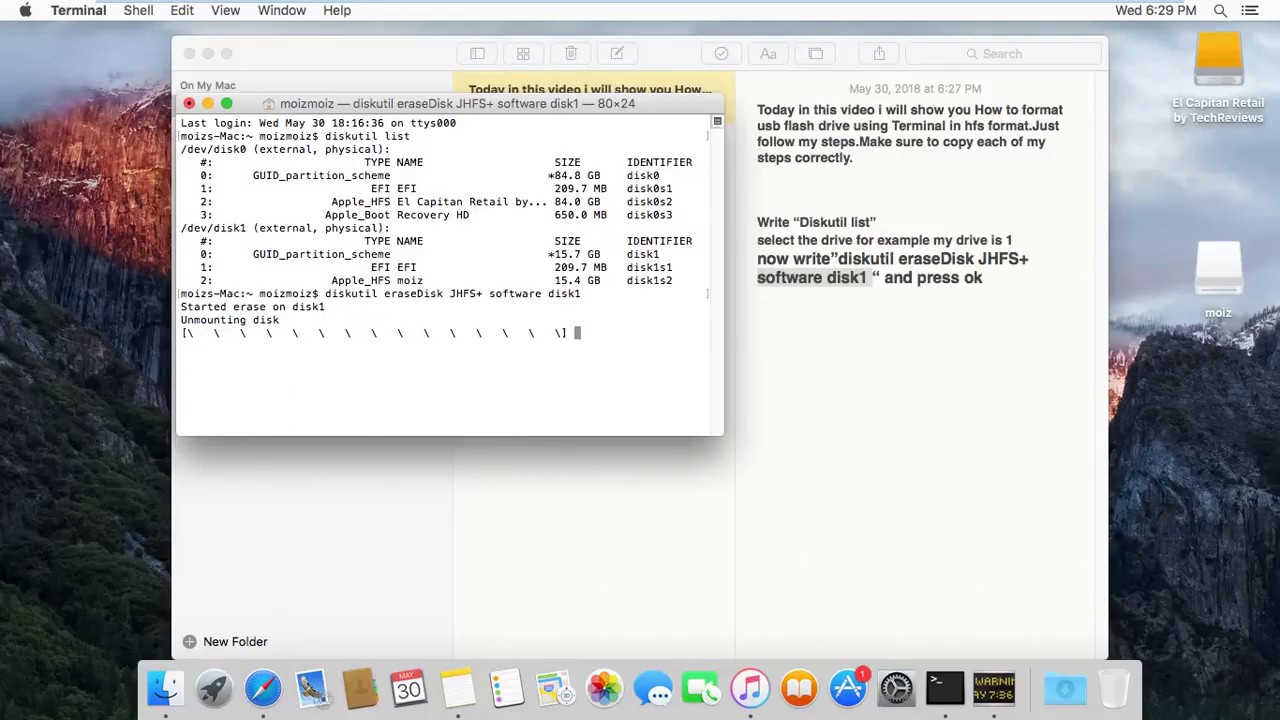
If you are on a Mac. For Windows, it offers quick format feature when you right-click the hard drive on the computer. We hope that was easier than expected. Open a new Finder window and click on the drive. Once again, as a kind warning: formatting a flash drive will likely erase all files and data stored in the device, it's important to ensure you have made at least one copy of the data before you get started. Finally we are writing the name of the disk that we need to format, which disk2 is in this case.
How To Format USB on Mac?
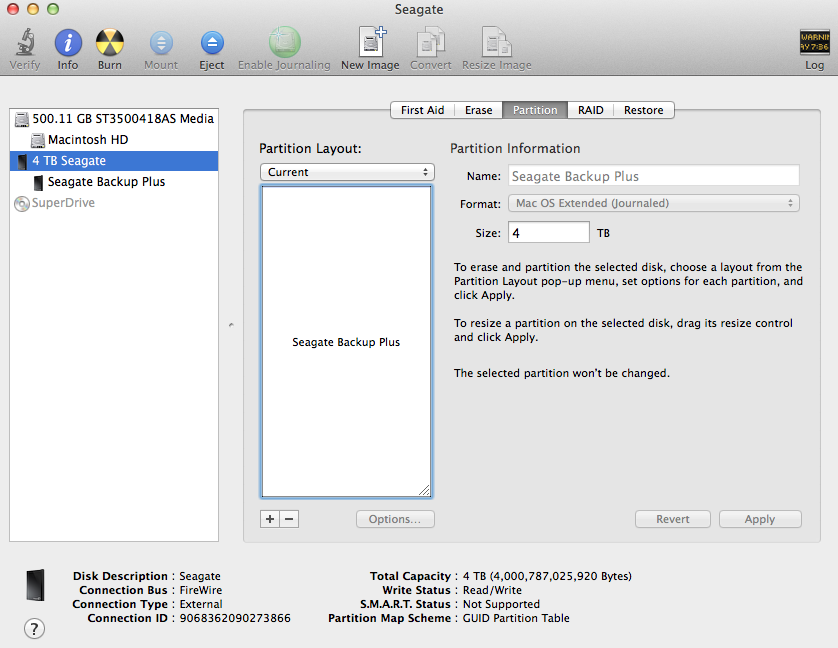
Read on for step by step instructions. One main difference is file system. This will erase all the files on the drive! Because this feature requires a smart card reader, it is normally used to unlock a drive in the workplace and not for drives that might be used outside the workplace. Quit Disk Utility after this operation completes. It also can selectively erase data from a hard drive or external device. To activate it just click on the Erase tab at the lower right part of the interface. We have collated a list of the most popular formats.
Format USB for Mac and PC on Windows Quickly and Securely
Do let us know through your comments. You can use the erase function to format a hard drive or device. Windows is not going to be installed, but the install media will give access to the command line tools in Windows. Select the version of Windows that is closes to the version of Windows installed on the Mac Windows 8, Windows 10. Then do a right click with your mouse to pull up a menu.
Format USB Or Flash Drive Software for Mac: download free alternatives

Except those two, everything goes like clockwork. The software has been tested with many storage device units for safety and stability. Mac Disk Utility Note: formatted data can be recovered by data recovery software. You can make this your client name or your company name. Remember that formatting wipes off all the drive data.
How to Erase and Format a USB Drive on Your Mac
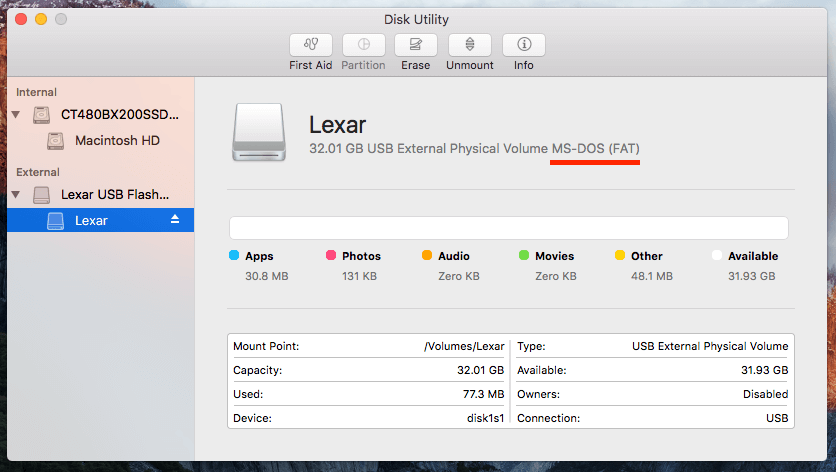
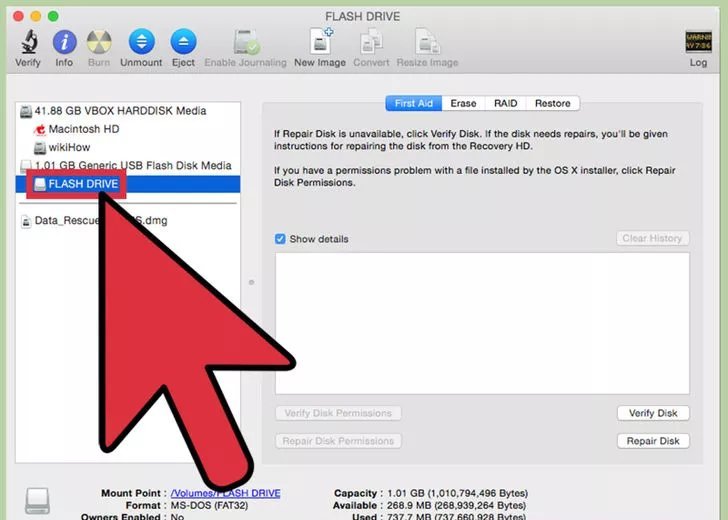
However, the formatted data can be recovered by. See the table below for more info. Hook it up to your Mac and launch the Disk Utility app, located in your Utilities folder which is in Applications. It looks like the Apple smiley face. There are a couple of things you should keep in mind, however.
USB Flash Drive Format Tool
But keep in mind this step will increase the time of the format. Note: From this step on please be careful. In other words, you can access the drive and transfer data without any hassles. To troubleshoot an issue with Windows 10 especially boot-related issues , it can be handy to boot to Windows 10 that is not installed on a Boot Camp partition. Type in a name for the formatted disk. Here, you have four options, which offer different abilities.
How to Format USB on Mac? Formatting External Hard Drive or USB Drive

But not worry if you have bought a flash drive that runs on a different format than what is preferred by Mac. Choose a security level using the slider. Otherwise, the previous name would be retained. It can help you format a hard drive and permanently erase all data on the hard drive, beyond the scope of data recovery. Does anyone know a solution to this problem? It supports over 550 data types, what else do you need to stay ahead of the game? Now lets see how we do this. Click on the field beside Name and input any name you want. Two versions are available: ,.
Format USB for Mac and PC on Windows Quickly and Securely
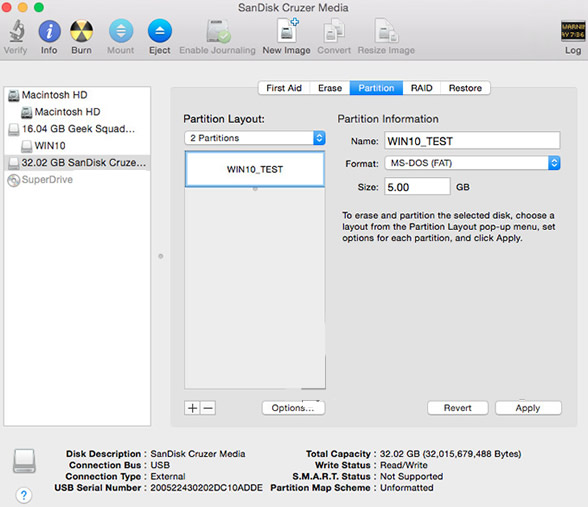
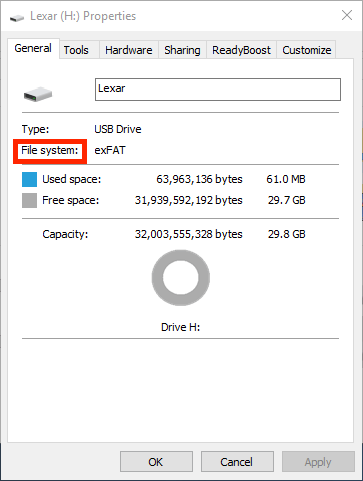
Make sure your device can be detected and recognized. This has been observed on the late-2014 Mac Mini but may affect other models as well. Secondly, there are several formats to choose from, each with advantages and disadvantage. The second one is the Format. All the drives will be at hand in the menu bar, so you can get to see types of drives you have and manage them easily.
Step

Step 6: Save the recovery key. This will let you choose how securely you want the files to be deleted. You get 100% assurance that your data remains protected while being recovered at high speed. Click Ok then click Erase. It's the closest thing we have to a universal file system format, which is why most flash drives are formatted this way right out of the box. However, it also increases the time it takes to format the drive quite considerably.
How to Format Hard Disk, USB Flash Drive, SSD for Mac OS X

Step 5: Enter the password. You only get 11 characters and spaces count as a character. Apple has started doing this when the Macbook Air arrived on the scene. I'm here to break down this guide into two parts. Be careful using these instructions to ensure you are formatting the correct disk. So if you need that data, make sure you copy it onto another disk before you start.